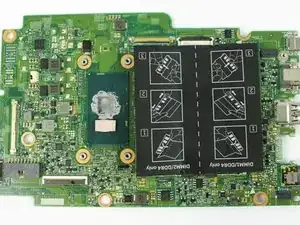
Introduction
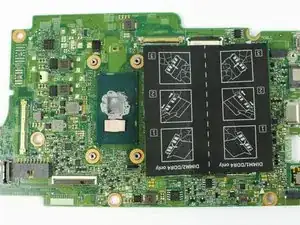
The wiring of your motherboard may have been disconnected causing the screen o not function properly. This guide will help you fix that.
Tools
Parts
-
-
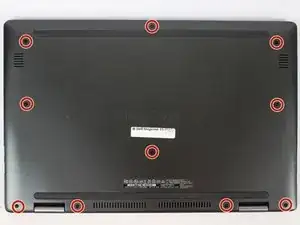
Remove the (10) P58F black screws on the back cover using the Phillips #0 screwdriver.
-
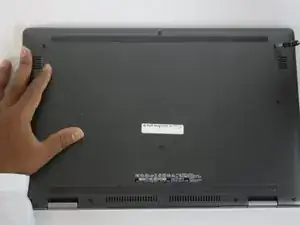
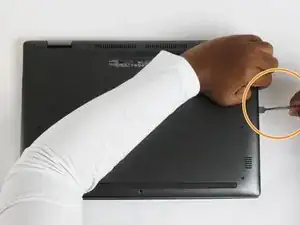
After removing the screws, remove the back cover using a plastic or metal spudger.
-
-
-
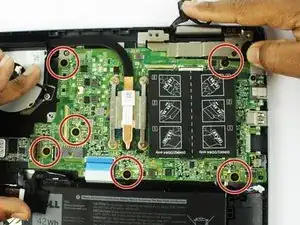
Unscrew the (6) six black screws outlined using a Phillips #0 screwdriver.
-
Unscrew (4) screws securing the fan using a Phillips #0 head screwdriver.
-
Remove the fan from the motherboard.
-
-
-
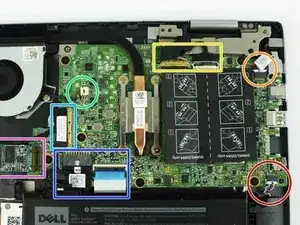
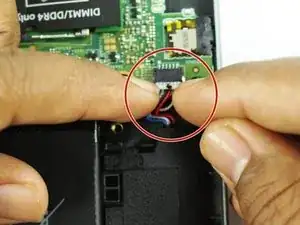
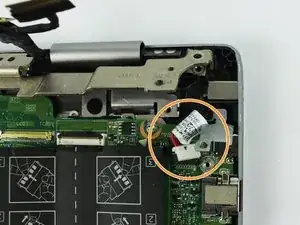
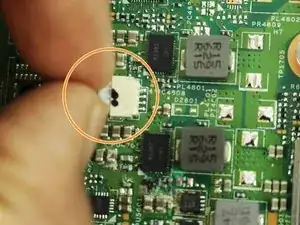
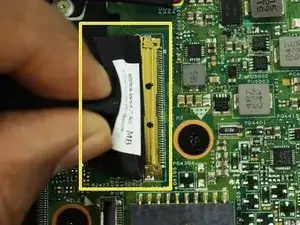
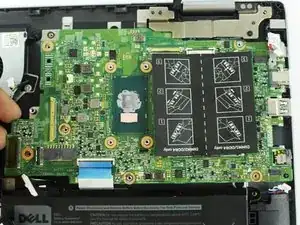
Unplug all wires from motherboard, including battery wire, speaker wire, screen wire, and other component wires.
-
Remove the black speaker wire.
-
Remove the white display wire.
-
-
-
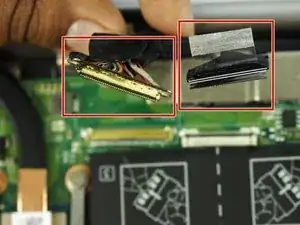
(Continued)Unplug all wires from motherboard, including battery wire, speaker wire, screen wire, and other component wires
-
Remove the gold and silver display cables.
-
Remove the white fan cable.
-
Remove the USB-to-motherboard cable
-
-
-
(Continued)Unplug all wires from motherboard, including battery wire, speaker wire, screen wire, and other component wires
-
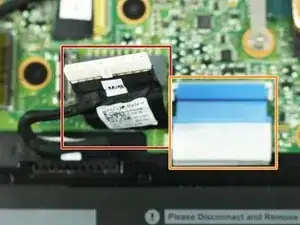
Remove the black battery cable.
-
Remove the blue ribbon cable.
-
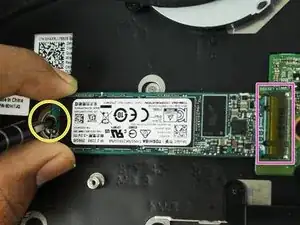
Unscrew and remove hard drive/SSD.
-
Disconnect the hard drive/SSD from the motherboard.
-
To reassemble your device, follow these instructions in reverse order.
