Introduction
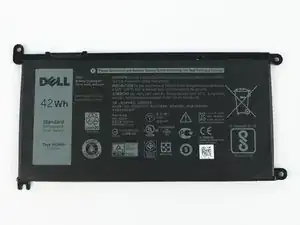
If your computer has to remain on the charger to be used or is not holding a battery charge like it used to, this guide will help you replace your battery.
Tools
Parts
-
-
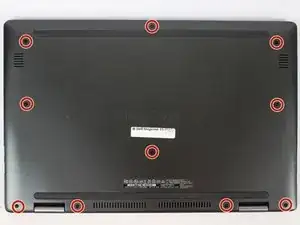
Remove the (10) P58F black screws on the back cover using the Phillips #0 screwdriver.
-
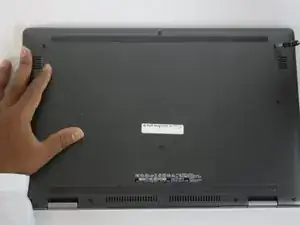
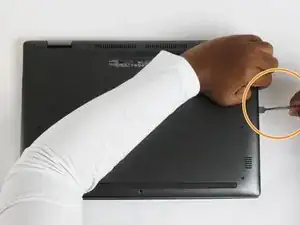
After removing the screws, remove the back cover using a plastic or metal spudger.
-
-
-
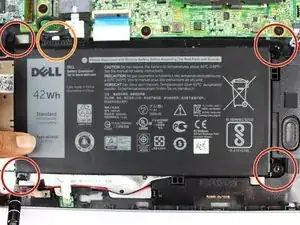
Unscrew the (4) four screws surrounding the battery with a Phillips #0 screwdriver.
-
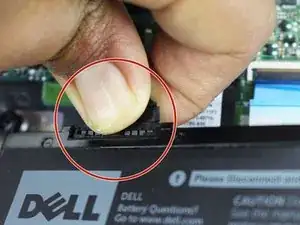
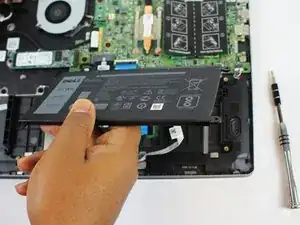
Unplug the cord connected to the battery and remove the battery.
-
To reassemble your device, follow these instructions in reverse order.
One comment
Thanks Matthew,
This was a huge help for me. It took just a few minutes, but I spent some time brushing & blowing out the fan & heatsink. Only difference from the instructions is that there are only 2 screws to remove the battery. The other 2 are removed when removing the case. I am grateful for these videos because, otherwise, one is likely to remove extra screws & miss the hidden ones on some products.
Thanks,
Kev
kevs -
