Introduction
-
-
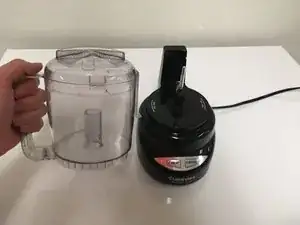
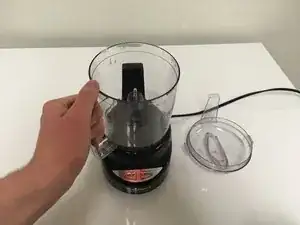
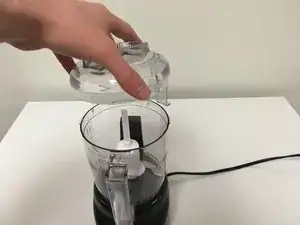
Place the Jar on top of the base by taking the bottom of jar and placing it through the blade accelerator.
-
-
-
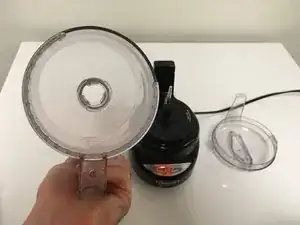
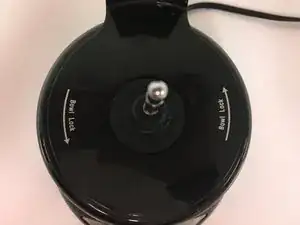
Notice that the written instructions on the top of the base remind the user to turn counter clock wise to lock the Jar into place.
-
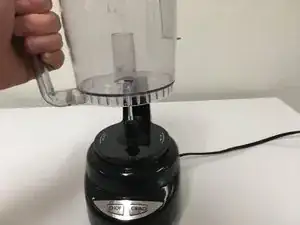
Move the jar clock wise until it locks into place. Then to secure it turn it counter clock wise so that the handle sticks out the front of the blender.
-
-
-
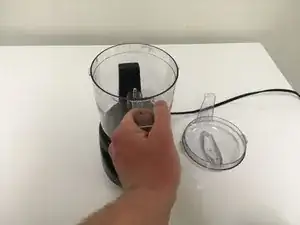
Place the blade inside using the jar, and on top of the motor propeller. [this is what spins the blade]
-
-
-
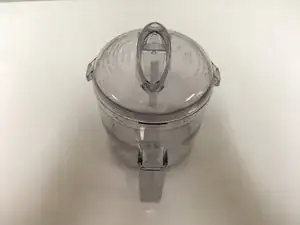
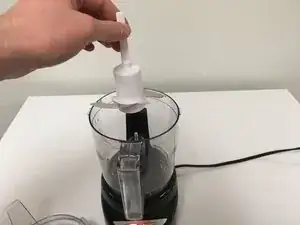
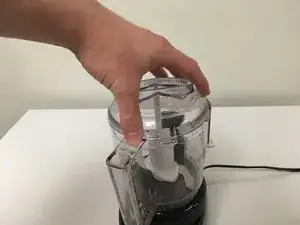
first place the lid on top with the plastic attachment on the back right side.
-
Once the lid is on, rotate the lid counter clockwise so that it locks into the black locking mechanism in the back.
-
This secures the lid on top of the jar.
-


To reassemble your device, follow these instructions in reverse order.