Introduction

If your power cord has any exposed wires, replacing the cord may help your device run again. To replace your power cord, you will need to cut wires and use a soldering iron. Check out this soldering guide for instructions.

  1. OFO5SRinoVokGvoK
    OFO5SRinoVokGvoK
    jsxBPIw2MoOSiu4A
    kSWShXMUwwDUSSkA
    • Unplug your food processor before starting any disassembly.

    • Remove the small pusher by rotating it clockwise and lifting up.

  2. THlyFpesCnWRLVqS
    • Remove the large pusher by grabbing its sides and pulling up.

    • There may be a clicking sound from the safety feature being disengaged in this step.

    The little white thing that pushes down broke

    Mr. potato -

  3. QAlfxHf4WNryKUD6
    QAlfxHf4WNryKUD6
    gUVCoPwJhgnVIpBE
    laBrJrkuhbPEbFpL
    • Remove the lid from the bowl by turning it clockwise and lifting.

  4. npb3Nb6GaDKdwpyq
    • Take out the blades by grabbing the plastic center piece and lifting up.

    • Avoid contact with blades as they are extremely sharp.

  5. AdOX2PUUHSe5C3FQ
    AdOX2PUUHSe5C3FQ
    duKHZZcYPFJLQtMx
    Da3UfggLQGgGpnMY
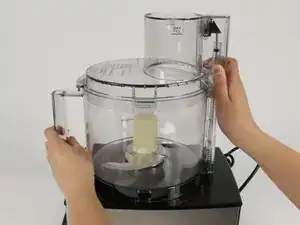
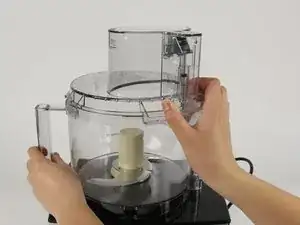
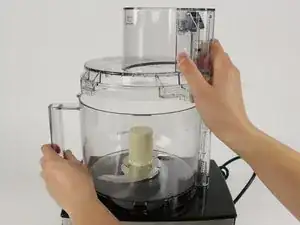
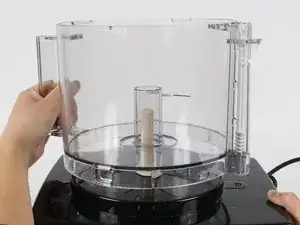
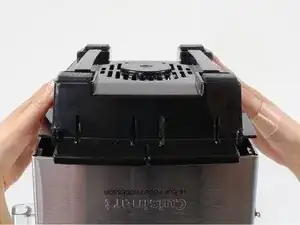
    • Position the handle of the bowl so that it is on your left.

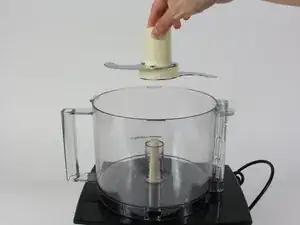
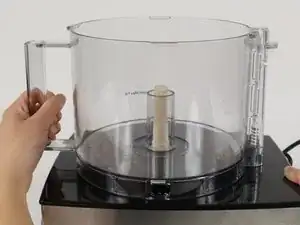
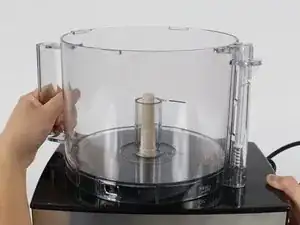
    • Grab the handle and push clockwise. Lift up the bowl to remove it.

    It seems so simple and obvious. Thanks for your help!!!

    Carrie Shirley -

  6. PSQoMWypXxqWV6AC
    PSQoMWypXxqWV6AC
    1QcruKNcLAwQsDJF
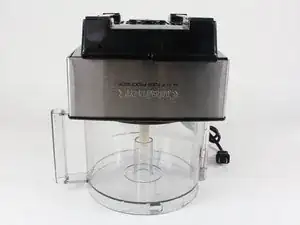
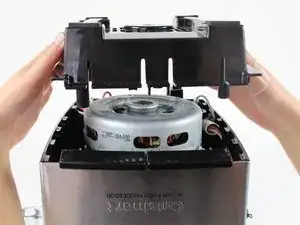
    • Turn the food processor's base upside down by lifting it up and turning it over.

    • Position the base so that the on and pulse buttons are facing you.

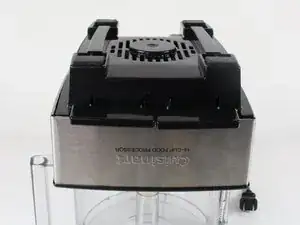
    • Place the base on top of the food processor's bowl to keep the base from wobbling while you work on it.

  7. BfhJEjwPcr1gTQvY
    BfhJEjwPcr1gTQvY
    K5E32dtH5bPTtvXv
    • Remove the two 13.0mm screws that hold down the casing with a Phillips #2 screwdriver.

  8. aPOjkR2jPMqMCZUU
    aPOjkR2jPMqMCZUU
    Cjtf5nnUEZ1OtWpP
    qQhspumpCuTk5Yg1
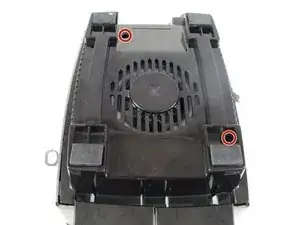
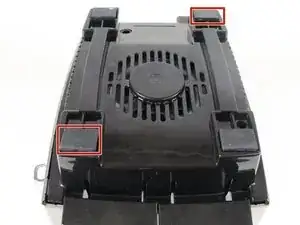
    • Lift up the front left and the back right rubber feet by pulling back the rubber with your fingers.

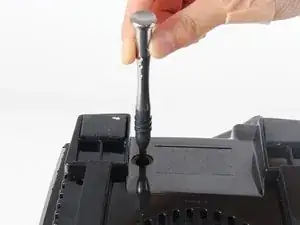
    • Remove the 13.0mm screw under each rubber foot with a Phillips #2 screwdriver.

  9. WhmudNRONIAJsVGf
    WhmudNRONIAJsVGf
    GkDwooTY1aXQ3uaA
    • Lift off the back casing by raising it upward.

  10. YMX6AWYKJhdNSJBc
    YMX6AWYKJhdNSJBc
    DstBbXRqdZQiKirG
    bJn1StJ4UeZrIsQY
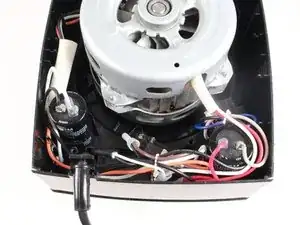
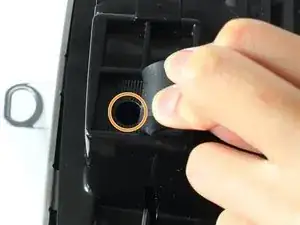
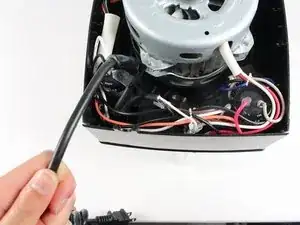
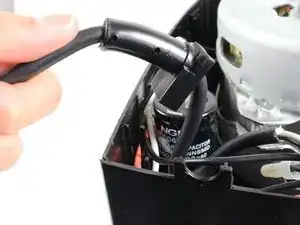
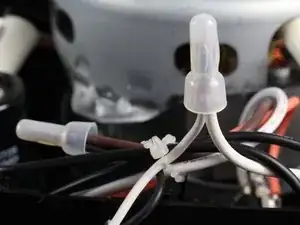
    • Unlatch the power cord from its casing at the bottom left corner of the base by lifting the cord upward.

  11. droiBa3P5NIe1mNF
    droiBa3P5NIe1mNF
    r6kUQZSMIQqbeSHl
    lSJLNnPwW2J3auv6
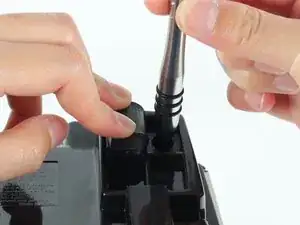
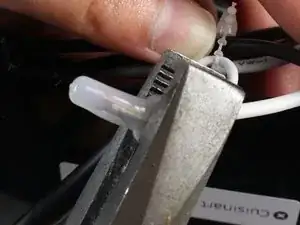
    • Use flat pliers to clamp down on the wide part of the plastic covering located at the power cord's white wire connection.

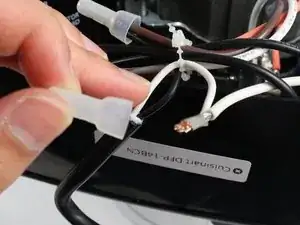
    • Pull the plastic cover off of the wire by keeping the pliers clamped down and pulling away from the wires.

    • This may require some force.

    • Repeat for the power cord's brown wire connection.

  12. EtcnJsyc5amvLQcs
    EtcnJsyc5amvLQcs
    w1lc52jYQLraIZUN
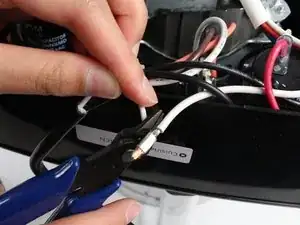
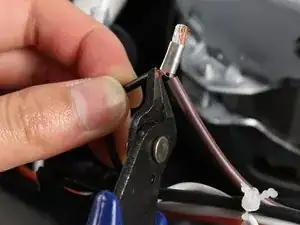
    • Use wire cutters to cut the exposed wire on the power cord's white wire. To cut the wire, position the blades of the wire cutter over the exposed wire and clamp down.

    • Repeat for the power cord's brown wire connection. This cuts off the connection between the power cord and motor.

    • Pull the power cord out. It is no longer attached to the device.

    • For reassembly, the wires will need to be soldered together. Check out this soldering guide for instructions.

Conclusion

To reassemble your device, follow these instructions in reverse order.

Vanessa See

Member since: 06/10/16

125 Reputation

0 comments