Introduction
-
-
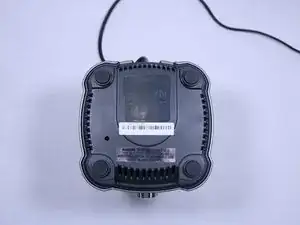
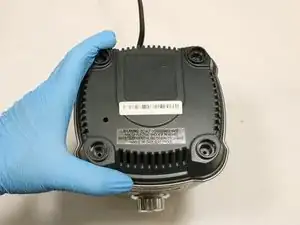
Turn the device upside down.
-
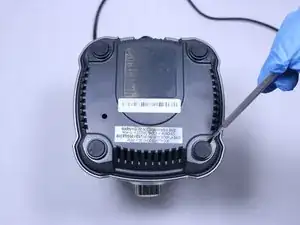
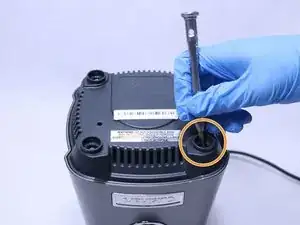
Remove all four rubber feet by prying them out using the metal spudger.
-
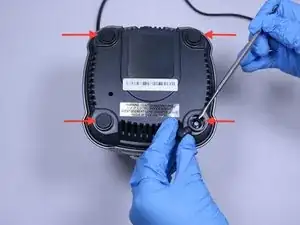
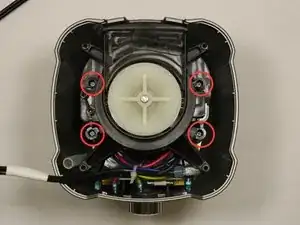
Once the rubber feet have been removed, use the Phillips #2 screwdriver to remove all four 13mm screws.
-
-
-
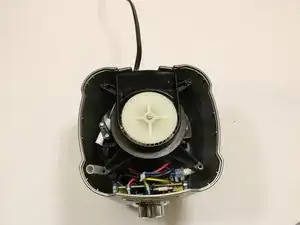
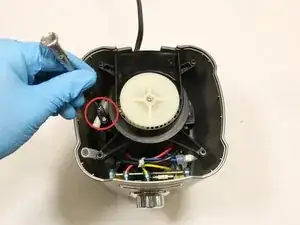
Remove the two 11mm screws securing the power cord using the Phillips #2 screwdriver.
-
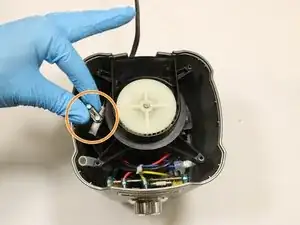
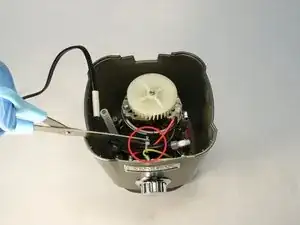
Gently move the wire aside so that it is not in the way.
-
-
-
Remove the four 13mm screws that hold the black plastic cover using the Phillips #2 screwdriver.
-
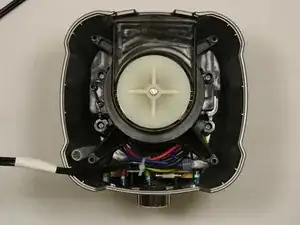
Gently remove the black cover.
-
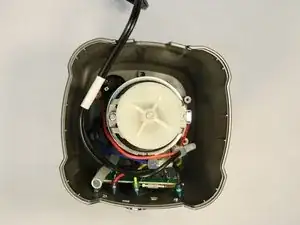
Underneath, you will see a clear plastic cover that should be removed as well.
-
Conclusion
To reassemble your device, follow these instructions in reverse order.