Introduction

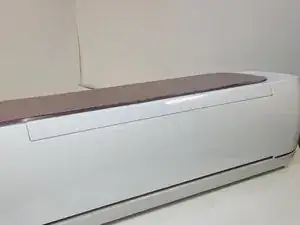
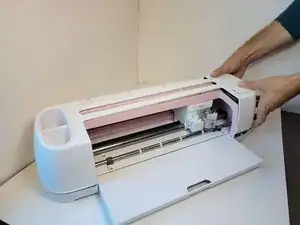
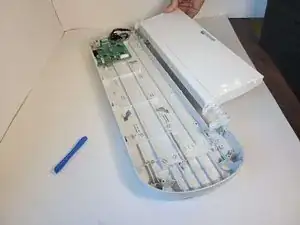
Follow this guide if you need to replace the front door of your Cricut Maker or if you need to access other parts of the device that require the door to be removed. The front door of the Cricut Maker holds the closing magnets, which close the machine entirely, keeping debris out, and your machine spic and span.

The door cannot be removed without removing the lid first. That said, if your lid is not magnetizing to the door, or your door is broken and you would like to replace it yourself, this guide is for you.

To be safe, be sure to turn off the device and unplug it from the outlet prior to beginning this repair.

  1. OdTkartWvnsJBFQW
    OdTkartWvnsJBFQW
    gMIjVPy1s3RvBvnd
    HjKjiMfZgyxtqcxZ
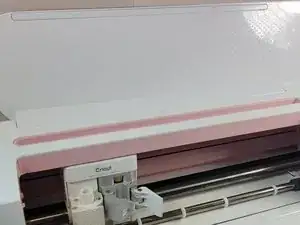
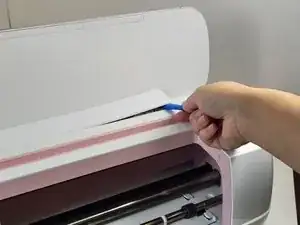
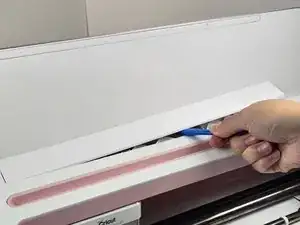
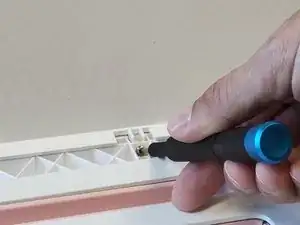
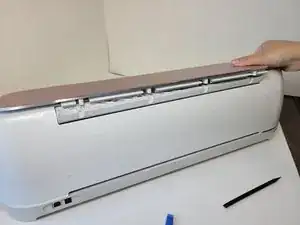
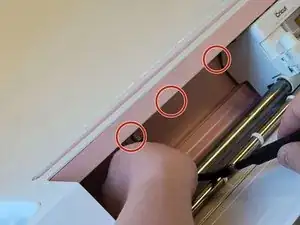
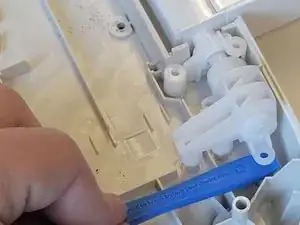
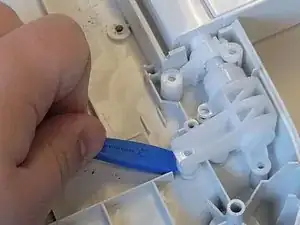
    • To remove the cover from the connecting joint, use an iFixit opening tool, and pry around the perimeter of the cover to release it.

    • Applying too much pressure to this can break it as it is very fragile.

    • There is some adhesive holding the cover, so it may take some patience and finesse to pry the cover off.

    • Remove the cover from the connecting joint and set it aside.

    The outer two attachment points of my Cricut were actually glued on, and I had to reach in with the torx driver and remove them while the strip was still on, to be able to get the lid off. On inspection, there would have been no way to lift the strip off in the way described here.

    cjberry -

  2. GjUiftAiayEeKNxn
    GjUiftAiayEeKNxn
    nDKmPPqVjZDoeFPS
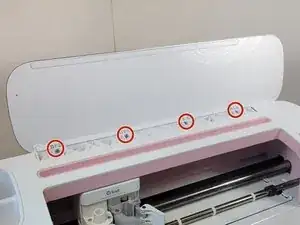
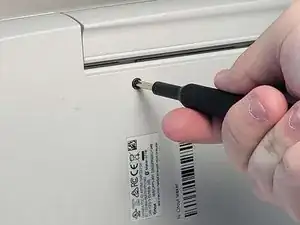
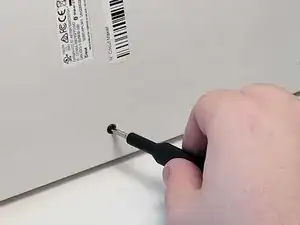
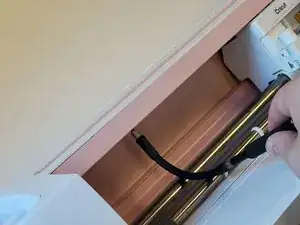
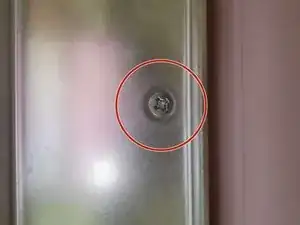
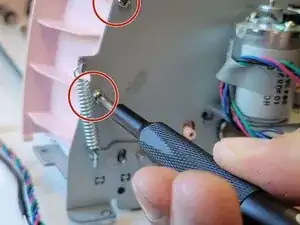
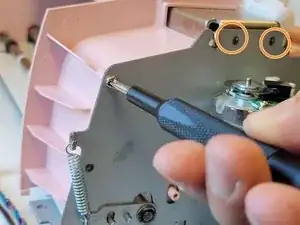
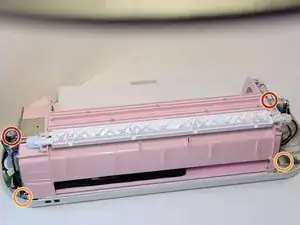
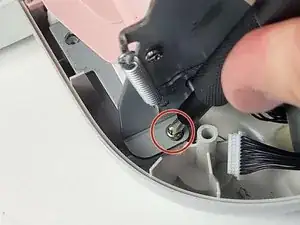
    • Remove the four, 10 mm Torx TR8 security screws holding the lid in place.

  3. bLG2I46C2HaLWIGX
    bLG2I46C2HaLWIGX
    4KVUbFjijpGJlHcL
    3UpLN2QpMjN4IAJT
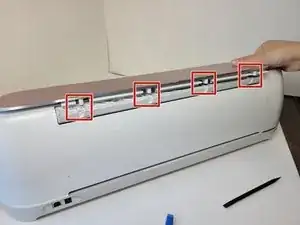
    • Turn the device around, so that the back is facing you.

    • Look for the small rectangles along the back of the device. For every two rectangles, there is one cylindrical connector in between the two.

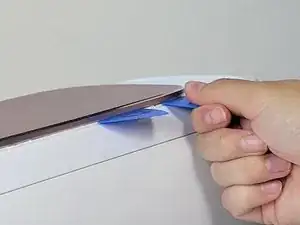
    • Wedge one or two iFixit opening picks in the seam connecting the Top Door to the device, and use the iFixit opening tool to pry upwards along the seam.

    • These actions should reveal the cylindrical connectors.

    The lid of my Cricut maker 3 was removable by pulling upwards, while the lid was still open. It slides right off. The prying approach as described in this step is unnecessary, and could break the attachment points if forced.

    Chris Schnabel -

  4. wF4EdyPKeeKYBOEe
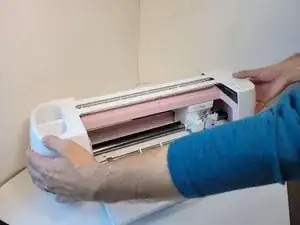
    • Press down on the lid.

    • Push the lid outwards to free it from the jointed clasps.

    Where is/are the steps to get to the point of seeing the motor? I've got the top cover off, but that doesn't reveal the motor. There are steps missing between 4 and 5.

    Patty Ellis -

    There are x7 small screws on the inside upper panel that have to be removed as well as x4 long screws under the feet of the machine.

    I had to turn on my machine and send a project to it to have the cutter mechanism move out of the way to remove some of the screws. Once all the screws have been removed the case can be pulled away, but you have to be careful when removing because there are some wires connecting the buttons on the case to the harddrive.

    Margarita Armendariz -

  5. RQFy6O3u3cuxfowb
    RQFy6O3u3cuxfowb
    hBJavjlMQGLEaaCL
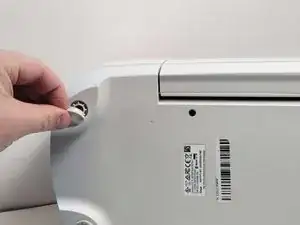
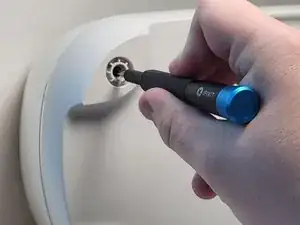
    • Using your hands or an opening tool, remove the four foot pads covering four screws.

    • Use a Phillips #1 screwdriver to remove four 41 mm screws from the feet.

  6. QigEEFMGvdueGFdQ
    QigEEFMGvdueGFdQ
    plKIUUOxfPI4OwLt
    WIFQ2leQVGFxbF1R
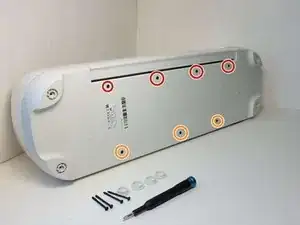
    • Remove the seven screws (Four 8.5 mm screws, and three 12.5 mm screws) on the bottom of the device, this will allow you to remove the cover later on.

    • Use a Phillips #1 screwdriver to remove the four 8.5 mm screws from the bottom of the device.

    • Use a Phillips #0 screwdriver to remove the three 12.5 mm screws.

  7. xmFJQnCGRXtRSPPi
    xmFJQnCGRXtRSPPi
    Dquq42GOppsaaCt1
    SZKugpqfJLHk4Qjk
    • Turn the device on its side.

    • To remove the seven 10 mm screws from the underside of the top of the device, use a Phillips #1 screwdriver with the flex extension.

  8. 2rST3uBMugfrVmP1
    2rST3uBMugfrVmP1
    xDmymibyGdi1OJgv
    PxVRCIaMFLWTsJba
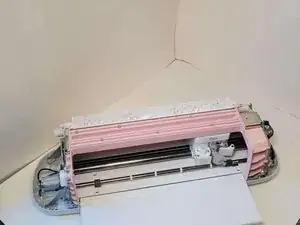
    • Lift the top case off of the base of the device.

    • After removing this cover, the internals of the device will be exposed.

  9. rRVwFdkOmAFSZVIf
    rRVwFdkOmAFSZVIf
    FZc5cuDPLWMYfBl4
    • Use a Phillips #1 screwdriver to remove four 10 mm screws on the side of the device next to the motors.

    • Use a Phillips #1 screwdriver to remove the two 22 mm screws.

  10. 5GyCB4xntDmXx3Fx
    5GyCB4xntDmXx3Fx
    luTpbK5pMBSBjHB2
    DTWGEwYUWnTY4mUL
    • Use a Phillips #1 screwdriver to remove two 10 mm screws. These are parallel to one another, one on either side of the machine.

    • Use a Phillips #1 screwdriver to remove two 8mm screws, these are also directly parallel to one another on either side of the machine.

    Note the empty screw hole in the second photo, on the front, just beneath the plastic fin.

    How was this removed without damaging the fin?
    Hint: Since we've already removed the screws holding the right side cover in Step 9, the cover could be moved inward, providing access to that screw, IF we had already removed the lid attachment/hinge mechanism and rear inside cover.

    JCinGG -

  11. NALjMrpFANcjFD3Q
    NALjMrpFANcjFD3Q
    2Gov1KuBXPtcKqFR
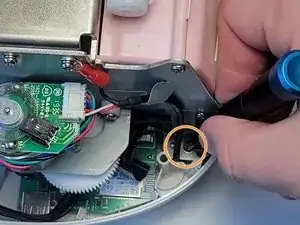
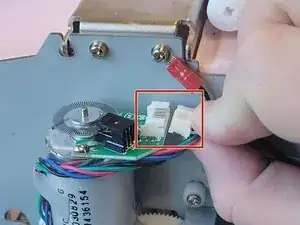
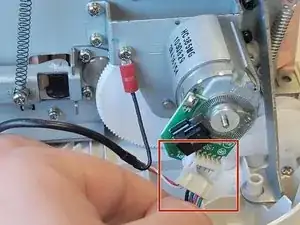
    • Unplug the bundled connector from the motor on both sides of the machine. To to avoid damage, coax the connector out of the socket gently using a spudger.

  12. oRdYr1MKYjkWqtPl
    oRdYr1MKYjkWqtPl
    mwgulNfG6TAvn6tO
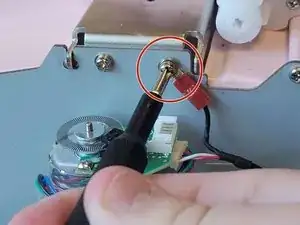
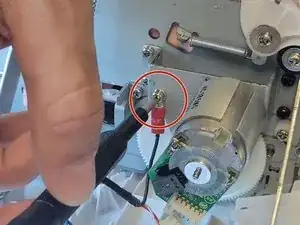
    • Using a Phillips #1 screwdriver, remove one 10 mm screw from both sides of the machine. This will release wires that are screwed into the sides of device.

    • Once the screws are removed and wires detached, the main body can be lifted off the base, and set aside.

  13. KNeAVgclbJMycIah
    KNeAVgclbJMycIah
    rPtNXxMiiawfluNX
    Gk5NcfIRjyYEyPoM
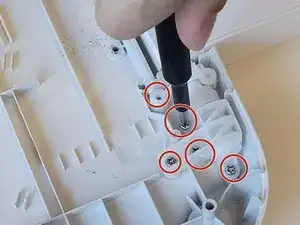
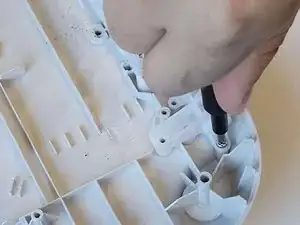
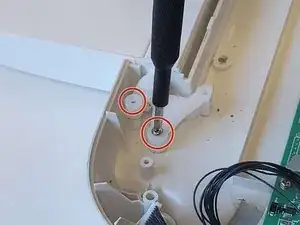
    • Remove a total of seven 10 mm screws from the underside of the door.

    • One side of the base has two 10mm screws.

    • The other side of the base has five 10 mm screws.

    Why is this step here, and not a step to remove the lid attachment hinge mechanism and rear inside cover?
    It is not necessary to remove the front door for this procedure.

    JCinGG -

  14. yVMndEQg3yf3vYEg
    yVMndEQg3yf3vYEg
    3sjGNRiWHP4kuUqA
    VsVZOhLYfwPOFkCR
    • Pry the door from hinges using an iFixit opening tool.

    • Lift upwards and towards you, to remove the door from the hinges.

Conclusion

To reassemble your device, follow these instructions in reverse order.
Devyn White

Member since: 20/09/22

999 Reputation

0 comments