Introduction

  1. gH3ICklAP6dQaUgL
    gH3ICklAP6dQaUgL
    2CF5nSSapEjF4Jjg
    Z4idUdNaTnqdul2f
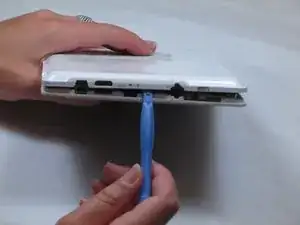
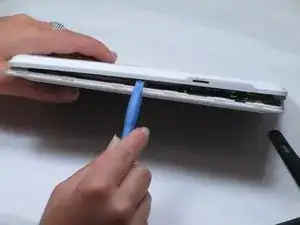
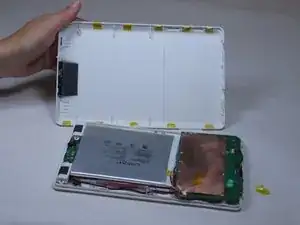
    • Remove the back panel by using the plastic opening tool to carefully pry around the panel's edges.

    • The volume control button and the top power button may fall out during this step.

  2. IYpta65MS6AVJgFi
    IYpta65MS6AVJgFi
    QqX4RKCHtiIaIor5
    TNLBpk2K2b1sOM24
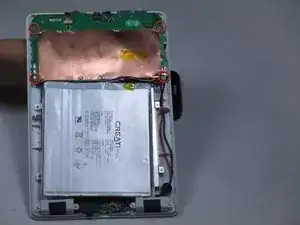
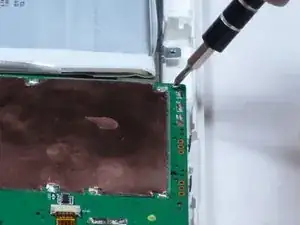
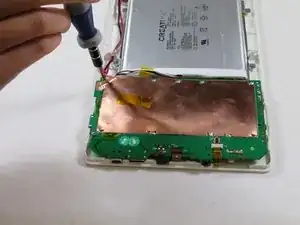
    • Unscrew the four 3mm Phillips #00 screws found in each corner of the motherboard.

  3. rE5xSxVioYUQwWbj
    rE5xSxVioYUQwWbj
    MmmPMtnXZKk5Qrdn
    QEvUYkHOGGbhgcKe
    • Unplug the ribbon cable near the edge of the motherboard in the bottom right of the device.

  4. 4LMoHl6CrRpJPngF
    4LMoHl6CrRpJPngF
    GwgOfAA4oUU3acdi
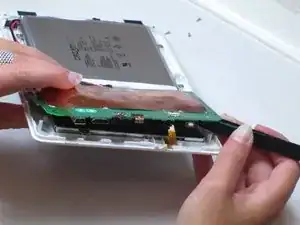
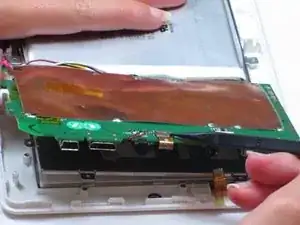
    • Lift up the motherboard.

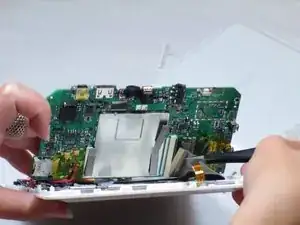
    • A mesh-like strip on the right side will be connected to the bottom of the motherboard.

    • Remove the tape on top of the strip. Use tweezers or pliers to pull on the strip and unplug it.

  5. 3RSYyKyDomfSfgSq
    3RSYyKyDomfSfgSq
    OcTbKvlSKuTiIQfY
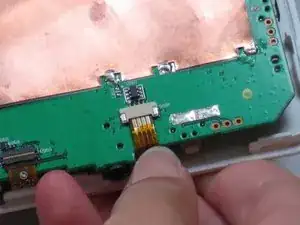
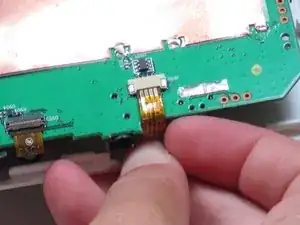
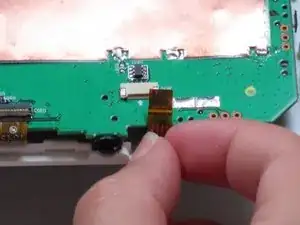
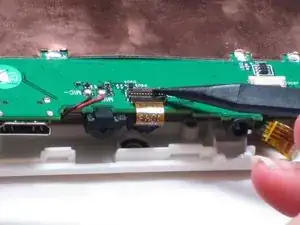
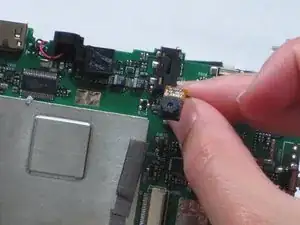
    • Lift up the motherboard and locate the ribbon cable (burnt orange-colored strip) centered on top of the motherboard.

    • The ribbon cable with the attached camera is plugged into the motherboard.

    • Unplug the ribbon cable using your fingers to pull up on the flap.

  6. rKyJvYv2tuA3eFCi
    rKyJvYv2tuA3eFCi
    rC3iKtmPp1Yy5KQ1
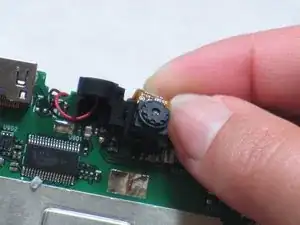
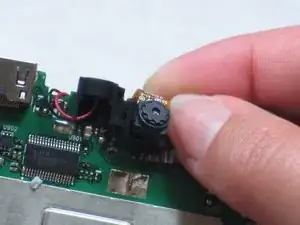
    • Use a spudger to pry the camera away from the rubber camera mount.

    • Do not remove the entire rubber camera mount. Only remove the camera attached with adhesive.

    • Remove the broken camera and use electronic-friendly adhesive to attach a new camera.

Conclusion

To reassemble your device, follow these instructions in reverse order.
Kendall Ruggles

Member since: 17/04/13

26 Reputation

0 comments