Introduction
This guide is a prerequisite for all the Creative Zen Vision M replacement guide. Tools needed are: pointed plastic tool, 1mm Phillips head screwdriver, and a flat edged plastic tool
Tools
-
-
Working on your device while it is turned on may result in damage to yourself or the device. Make sure it is turned off and unplugged.
-
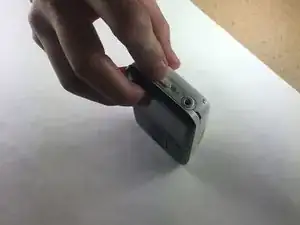
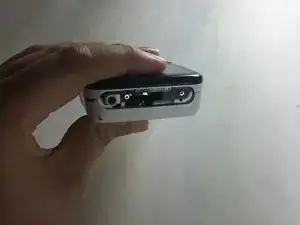
To begin, push the switch at the top of your device to ensure that it is turned off.
-
-
-
To remove the power switch cover: Use a pointed plastic tool
-
Insert the tool into the cavity that has a power symbol and pop it off, pushing upwards. Be careful to not fling it across the room!
-
Hint: use your tool as a lever to pry the device cavity open.
-
-
-
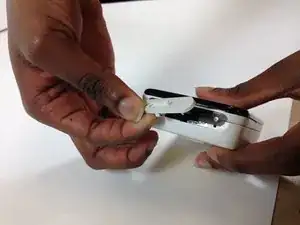
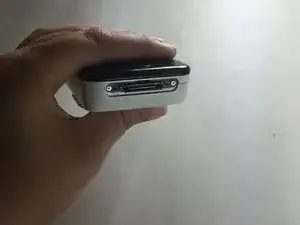
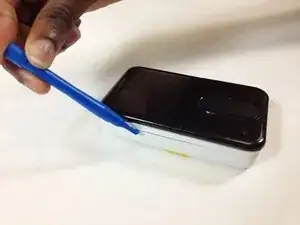
To remove the charging cover:
-
Remove the cover on the bottom of the device. Insert the plastic tool in the edge of the charging cover and pry it off.
-
-
-
Remove 4 screws total: 2 at the top of device and 2 at the bottom. These keep the two covers connected to the device.
-
In order to remove screws you will need a 1 millimeter Phillips head screwdriver. Place the screwdriver into the head of the screw and twist to the left.
-
The screws are very small, so be sure to keep them in a secure place.
-
-
-
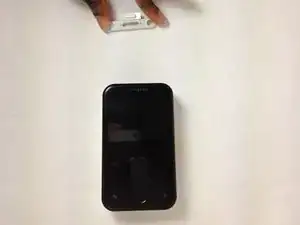
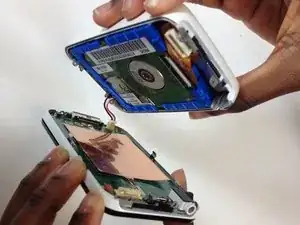
To remove and separate the screen from the back of the device:
-
Use a flat edged tool to pry around the edge of your device. Place your flat edged tool between the edges around the screen. Gently lift up and your screen will separate from the top half.
-
The bottom half will still be connected by 3 wires to the top half, so do not disconnect (yet) or break the wires.
-

To reassemble your device, follow these instructions in reverse order.