Introduction
This guide will demonstrate how to replace a faulty battery. Tools needed are: 1mm Phillips head screwdriver and a blunt flat edged tool (a plastic card will work). Keep in mind that since the Creative Zen Vision M was released in 2005, and now discontinued, you may have difficulty purchasing a new battery.
-
-
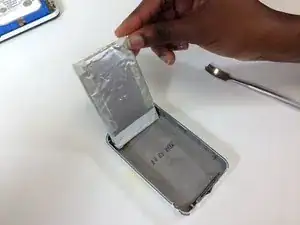
Pop off the top plastic on the device with a flat tool like a flathead screwdriver.
-
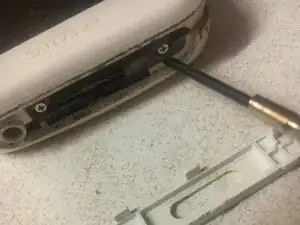
Unscrew and remove the two exposed Phillips head screws
-
-
-
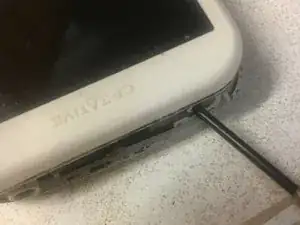
Work your way around the recess of the device with a flat tool like a flathead screwdriver.
-
Don't try attempt to open it from the recess between the buttons and the device.
-
-
-
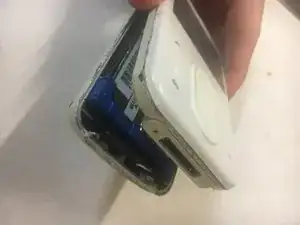
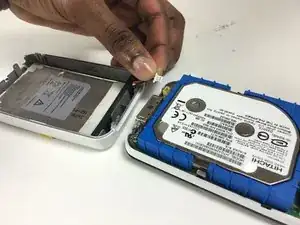
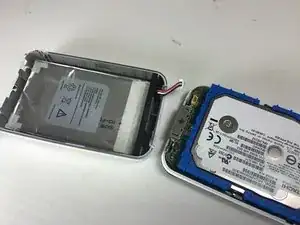
To detach wires from the screen, gently tug on the wires connected to the battery. They are located on the bottom half of the screen.
-
-
-
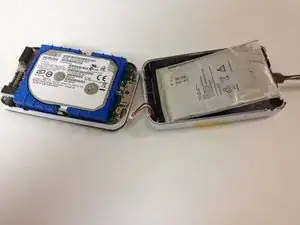
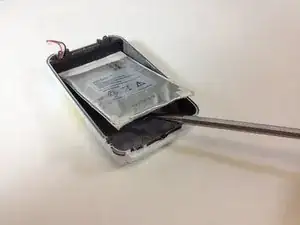
To begin removing the battery, move the wires out from under the black foam at the bottom of the device
-


To reassemble your device, follow these instructions in reverse order.
One comment
Step 1 does not mention that the bottom cover needs to also be removed to access two more screws. Make note of the screw lengths and where they come from.. Two are shorter.
Caution! Some models have two screws at the dock connector end also. Don’t ask me how I know…
Des Sheppard -