Introduction
If your mouse suddenly stops charging when it shouldn’t, it could be that the battery got disconnected. To make sure that's the case, you can check various things. First, you can clean the charging port with alcohol, and try to charge it again. If it still doesn't charge, you probably need to check inside, pressumably you have also made sure that the charger you used for this test works.
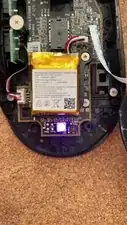
In my case, the battery on this mouse somehow got disconnected. I think it might have been the result of carelessly carrying it around in my backpack. In any case, the problem can be easily fixed.
-
-
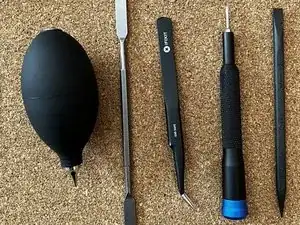
You will need a dust blower, a metal spudger, tweezers, a torx T6 screwdriver and a plastic spudger
-
-
-
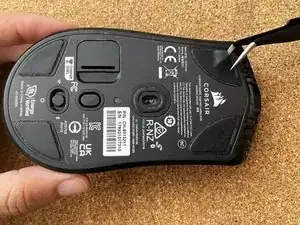
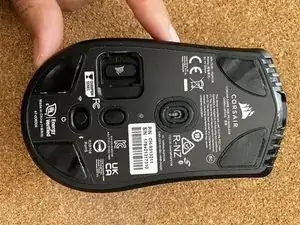
Use the tweezers to remove the mouse feet stickers at the bottom. And only those. (apologies for the confusing picture, you don't need to remove the top ones)
-
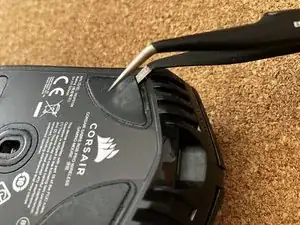
Do it carefully and try to make sure you have gotten a hold of the 2 layered sticker.
-
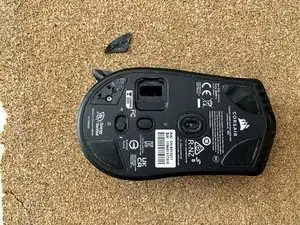
One of mine broke
-
You should see one screw on each side once this is done
-
Remove both screws with a torx T6 screwdriver
-
-
-
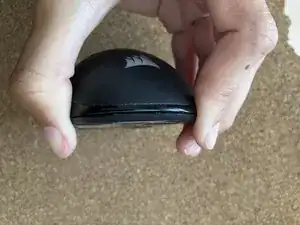
Grab the mouse on both sides and push with your fingers so that the case reveals a small gap
-
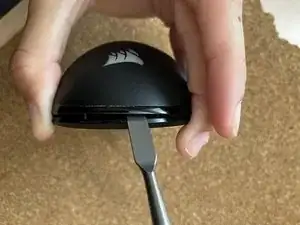
Insert the metallic spudger at the back (see pic 2) and slide it along the edge of the case.
-
Don’t insert it too much (see pic 3) there are components on the way
-
You also need to insert the spudger at the front. As pic 3 shows, there are two plastic pins holding the case in place at the front. (See the markers)
-
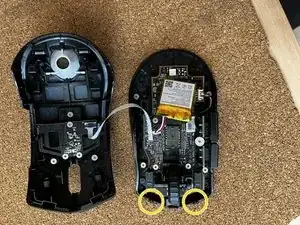
that should open the mouse.
-
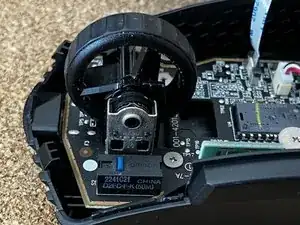
Be careful with the cable connecting the click buttons to the motherboard! (See pic 3)
-
-
-
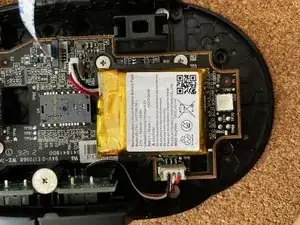
Now that you are inside, go ahead and blow all the dust and particles off, especially around the scrolling wheel. Scrolling wheels catch a lot of dust, hairs, and dirt. Besides you probably won’t be coming back here any time soon. So, use this opportunity to clean it.
-
-
-
It works, it’s clean, and it’s ready. It’s time to put it back together. Work back through the steps.
-
The stickers won’t look good as new unless you do a much better job than me when replacing them (shouldn’t be difficult). In any case, if that happens and it bothers you, you can use the old ones to cut to shape any other stickers you like, even with felt, and replace them.
-
To reassemble your device, follow these instructions in reverse order.

One comment
Could you please let me know where I can buy the battery for Sabre wireless ?
배정진 -