Introduction

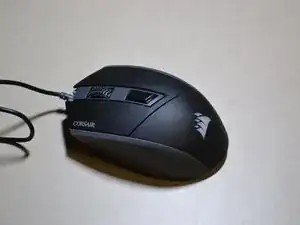
If the optical sensor on the bottom of your Corsair Katar mouse is not operating correctly, this guide will show you how to replace it.

  1. Gomf6h1ntJAswYs6
    Gomf6h1ntJAswYs6
    DH4TgqdDULXjmsFA
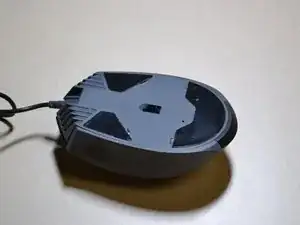
    • Unplug your mouse before starting.

    • Flip the mouse over so the bottom is facing up.

  2. sAPDavweVwYGGRWp
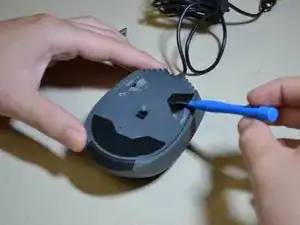
    • Remove the three skates on the bottom of the mouse using the plastic opening tools.

    • Skates will be very sticky.

  3. L2sCyOVNb6wQ2xMZ
    L2sCyOVNb6wQ2xMZ
    VZ3siD2owmXEs5oE
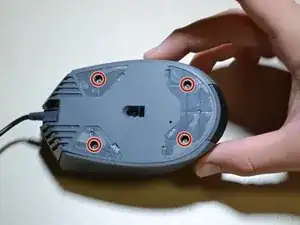
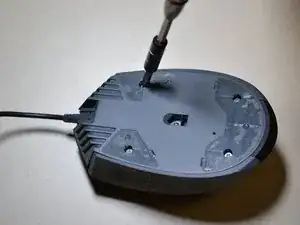
    • Use the JIS 0 screwdriver to remove the four 5 mm screws on the bottom of the mouse.

  4. OpMQYwOdujvupbiW
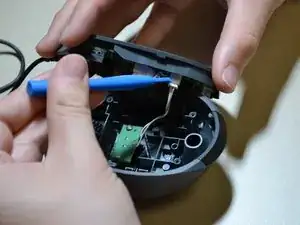
    • Detach the bottom of the mouse from the upper shell.

    • Remove the shell slowly so as not to damage the white DPI cable inside the mouse.

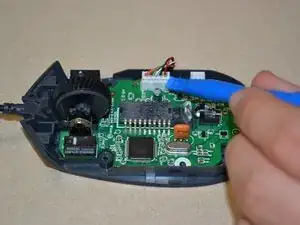
    • Use the plastic opening tool to detach the white DPI sensor cable from its port.

    • Alternatively, you can use your hand to remove the DPI sensor cable by wiggling it out of the port.

  5. VvKaVXRMDIxHtPyM
    VvKaVXRMDIxHtPyM
    6hFsXVbt143pi3FU
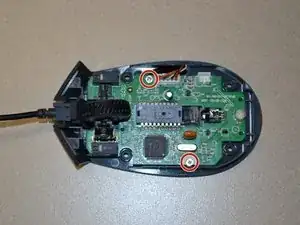
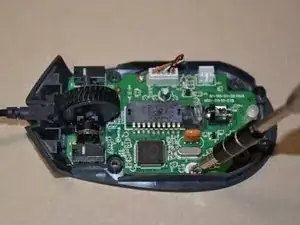
    • Use the JIS 0 screwdriver to remove the two 5mm screws on the motherboard.

  6. YKOO14MQfaZbt4J3
    • Use the plastic opening tool to pry the white cable jack away from the motherboard.

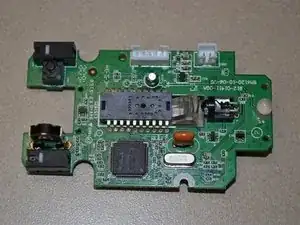
    • Lift the motherboard away from the bottom of the mouse.

  7. QHhKtFJLtBYLgVkJ
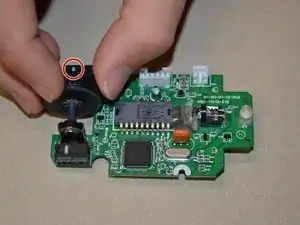
    • Push the scroll wheel to the right side of the motherboard as shown, then pull it away from the board to remove.

  8. gLSSi1FWLb5eHnLL
    gLSSi1FWLb5eHnLL
    UN1XDgUXuOF2oX4y
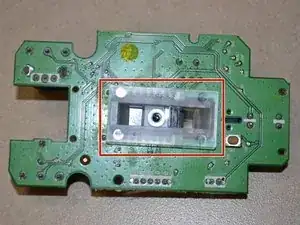
    • Flip the motherboard over and remove the clear plastic cover from the bottom of the board.

  9. SENviYVhUoLFEsJl
    SENviYVhUoLFEsJl
    Rfvk1dmP16IVxEEw
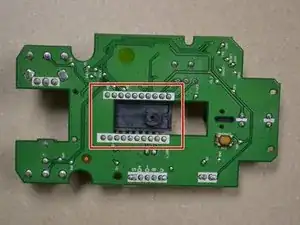
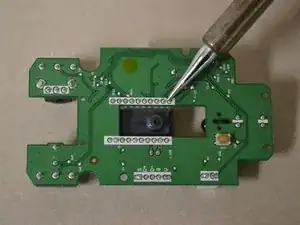
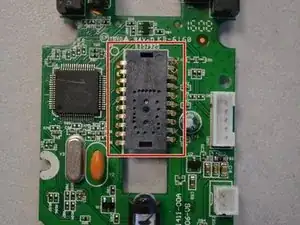
    • Desolder the 20 connecting pins to remove the optical sensor.

Conclusion

To reassemble your device, follow these instructions in reverse order.
Margaret Loughren

Member since: 12/07/18

594 Reputation

0 comments