Introduction
Tools
-
-
First make sure the camera is powered off.
-
Use the Hex and PH000 tool to remove the 2 mm screw from the left side of the camera.
-
Next remove the 2 mm screw from the right side of the camera.
-
-
-
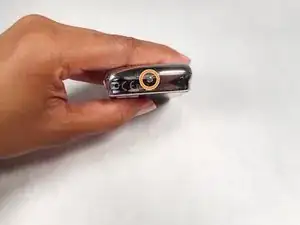
Remove the 3mm screw from the bottom of the camera.
-
Once you have the 2mm and 3mm screws out, gently pull the sides up with the smallest plastic opening tool. This will reveal the inside of the camera.
-
-
-
On the bottom of the camera, locate the USB port.
-
Gently slide the USB cover off of the camera with your fingers or tweezers.
-
You can replace the USB cover by purchasing one from a local electronics store or online at iFixit.com.
-
Conclusion
To reassemble your device, follow these instructions in reverse order.


