Introduction
Capacitors are electronic components found in almost every device containing a circuit board. Large capacitors can store enough charge to cause injuries, so they must be discharged properly.
This guide will show you how to make a simple resistor-based capacitor discharge tool.
Tools
Parts
-
-
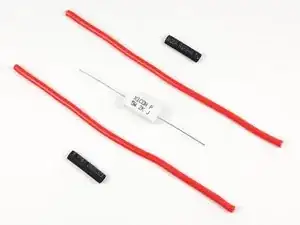
To construct a capacitor discharge tool, first gather the necessary materials. These include:
-
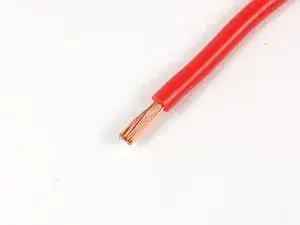
Two lengths of wire. Minimum wire requirements is 12AWG, 600 volt rating for large electrolytic capacitors used in power supplies, electric motor start circuits and camera flash circuitry
-
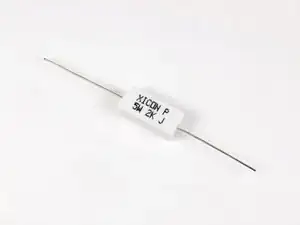
A resistor rated to dissipate the amount of thermal energy created when discharging the capacitor. Minimum requirements for resistor is 2k OHM 5w for small capacitors, 20k OHM 5w for large electrolytic capacitors used in power supplies, electric motor start circuits and camera flash circuitry.
-
Shrink tubing
-
-
-
Next, trim both of the leads leaving the resistor to match the length of insulation stripped off the wires in the previous step.
-
-
-
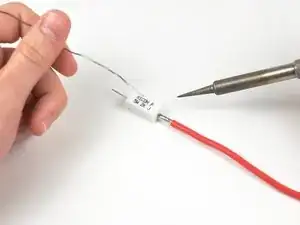
Join the lead leaving the resistor to the stripped end of the wire by twisting the two together.
-
Solder the wire to the resistor.
-
-
-
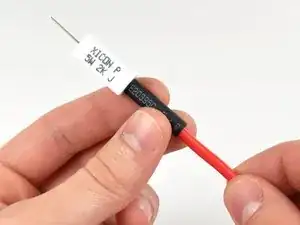
Slide a section of shrink tubing up the wire, making sure to completely cover up the solder joint and any exposed wire.
-
Use a heat gun or lighter to shrink the tubing over the joint, making sure it is positioned to cover all exposed wire.
-
-
-
Repeat the above process for the other side of the resistor.
-
To complete the discharge tool, strip the ends of the wires.
-
11 comments
thank you !!! :)
This article is by far the best I've read. I have made these in the past and had to get past the amount of words used to describe what needed to be done with what. This article is straight to the point and the tips ( using alligator clip ) are excellent.
I get the basics and can build something more to fit my needs, with what you have instructed
