Introduction
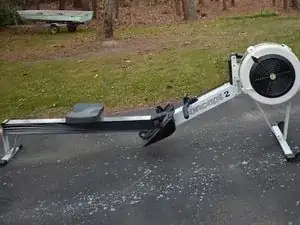
If your Concept2 rowing machine isn’t operating as smooth as it used to, it may be time to replace the chain. Replacing the chain on your rowing machine is a relatively simple process and necessary for maintaining your Concept2 machine. Neglecting this maintenance can lead to rust buildup and avoidable damage to other interior parts of your machine.
This guide details the chain replacement of a Model C/D/E Concept2 Rowing Machine. Steps 1 through 7 explain how to properly remove the damaged chain from a rowing machine while steps 8 though 14 detail reassembly.
This guide requires an adjustable wrench and phillips head screwdriver. The replacement parts and tools required for this guide can be purchased on Amazon.
Due to the size and weight of the average rowing machine, it may be in your best interest to find assistance in moving the machine. A majority of the steps in this guide require the machine to be positioned upside down to access the chain and necessary components. To prevent damage to the fan, the machine must be placed down gentle. Working in a wide open space or outdoors is likely in your best interest.
Parts
-
-
Separate the front end of your rower from the seat portion by lifting up the handle in the center.
-
Set aside the seat portion of your rower.
-
-
-
Turn the front portion of your rower upside down so that the protective covering is facing upwards.
-
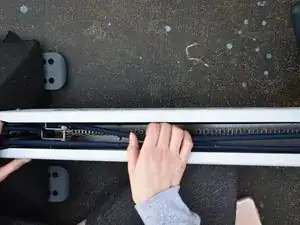
Gently slide the protective covering out through the end next to the feet straps.
-
-
-
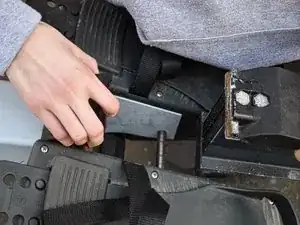
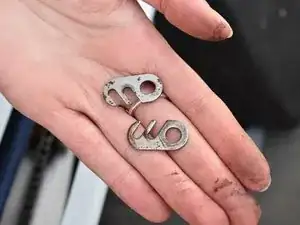
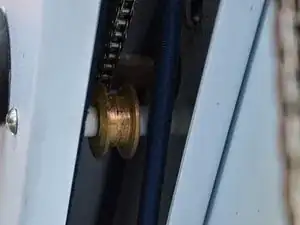
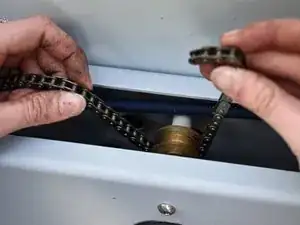
Unhook the S.C.A.M. clip from the axel at the end of the rower near the foot straps. This clip is attached to the pulley that runs through the body of the machine.
-
-
-
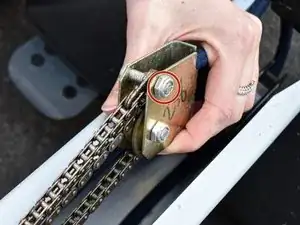
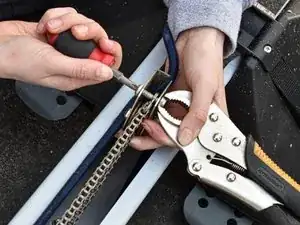
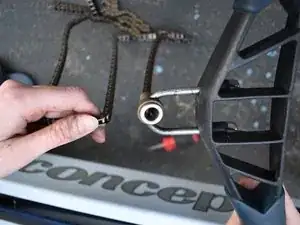
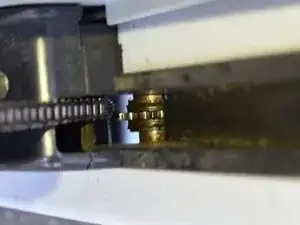
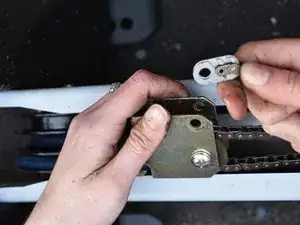
Using an adjustable wrench and Phillips #00 screwdriver, unscrew the top 31.75 mm (1-1/4") Phillips pan head screw from the metal component at the end of your machine near the foot straps.
-
-
-
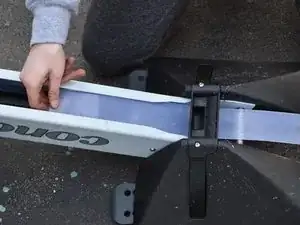
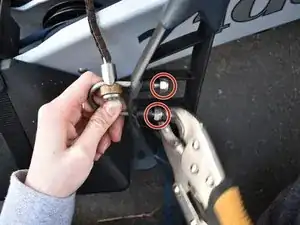
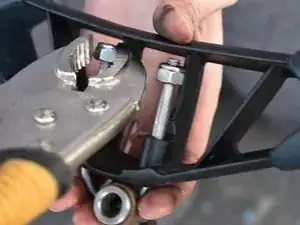
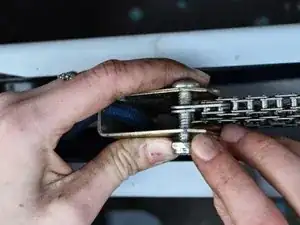
Use an adjustable wrench to remove nuts from the U-bolt.
-
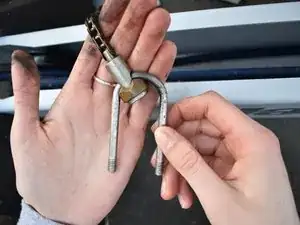
Remove the U-bolt from the chain.
-
The following steps detail the reassembly of your rowing machine.
-
-
-
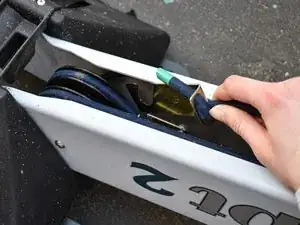
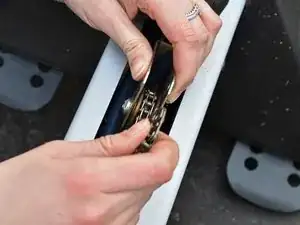
Slide the U-bolt through the end of the new chain and reattach to the handle using an adjustable wrench.
-
-
-
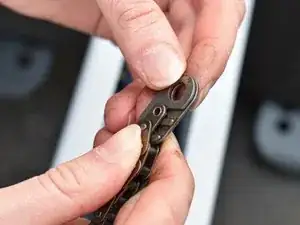
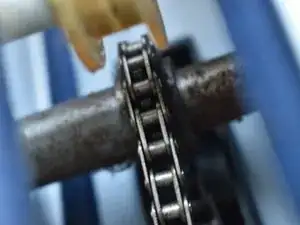
Guide the new chain around the metal bore at the end near the foot straps.
-
Reattach the two clips from step 5 to the end of your chain and secure back to the metal box component.
-


To reassemble your device, follow these instructions in reverse order.