Introduction

  1. YEGpddQJaJKUOLLf
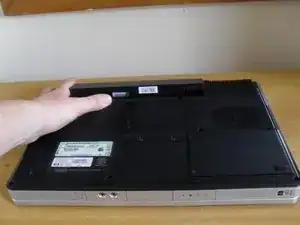
    • Remove the battery before starting

  2. GdgQOBNcyQQvndgr
    GdgQOBNcyQQvndgr
    POW4Xw2OMXoZLKqH
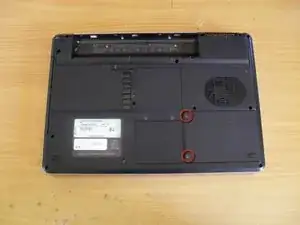
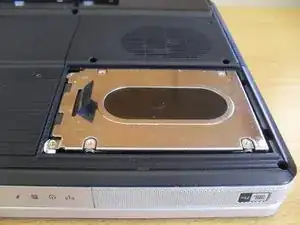
    • Loosen the two screw for the hard drive cover

    • The screws will stay attached the the cover

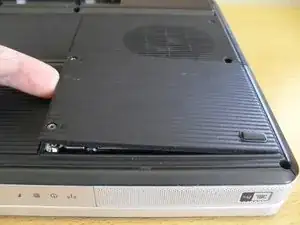
    • Lift the cover from the left side and remove

  3. Lx3y6LYm2xQJZhvA
    Lx3y6LYm2xQJZhvA
    j2HZfSUlAkeqMHlv
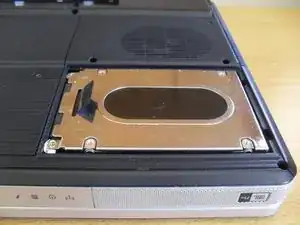
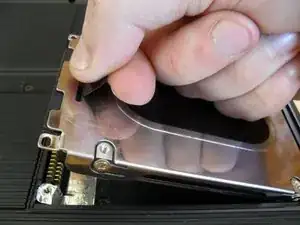
    • Lift the black pull tab on the hard drive

    • Lift the drive straight up out of the laptop

  4. SyDEMCxyaJUPI63Y
    SyDEMCxyaJUPI63Y
    QVMoNhdDBPNa1Ows
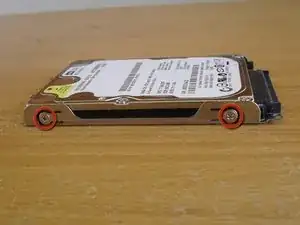
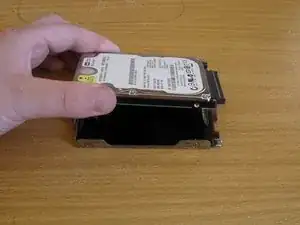
    • Remove the four screws on the sides of the drive (two on each side)

    • Remove the hard drive from the caddy

  5. WgG2Bwx6nOShl4Z2
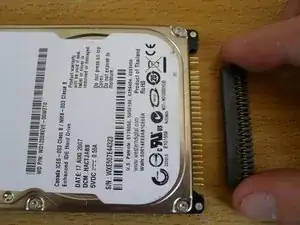
    • Pull the IDE connecter straight off the drive

    • Be sure to pull the connecter off straight so as not to bend the hard drive IDE pins

Conclusion

To reassemble your device, follow these instructions in reverse order.

Andrew

Member since: 09/05/10

1311 Reputation

One comment

Perfect instructions....easy directions even for a computer dunce like me...
John Platania -