Introduction

  1. pWOkOdLdReBNRboY
    pWOkOdLdReBNRboY
    Ska6ySMX5tHArfAT
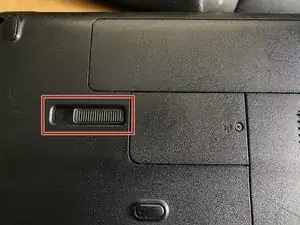
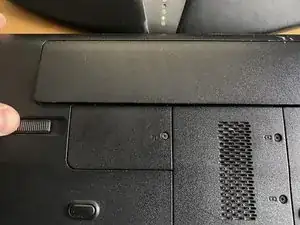
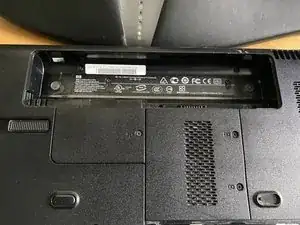
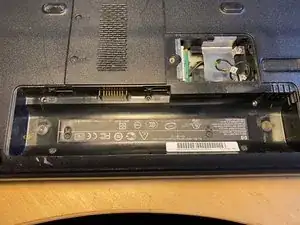
    • Slide battery latch to left

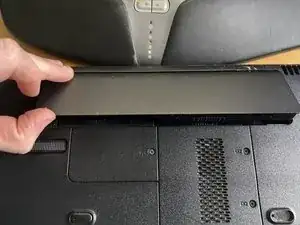
    • Simultaneously lift battery

  2. XsS5MmNVdwouR2wk
    XsS5MmNVdwouR2wk
    WnqbY1Zac1xSRGIZ
    NgSyjthoiXp5dZPh
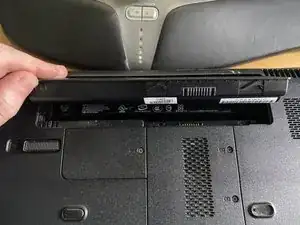
    • Lift and remove battery

  3. lAZDOlkPoTtRcPLD
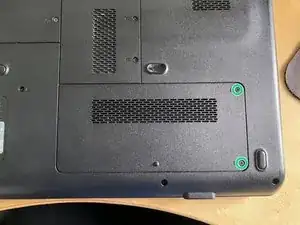
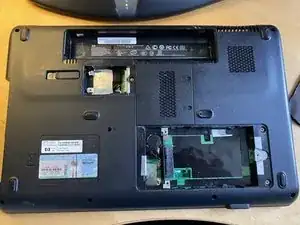
    • Loosen 2 phillips screws

    • Lift and remove cover

  4. owcTGISCviWD4JmF
    owcTGISCviWD4JmF
    TduDSJtorCJr3hdI
    rrQnEBIiKEfMsIs1
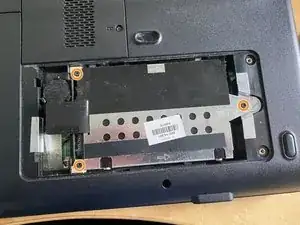
    • Remove 3 M2.5x4mm screws

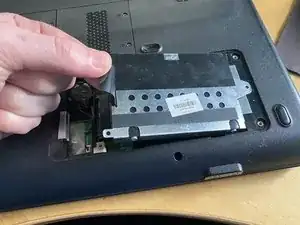
    • Slide caddy forwards

    • Lift tab to remove caddy

  5. TNXEtTtO4lUXteL3
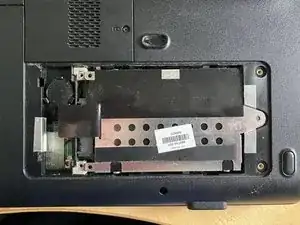
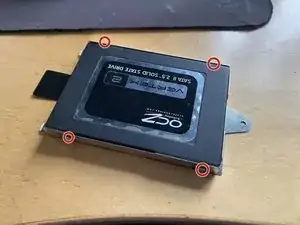
    • Remove 4 phillips screws to remove drive from caddy

  6. 1cyTfwvVQ336ZcBQ
    1cyTfwvVQ336ZcBQ
    byQhtaNjbl2hckFj
    • Remove 3x M2.5x4mm

  7. kQFiIEqQsmrMlDGu
    kQFiIEqQsmrMlDGu
    xJjjC3vr2ins6JeG
    HWqXraAXlCENGXgJ
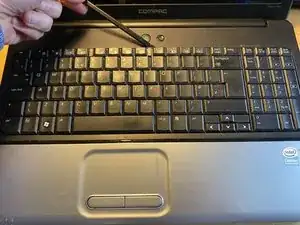
    • Lift the keyboard in the middle with a spudger

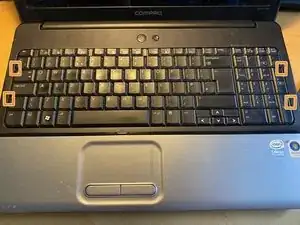
    • Remove 4 clips by bending keyboard in middle, do not force the clips at the sides

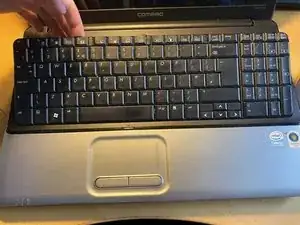
    • Do not remove the keyboard fully, it is attached via a ribbon cable

  8. AmAxFUVBSBiDoG3B
    AmAxFUVBSBiDoG3B
    oED5QGGtxu26KcAV
    jmLFbHjZcQl3i2Tb
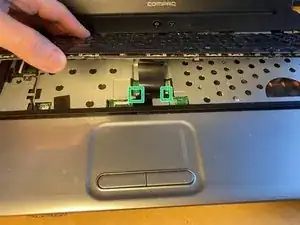
    • Lift keyboard slightly

    • Push each side of ribbon cable connector

    • Fully remove keyboard

  9. TsTxCrO5o4Qwj3lb
    TsTxCrO5o4Qwj3lb
    Z3SSnvIcJOsctG1o
    aSO64ZLIKLKxND1p
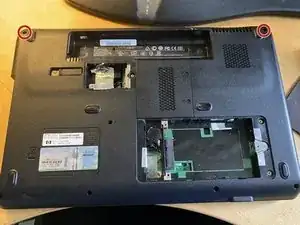
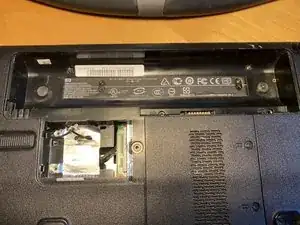
    • Remove 2x Phillips M2.5x8mm screws from under the display

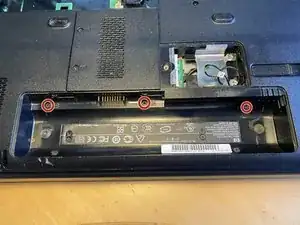
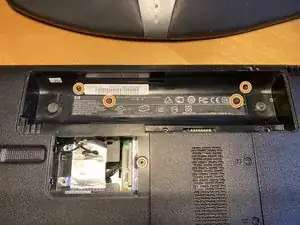
    • Remove 4x Phillips M2x2.8mm screws from the battery compartment

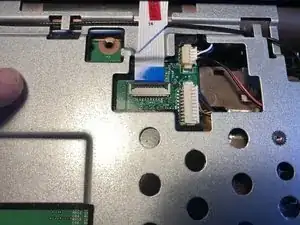
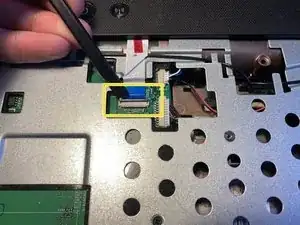
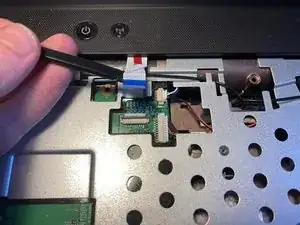
  10. nlyOsmZZYXoLXtI3
    nlyOsmZZYXoLXtI3
    tmKCjcpgiCW3rX34
    Ck2f1HnKgFmHW6lw
    • Turn over the laptop

    • Use a spudger to lift the ribbon cable hinged clip

    • Pull the ribbon cable out of the connector

  11. 4OO3jetDAQx3Tk6q
    4OO3jetDAQx3Tk6q
    UYsEOYOMYKWscaWF
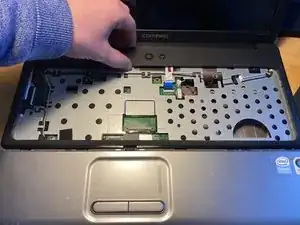
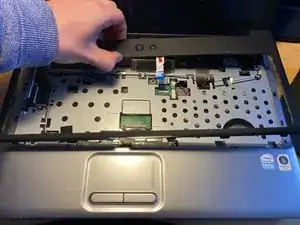
    • Lifting the bezel by the screen

    • Slide the bezel back towards the screen to release it from the clips

  12. AojPNre2DscHBg2d
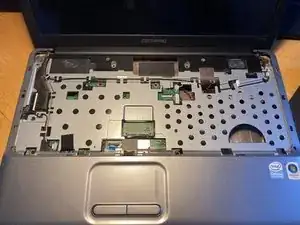
    • Fully remove bezel

  13. KIXYFIKVbD2tLFvH
    KIXYFIKVbD2tLFvH
    yGPsd3NlJ5m5rCJT
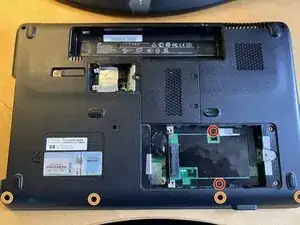
    • Remove 4x #1 Phillips M2.5x8mm screws from the bottom case

    • Remove 2x #0 Phillips M2x4mm screws from hard drive bay

  14. Hbg4jiqPXeOxEgWk
    Hbg4jiqPXeOxEgWk
    BqPYiVMV4NLxYCNI
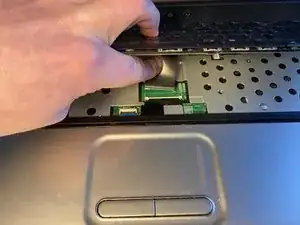
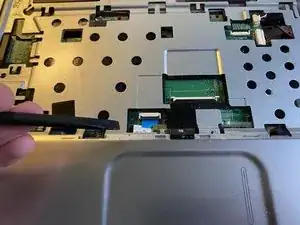
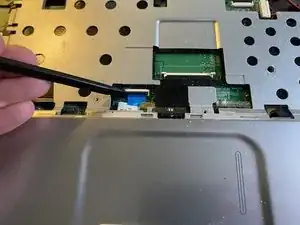
    • Using a spudger lift the mouse ribbon cabe latch

    • Do not remove yet

  15. RYTNHKK6d1WyHKbd
    RYTNHKK6d1WyHKbd
    cBRE4pBH1iTKUgLo
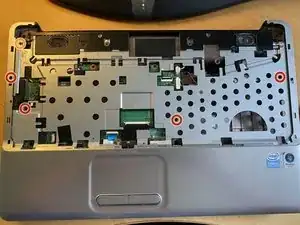
    • Remove 4x #1 Phillips M2x5mm

    • Remove 1x #0 Phillips M2x2.6

  16. x1I22TE4ivCn2lTR
    x1I22TE4ivCn2lTR
    SNRYRKJQOqbmwq4E
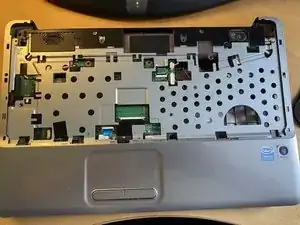
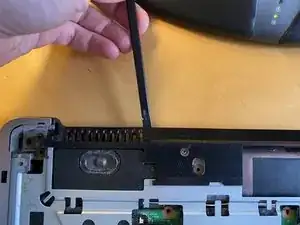
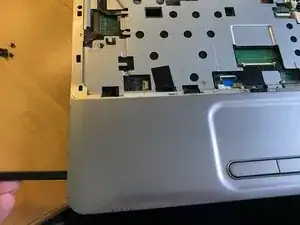
    • Starting at the edge by the screen, use a spudger to unclip the top case

    • Work around both sides and finish with the touchpad

  17. HSmMFQANFOZRyDNV
    HSmMFQANFOZRyDNV
    cTRiHS6ZoCS6cXJL
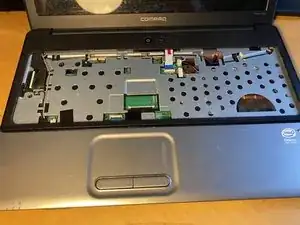
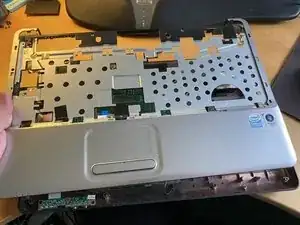
    • Lift top base off of laptop, being careful to disconnect the touchpad ribbon cable

  18. N3k3MOnqstToUlIt
    N3k3MOnqstToUlIt
    bPtYRN6VNjhRGE5N
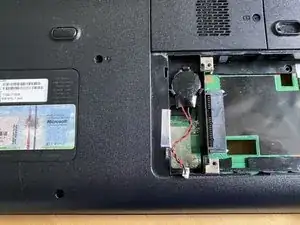
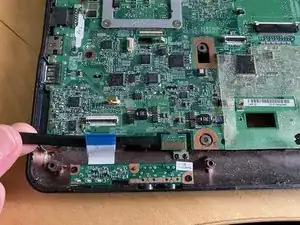
    • Disconnect CMOS battery backup connector from bottom of laptop

  19. KoXFWiPWvOJD6Jje
    KoXFWiPWvOJD6Jje
    M2CFrE6fG3moUHOs
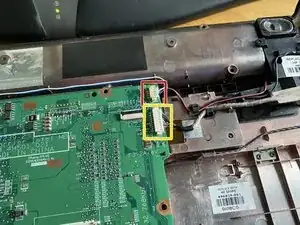
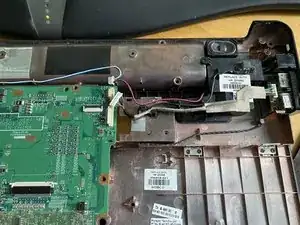
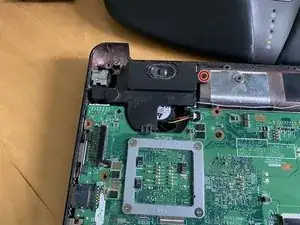
    • Disconnect speaker connector. This connector is easy to break, there are 2 tabs on the bottom that need to be lifted slightly to remove. Use a spudger carefully under the connector to lift slightly and pull gently on the wires all together to remove.

    • Disconnect the USB connector

  20. iYtMxVNf5bhFrJBb
    iYtMxVNf5bhFrJBb
    rVIBM6gqgFqSC1io
    • Remove 2x #1 Phillips M2.5x4.5mm screws holding the optical drive connector

    • Remove the modem port connector

  21. vfAdTjKebAHYBWR3
    vfAdTjKebAHYBWR3
    sIF1JHvvO41SHloc
    4OXDgCS2htC4UJTt
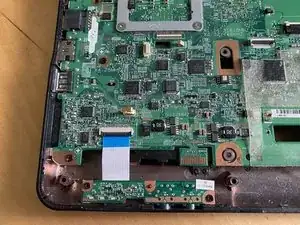
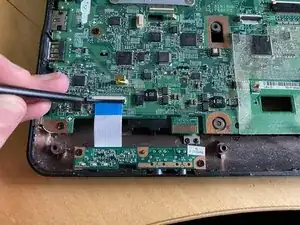
    • Lift audio/status light connector tab using a spudger and remove ribbon cable

  22. HY3jsFTYuYBjAkcF
    HY3jsFTYuYBjAkcF
    NJdHoVioUkhKo5pY
    Jay1JRnbeHZnSUhV
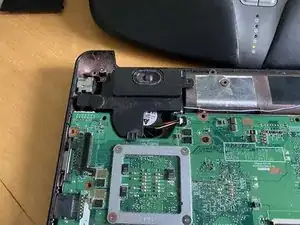
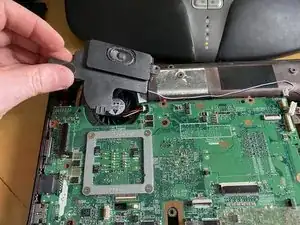
    • Remove 1x #0 Phillips M2x2.8mm screw from left speaker

    • Lift speaker out and place out of the way of the motherboard

  23. JkFUnC5LDWNcIsTT
    JkFUnC5LDWNcIsTT
    2nykIrmsLoGrJypS
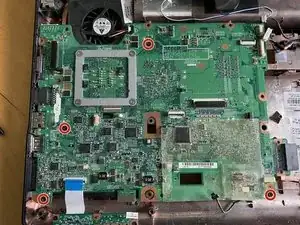
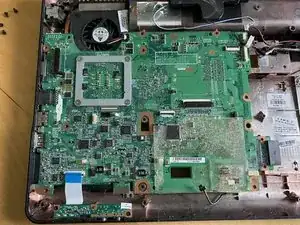
    • Remove 4x #1 Phillips M2.5x4mm screws

  24. ckPCoKMY3NALZfQ6
    ckPCoKMY3NALZfQ6
    oYKBT1IGGfuQEUgl
    cbIQRcHApA5A6H45
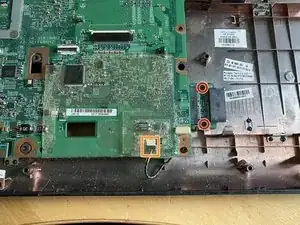
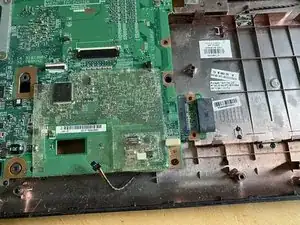
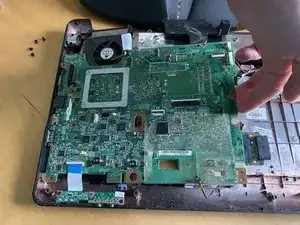
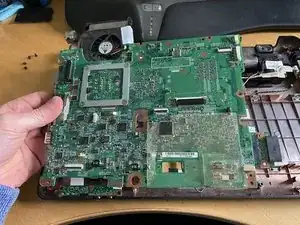
    • Lift motherboard from right hand side and slide towards right

    • Be careful of power connector releasing from case

  25. JRYeDH2m2ADGDfXO
    JRYeDH2m2ADGDfXO
    Tj4PwbmHtIgYcmRQ
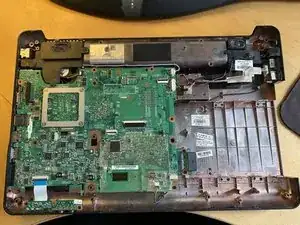
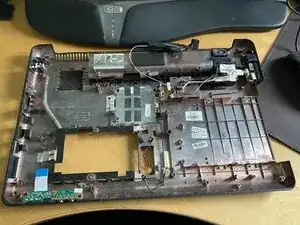
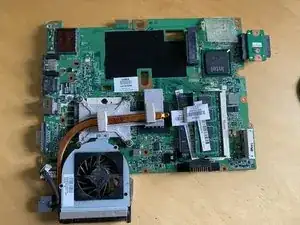
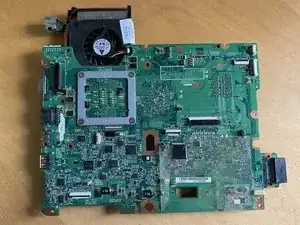
    • Motherboard (with RAM) is removed

Conclusion

To reassemble your device, follow these instructions in reverse order.
Mike B

Member since: 07/11/13

1018 Reputation

0 comments