Introduction
The purpose of this guide is to communicate steps on how to replace or repair the power switch on a ColecoVision.
-
-
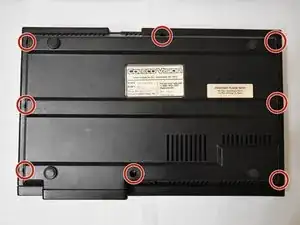
Flip the ColecoVision over with the pegs facing the ceiling.
-
Remove the eight 15mm screws holding the bottom of the ColecoVision in place using the Phillips #1 screwdriver.
-
-
-
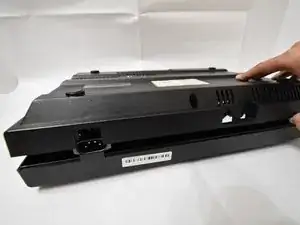
Carefully remove the bottom of the ColecoVision out of the top.
-
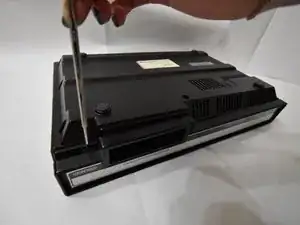
I would recommend running a metal spudger along the rim of the case to remove the bottom.
-
-
-
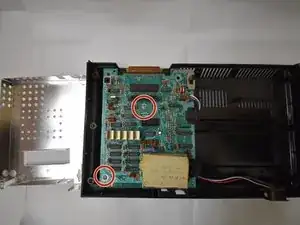
Using a Phillips #1 screwdriver, remove the two 15mm screws on the motherboard.
-
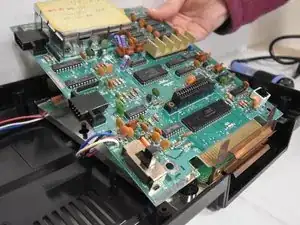
Pull the entire motherboard towards the back of the system and carefully lift the entire motherboard.
-
-
-
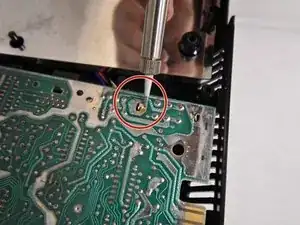
Flip the motherboard over.
-
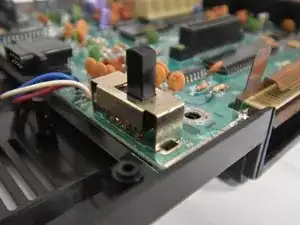
Using a soldering iron, carefully desolder the power switch from the motherboard.
-
-
-
Wait for power switch to cool down.
-
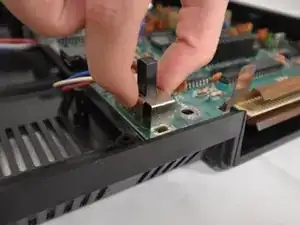
Turn the motherboard over upright.
-
Carefully lift up the power switch to completely remove it from the motherboard.
-

To reassemble your device, follow these instructions in reverse order.