Introduction
The purpose of this guide is to communicate steps on how to replace or repair the cartridge reader on a ColecoVision.
Parts
-
-
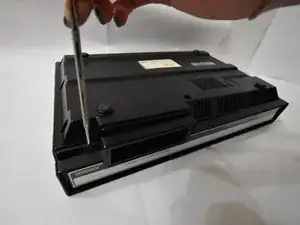
Use the metal spudger along the bottom rim of the front panel to safely remove the top of the console. Set aside the top.
-
-
-
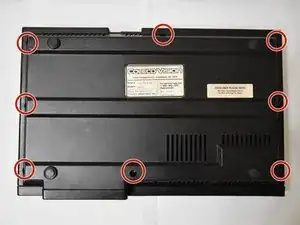
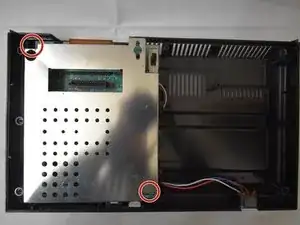
Remove the two 15mm Phillips #1 screws holding the casing in place.
-
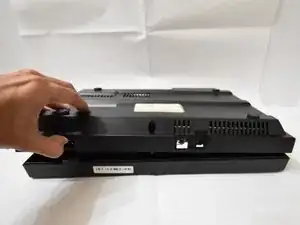
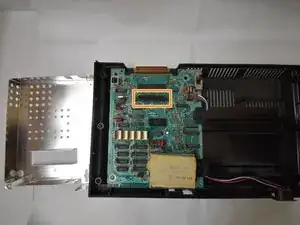
Remove the casing to reveal the cartridge reader.
-
-
-
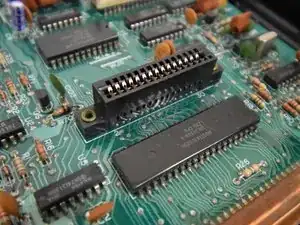
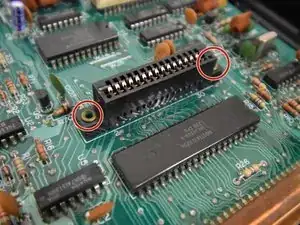
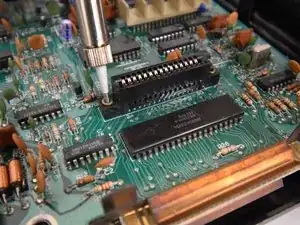
Desolder the sides of the cartridge reader using the soldering iron and desolder pump.
-
-
Patiently wait for the cartridge reader to cool down after being desoldered.
-
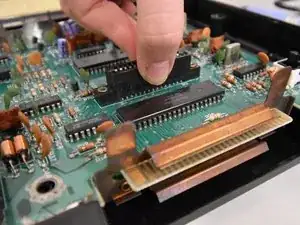
Carefully lift up the cartridge reader. A plastic spudger might be helpful in order to easily remove the cartridge reader.
-
Conclusion
To reassemble your device, follow these instructions in reverse order.