Introduction
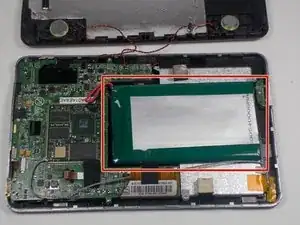
After you open the back casing of your device you will see the insides of your device, and the battery is the silver rectangle right on top most likely taped down to the rest of the device. This guide will walk you through the replacement of this piece.
Tools
-
-
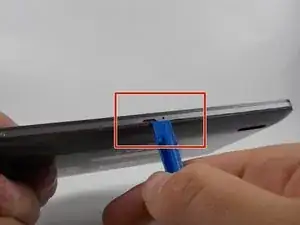
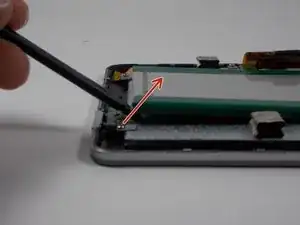
Use iFixit plastic opening tool to make small opening in the side of the device, and continue opening back panel.
-
-
-
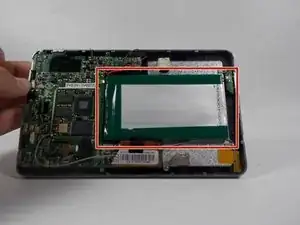
Locate battery. The battery is the silver coated square shaped device on the top of the motherboard.
-
-
-
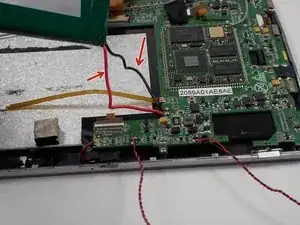
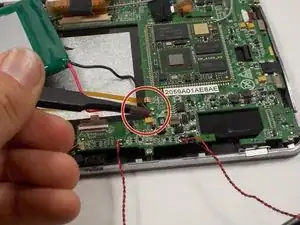
There is a small ribbon cable located under the battery. running from the volume buttons underneath the batter to main logic board.
-
-
-
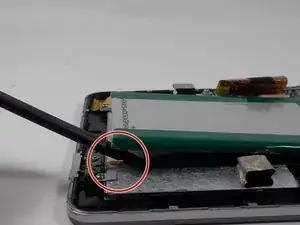
After the battery is free from the logic board, find the positive and negative wires that connect the battery to the motherboard
-
-
-
Using a soldering gun, heat up both soldering points.
-
Remove wires from logic board
-
Clean up soldering joints with a desoldering sucker
-
Solder the new battery wires to the same soldering points as the old battery
-
Reverse steps 1-5 to put device back together
-
To reassemble your device, follow these instructions in reverse order.
