Introduction
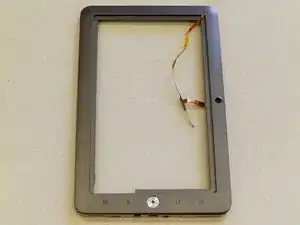
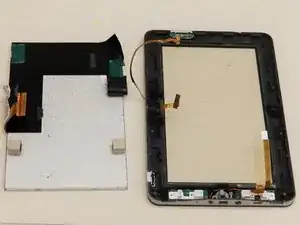
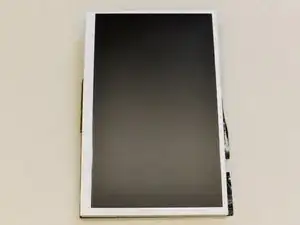
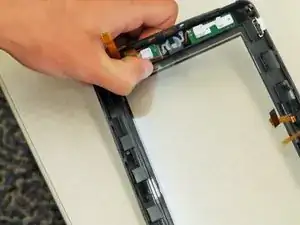
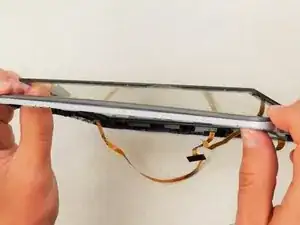
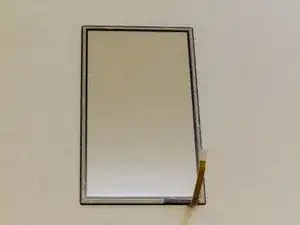
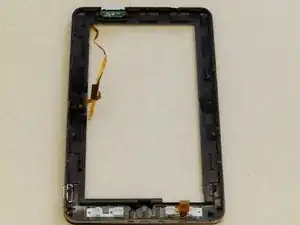
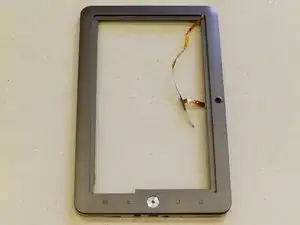
The frame contains a center button, camera hole, and other assorted buttons all essential to the operation of the device. If the frame is damaged, it must be replaced. Be careful when taking out the screen that is glued in the center of the frame, it is very fragile.
Tools
-
-
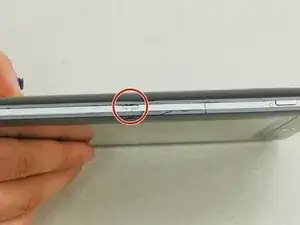
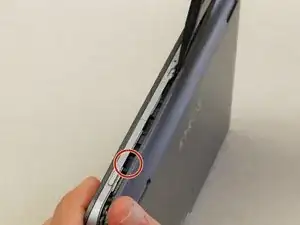
To replace the back cover of the device you must pry it open using the access points. One is located on the top of the device above the camera and the other is on the bottom left hand side.
-
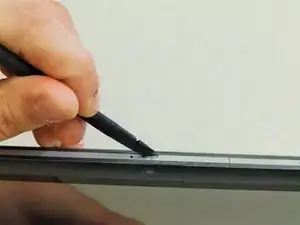
Use the spudger to pry at the access points to open the device.
-
-
-
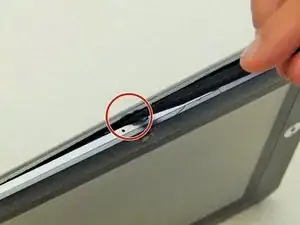
Once the back cover begins to separate from the body of the device continue working the spudger around the perimeter of the device until the back cover is free.
-
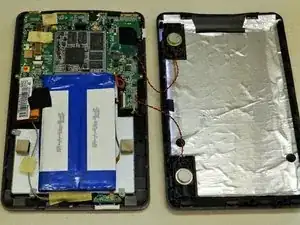
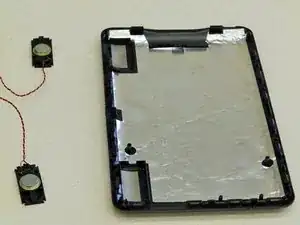
Once the back cover is free from the body of the device, open both sides like a book, placing them flat on the table as shown. Be sure to pay attention to the speaker wires that hold the two pieces together.
-
-
-
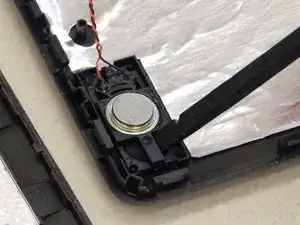
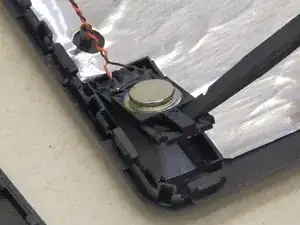
In order to replace the back cover you must remove the speakers. Place the Spudger under the plastic frame of the speaker as shown. Pry up, popping the corners of the speakers out of of their bracket and lift the speaker out.
-
-
-
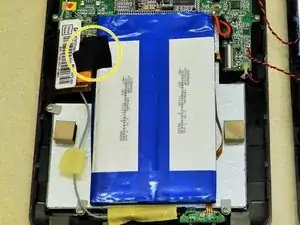
After the battery is freed from the device, it will remain connected to the motherboard by two short wires.
-
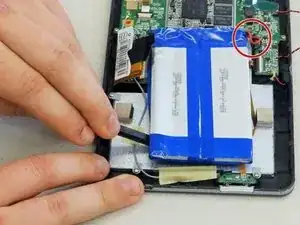
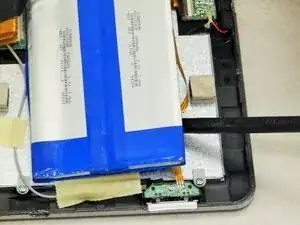
Use the spudger tool to gently pry around both sides of the battery until it can be lifted from the device.
-
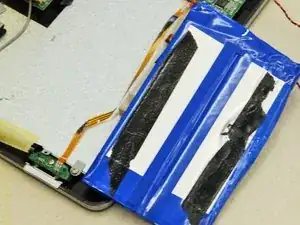
Roll the battery over (as shown in the image) so that its underside is now facing up. This will prevent damage to the motherboard.
-
-
-
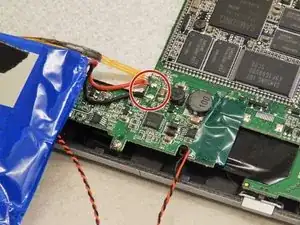
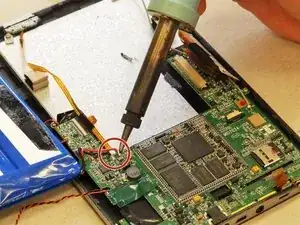
Use a soldering gun to remove the positive and negative wires connecting the battery to the motherboard.
-
-
-
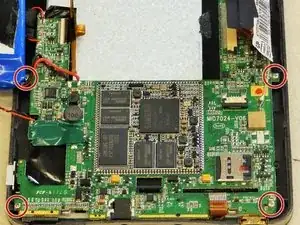
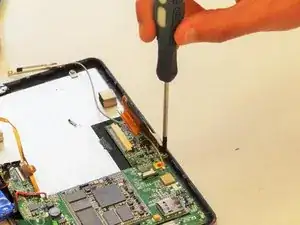
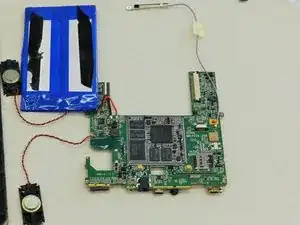
Locate the four 5mm screws holding the motherboard in place and remove them using the Phillips #0 Screwdriver.
-
-
-
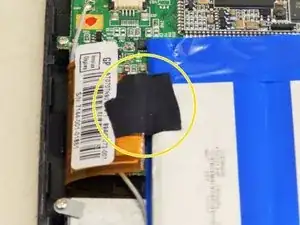
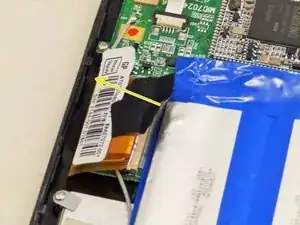
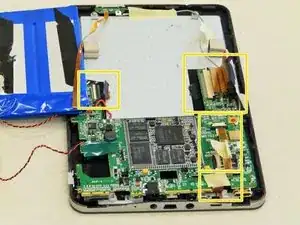
Locate the four ribbon cables shown in the yellow highlighted areas.
-
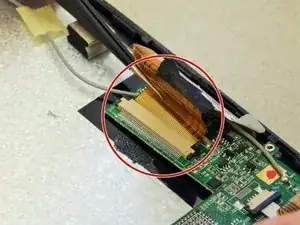
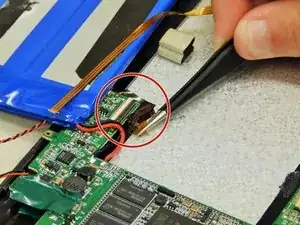
The digitizer is connected by a ZIF (zero insertion force) connector. The two black pieces on each end need to be pressed in simultaneously before the ribbon cable can be removed.
-
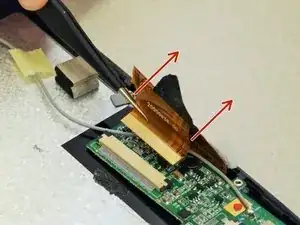
While pressing the black pieces, grasp the digitizer ribbon cable (widest one) with the tweezers and pull away from the connector as shown.
-
-
-
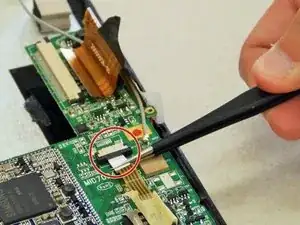
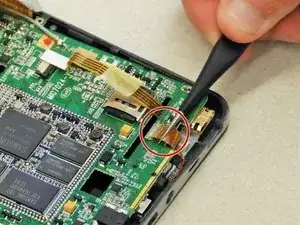
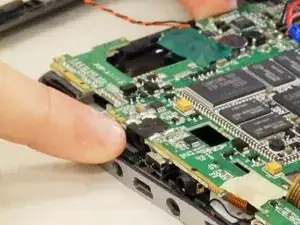
Carefully remove the remaining ribbon cables using the tweezers. Make sure that all ribbon cables are detatched before attempting to remove the motherboard.
-
-
-
Lay the device face down on the table so the metallic back of the digitizer is facing upwards.
-
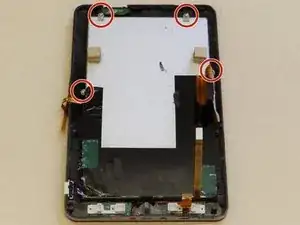
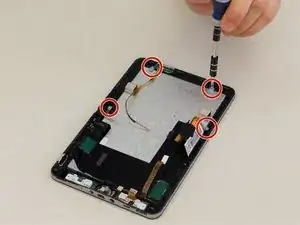
Use a Phillips screwdriver to unscrew the four 5mm screws holding the digitizer to the frame.
-
-
-
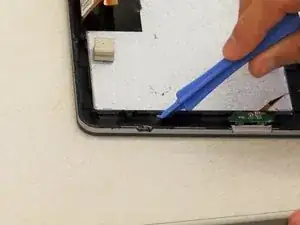
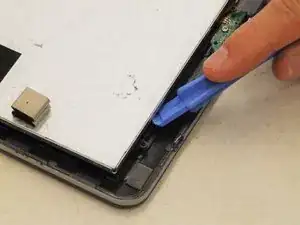
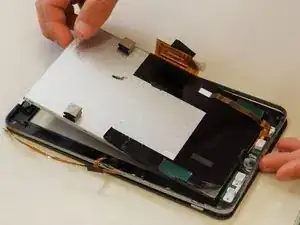
Use a plastic opening tool to wedge underneath the digitizer and pry up, lifting the digitizer out of the frame.
-
-
-
Place front bezel with protective screen flat on the table with the button on your left and facing downward.
-
With your left hand find the corner of the protective screen closest to you. It is the corner with an extra area of removed plastic allowing a place large enough for a thumb to fit in. There will be a thin black strip of padded tape in that space.
-
Use your thumb to carefully push the protective screen away from the bezel. The adhesive will give way little by little. Do this all the way around the area of the screen until the screen is removed.
-
To reassemble your device, follow these instructions in reverse order.
