Introduction

Follow this guide to replace the lower drive chain on a 2018 Classen Sod Cutter model HSC18AHD.

  1. 5R51rpeBCID1Ylcm
    5R51rpeBCID1Ylcm
    Ua3XgdqBZphRcuMF
    • Make sure the engine is off and cool to the touch before you proceed.

  2. LEDQcVLuJnOHVEGQ
    • Place wheel chocks against the roller and rear wheel to prevent the machine from moving.

  3. 2DV3qBu1nDeKwS6y
    2DV3qBu1nDeKwS6y
    GXPy6GNkQFSRBawK
    • Flip the gas shutoff switch next to the motor to the left into the off position.

  4. s52JhZLLpWSNPVpF
    s52JhZLLpWSNPVpF
    H44OwOfpdqNcCfmA
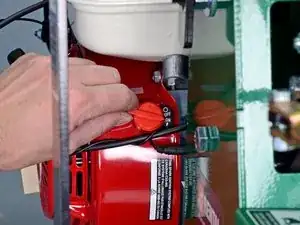
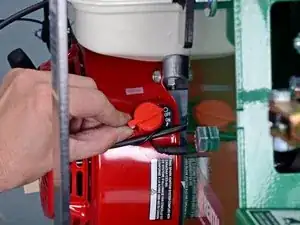
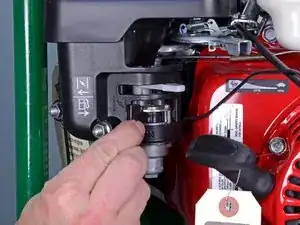
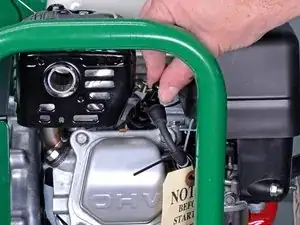
    • Grab the plastic housing at the end of the spark plug wire.

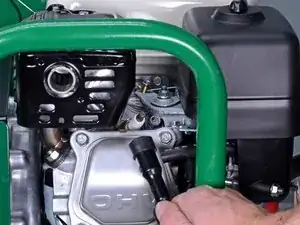
    • Pull firmly to disconnect the wire from the spark plug.

  5. dsQuh3pVk3uWPsGn
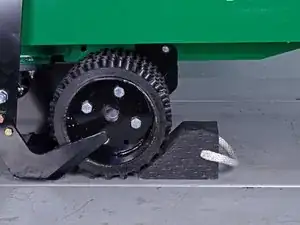
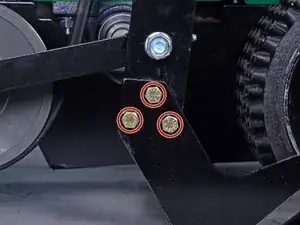
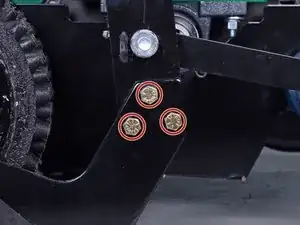
    • Use a 1/2 inch socket to remove the three bolts securing the cutter blade on the left side of the machine.

    • You may need to use a 1/2 inch wrench in combination with the socket wrench to hold the nuts in place.

  6. W2rnLQmhPJPilQYJ
    • Use a 1/2 inch socket to remove the three bolts securing the cutter blade on the right side of the machine.

    • You may need to use a 1/2 inch wrench in combination with the socket wrench to hold the nuts in place.

  7. vkbKvCRCbeSHdhCW
    vkbKvCRCbeSHdhCW
    AZgqRYAT2vDaxObn
    t6mHOal3o1yZGYNB
    • Slide the cutter blade out from under the machine to remove it.

    • Do not handle the blade from the cutting edge.

  8. pboOUpROmCx1EdTT
    • Use a 1/2 inch socket to remove the 130 mm-long bolt securing the chain guard.

  9. oOuQrRLAMGLyY6DU
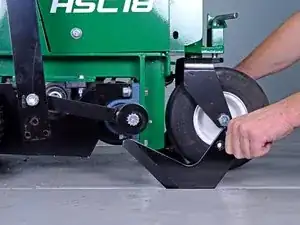
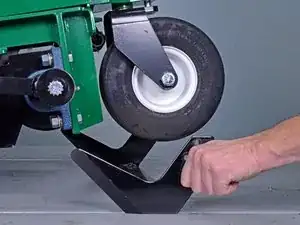
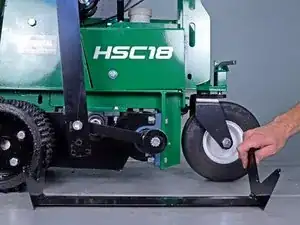
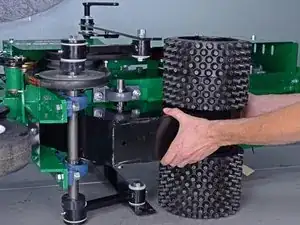
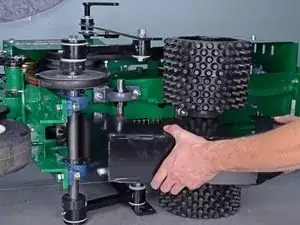
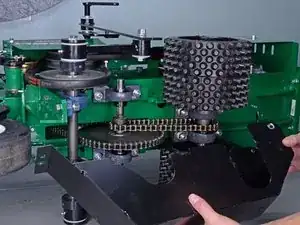
    • Carefully tilt the sod cutter on its side.

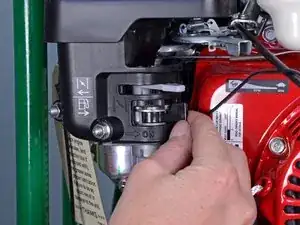
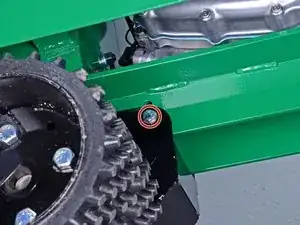
    • Use a 9/16 inch socket to remove the nut securing the chain guard.

  10. kXMrafWfXF1KXbFE
    kXMrafWfXF1KXbFE
    oQmNKpfyJ53tjTpB
    S5XCtPCEZEY4j1vS
    • Remove the chain guard.

  11. alfOUaaxbJJVpnrm
    alfOUaaxbJJVpnrm
    QEB4TnxxDSJqAHcI
    • Use a marker to mark the locations for each bearing before disassembly.

    • Reference these marks during reassembly to ensure the sprocket shaft is straight and the chain is not too loose.

  12. lgDdSfYR1NWygujS
    lgDdSfYR1NWygujS
    MPSKLPKBReQKWNS5
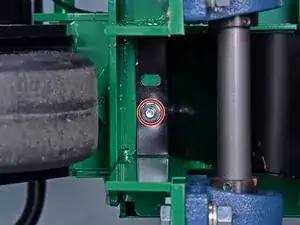
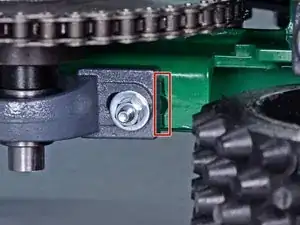
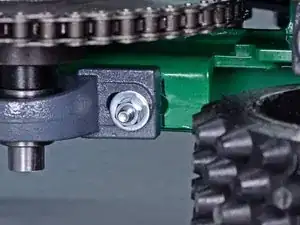
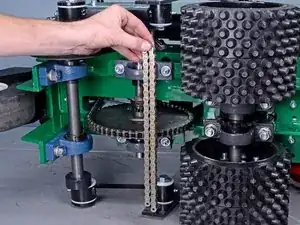
    • Loosen the four 1/2 inch bolts securing the sprocket shaft bearings until the sprocket shaft can freely move.

  13. E1BMTRVmgRw2Tyjt
    E1BMTRVmgRw2Tyjt
    JfA3iZCKYXqAJARQ
    qfK22QeGnYmdP4SE
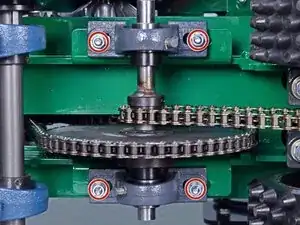
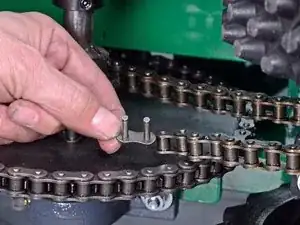
    • Rotate the wheels to turn the chain until the master link is accessible.

    • Use a pair of pliers to unclip the master link retaining plate.

    • Note the direction the retaining plate is facing.

    • Remove the master link.

    • Make sure the new master link retaining plate is installed in the same direction. If installed backwards, the plate could come off during operation.

  14. jIQqSuZAMTGuO52W
    • Remove the chain.

Conclusion

To reassemble your device, follow these instructions in reverse order.

Sam Omiotek

Member since: 25/02/19

72005 Reputation

0 comments