Introduction
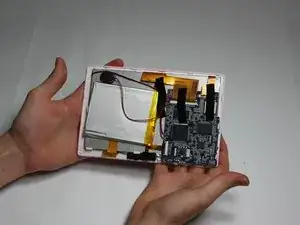
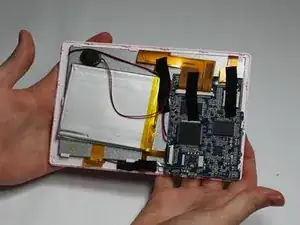
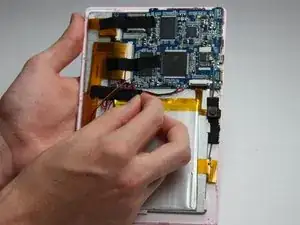
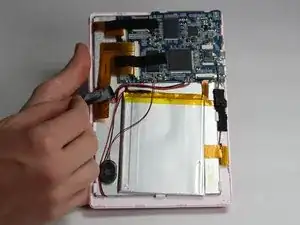
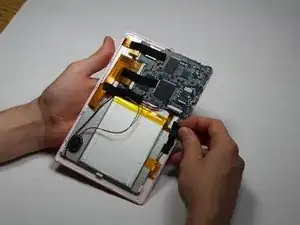
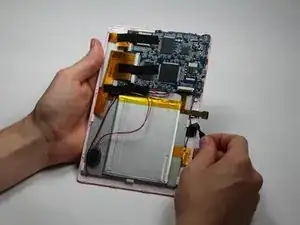
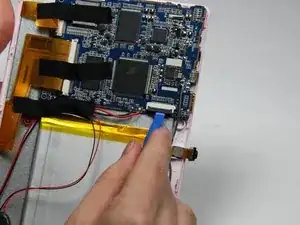
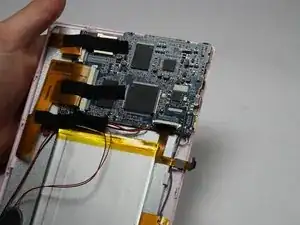
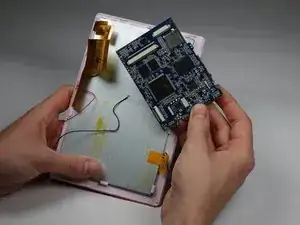
This guide will take your through the necessary steps in order to replace it. Don't let the length of this guide intimidate you! If you've got the necessary tools, you can fix your device!
Tools
-
-
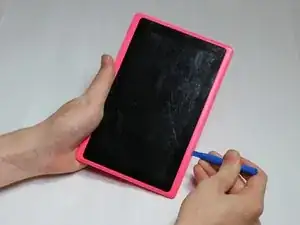
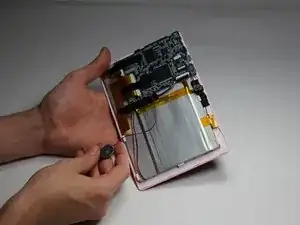
Insert your Plastic Opening Tool into the crease between the front panel and back panel.
-
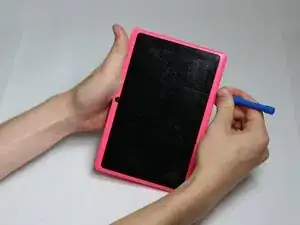
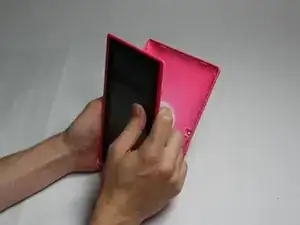
Slide the Opening Tool around the entire device. As you progress, you should see the device open.
-
-
-
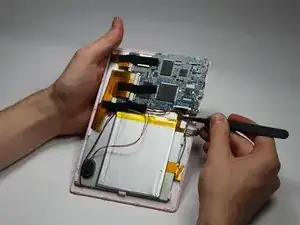
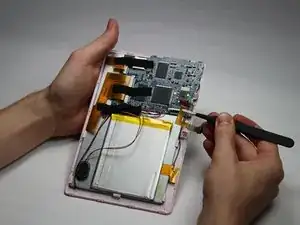
Place your finger at the end of the tape closest to the battery.
-
Peel the tape towards the flex cables to free the battery wires.
-
-
-
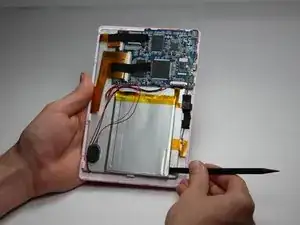
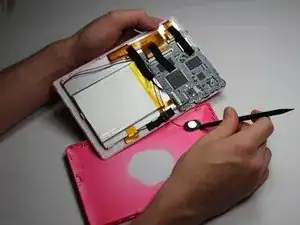
Using the spudger tool, place the tool along an edge of the battery.
-
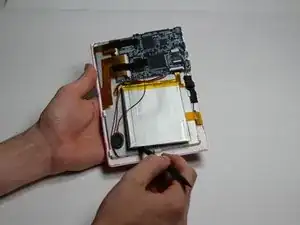
Move the spudger around the edges of the battery to detach it from the tablet.
-
-
-
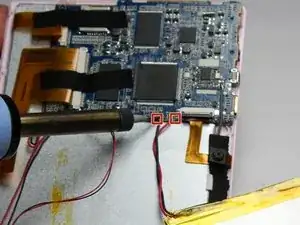
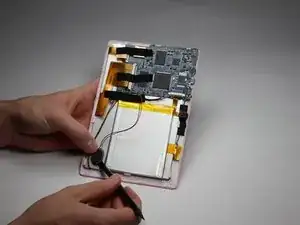
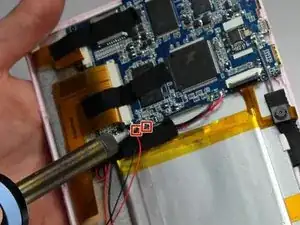
Using a soldering iron, desolder both of the battery wires. The battery's wires are located to the left of the camera's flex cable.
-
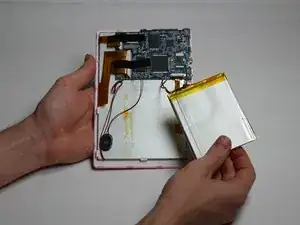
Remove the battery.
-
-
-
Using a small plastic opening tool, flip the black connector up until it makes "tick" sound.
-
Now, the flexing cable is ready to be removed.
-
-
-
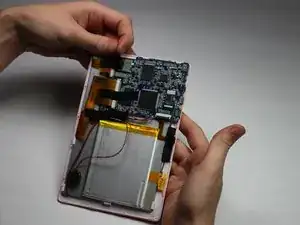
Using a pair of tweezers, hold the flexing cable right below the black connector.
-
Gently pull the flexing cable out of the connector while balancing the other side of the device with another hand.
-
-
-
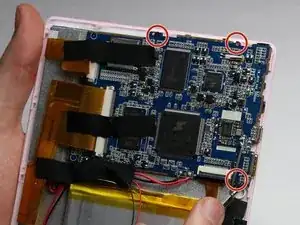
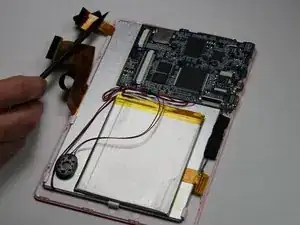
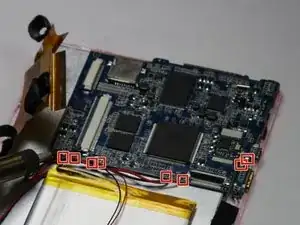
Using a Phillips #00 Precision Screwdriver, remove the three 3mm screws by turning the screwdriver counter-clockwise.
-
-
-
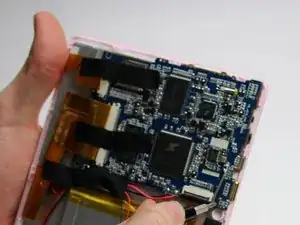
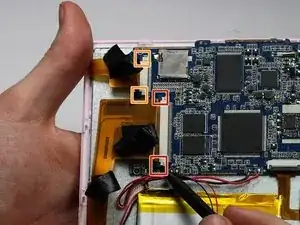
Place a spudger on the small black pins on either side of the flex cables.
-
Gently push the spudger towards the back of flex cables to unlock the flex cable.
-
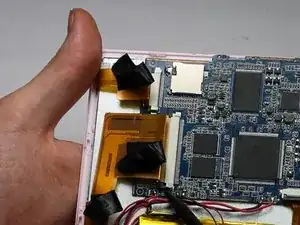
Remove the flex cables from their insert.
-
To reassemble your device, follow these instructions in reverse order.
