Introduction
Here are a few steps on how to use your Chromebook. At the end of this guide, you will be able to log in to your device, choose your language, and set up your Wi-Fi.
Before you start, you need to know your Wi-Fi name and password and, if you do not already have a Gmail account, you will need to create one.
-
-
Locate the power button to turn on your Chromebook. On most Chromebook computers/laptops, the power button is on the left or right side of the device.
-
-
-
Once the welcome screen appears on the screen, check that the language is the one you prefer, then click Continue (Let's Go)
-
-
-
Connect to your Wi-Fi. You will then be prompted to enter your password; you can also check to see if your password is correct (by clicking on the eye icon on the right).
-
Click on Connect after inserting the password.
-
-
-
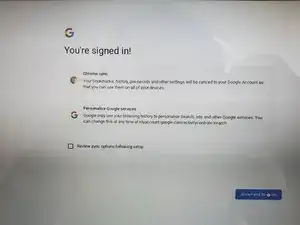
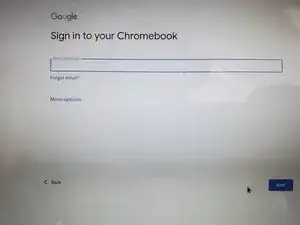
Create a new Gmail account, or use your existing Gmail address to activate your account.
-
Click Next to continue
-
-
-
Here you will see the Google Apps and Services section. Google Apps and Services are the built-in apps like Gmail, Google Docs, and Google Drive.
-
You can enable the "Backup to Google Drive" option. This basically saves your work in the "Cloud" so you can access your documents from your computer, as long as you're connected to Google.
-
Click more and follow the procedures.
-
-
-
If you want to connect your phone, click on "Select a device" and follow the instructions, or you can skip it by clicking on "No thanks".
-
-
-
You can now take a brief tour of how the different features of your Chromebook are used. Or you can click the 'X' to close and move on without taking the tour.
-
Thank you for reading this guide!


