Introduction
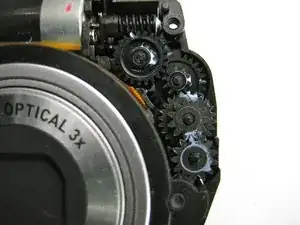
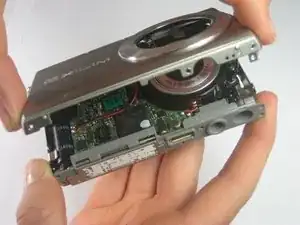
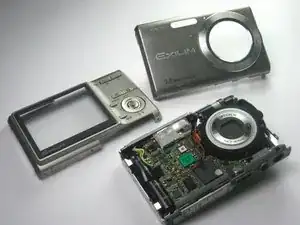
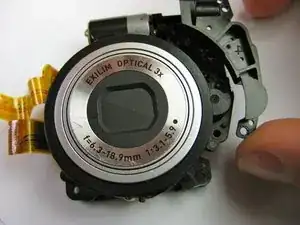
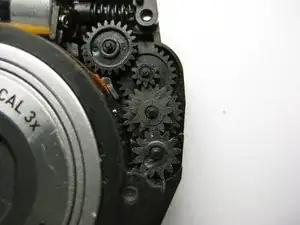
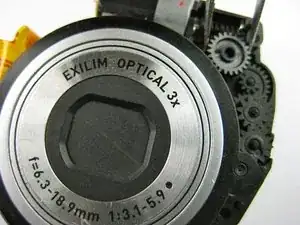
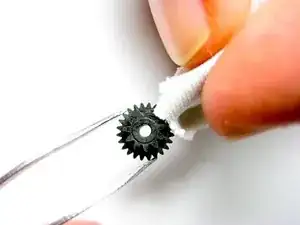
Sometimes the gears in lens of the Casio Exilim EX-Z70 get clogged with sand, dirt, or debris and no longer function. Without these gears the lens can not retract or extend from the camera and will appear stuck. This guide will help you access the lens gears for cleaning.
Tools
-
-
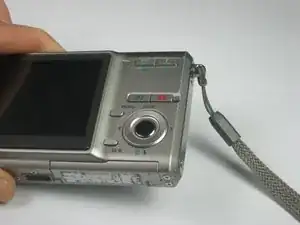
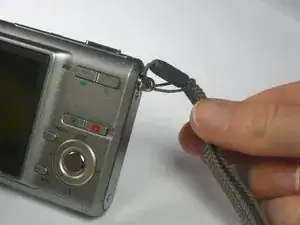
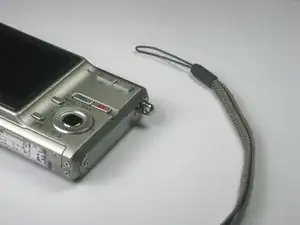
Remove the strap from the camera by pulling the thin cord out, creating a small loop, then pushing the thicker cord back through this loop.
-
-
-
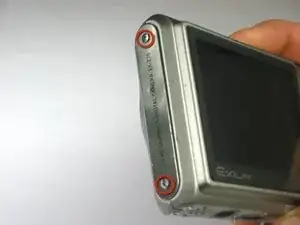
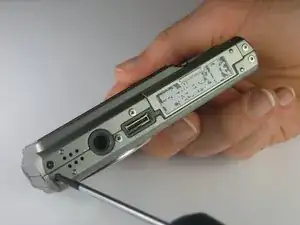
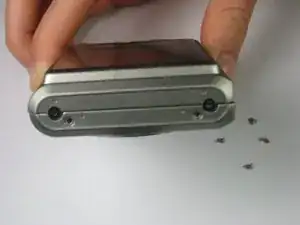
Remove the two Phillips screws (2.83 mm) from the left side panel of the camera casing.
-
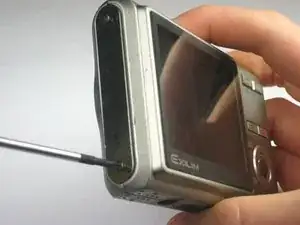
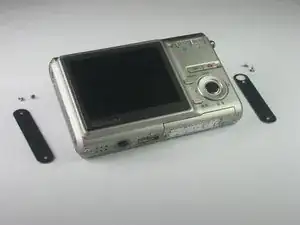
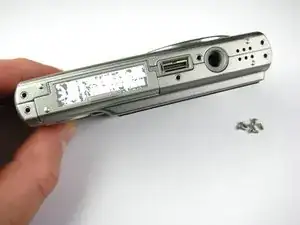
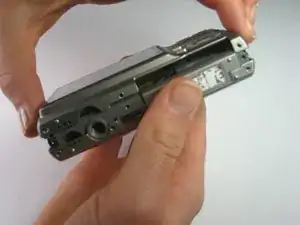
The left panel can now be removed. However, one piece of tape attaches it to the camera, so a spudger may be required to ease the panels off.
-
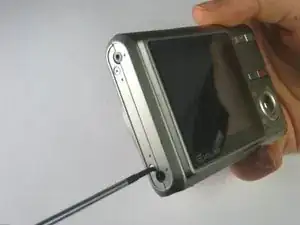
Repeat for the right side panel of the camera.
-
-
-
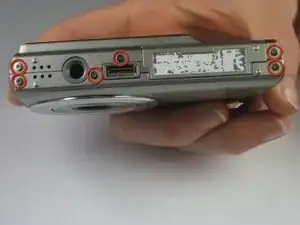
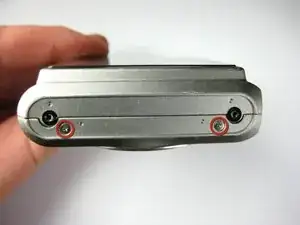
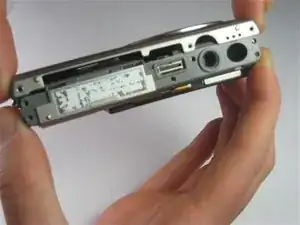
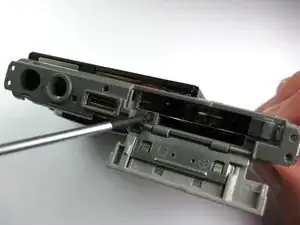
Remove the two Phillips screws (2.79 mm) on the left side of the camera where the metal panel used to be.
-
Repeat for the two Phillips screws (2.79 mm) right side of the camera.
-
-
-
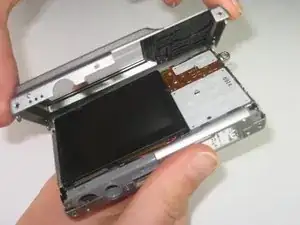
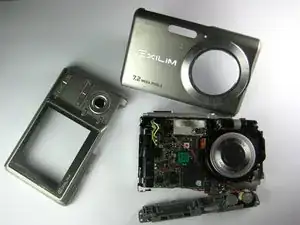
With the LCD screen facing up towards you, start at the bottom of the camera and gently pull off the back of the casing.
-
-
-
With the front side (with the lens) facing up towards you, start at the bottom of the camera and gently pull off the front of the casing.
-
-
-
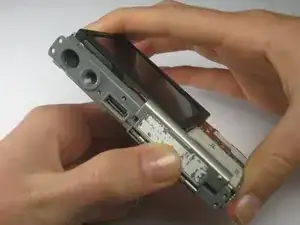
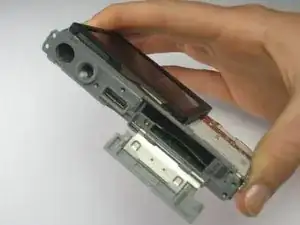
Look at the bottom of the camera. Take out the Phillips screw (1.77 mm) holding on the bottom plastic piece.
-
The bottom plastic piece is held on to the main frame of the camera only by two thin wires.
-
-
-
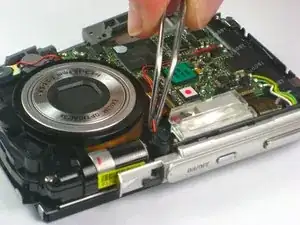
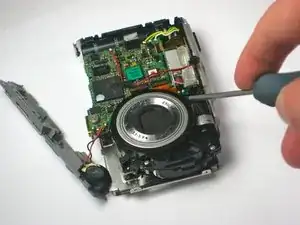
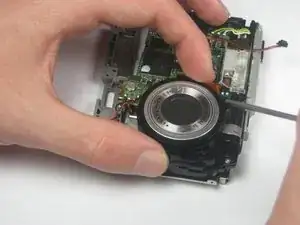
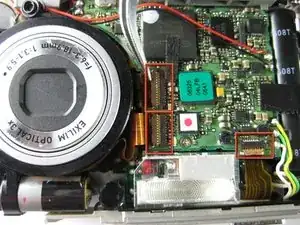
Use a pair of tweezers to gently move the wire around part of the lens away from it so that you can access the lens.
-
-
-
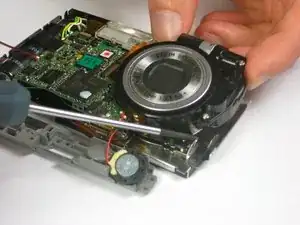
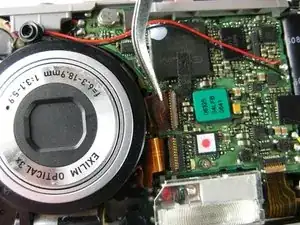
As you pull the lens up and out of the casing, push the hook in the lower right hand corner of the lens out of the way.
-
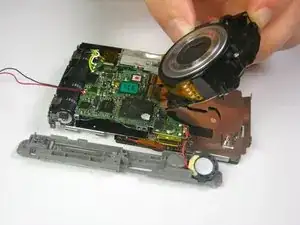
At this point the lens should be connected to the camera solely by two orange plastic strips.
-
-
-
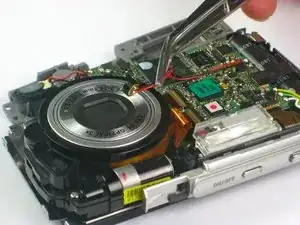
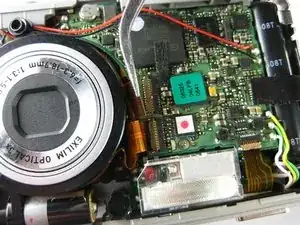
Using tweezers or your finger nails, pull up the brown flaps where the two orange film strips connected to the lens meet the circuit board.
-
Use the tweezers to pull the orange film strips out of the port. It should come out easily.
-
There are two additional film strips connected to the circuit board that do not need to be removed. These are connected to the side of the circuit board that is opposite to the lens
-
-
-
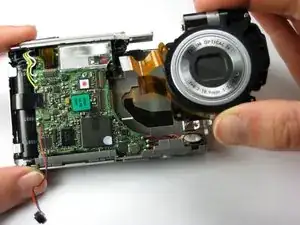
You can now remove the lens completely. There should not be anything else holding it in place.
-
-
-
Turn the lens over
-
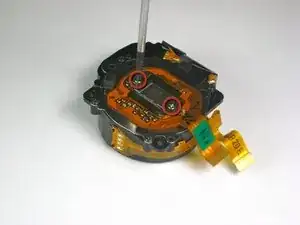
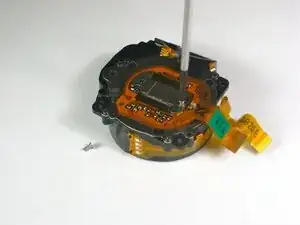
On the back are four screws. Remove the two silver phillips screws (4.36 mm) from the back of the lens.
-
-
-
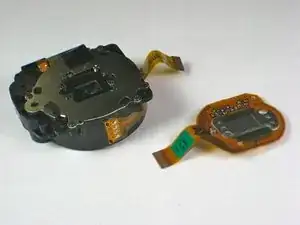
Remove the now loose orange piece from the back of the lens and set it aside.
-
The lens is now ready to cleaned and maintained or replaced with a new one.
-
-
-
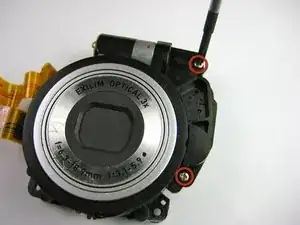
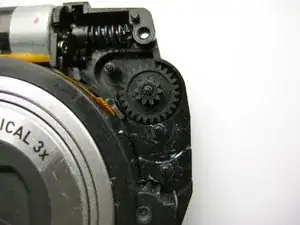
Now that the lens is fully exposed, remove the two phillips screws (4.34 mm) on front of the lens.
-
-
-
Using a pair of tweezers, carefully remove the four gears. They will already be loose on their axles.
-
-
-
Clean the gear box and the gears with water and a cloth or paper towel. A pin can be useful to dislodge any grit or dirt stuck in between the teeth of the gears.
-
To reassemble your device, follow these instructions in reverse order.
One comment
Hi dear awesome Guide writter,
I have used the guide on a similar model, the Casio Exilim Z77 (if i am not wrong), in a context where sand and dust were disturbing the mouvments of the lens.
Most of the steps have been simulars. I additionally open the lens were most of the sand had entered.
After my first try yesterday evening, the canera refused to switch on again...
I will re-open this evening to see if any module appear disconneced from the other.
Do you have suggestion how to proceed ?
I have only simple iFixit tools, but no voltage or current measurment (yet).
Best regards,
Michel.
