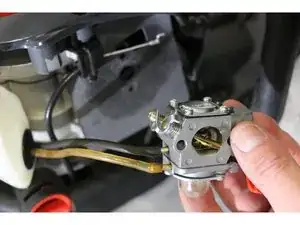
Introduction
-
-
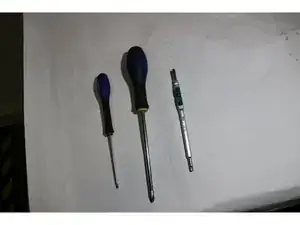
A flathead screwdriver
-
A Phillips head screwdriver
-
A T25 torx wrench
-
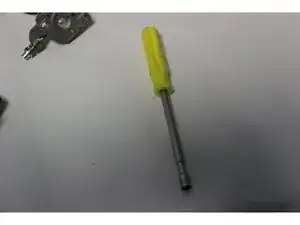
A Carburetor Adjusting Hex Screwdriver
-
-
-
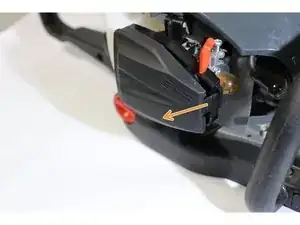
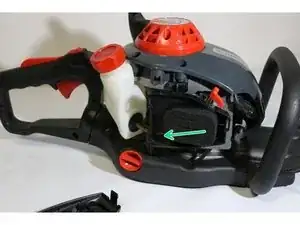
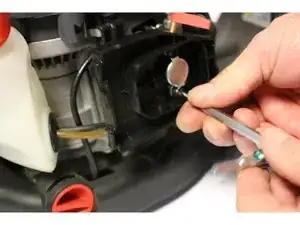
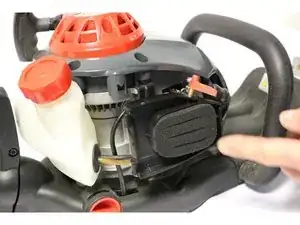
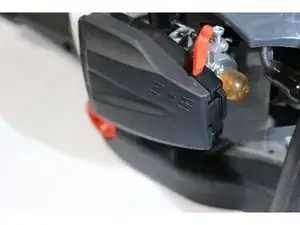
Unclip the air filter cover.
-
Extract the air filter.
-
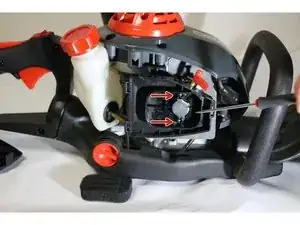
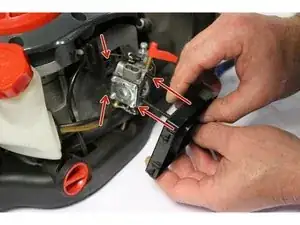
Filter and carburetor case fixing screws
-
-
-
In an anticlockwise movement, unscrew the two fixing screws using a T25 torx key.
-
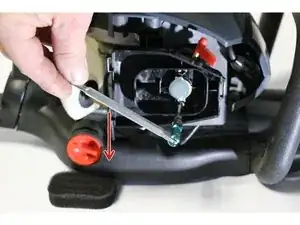
Remove the two screws and then the filter case.
-
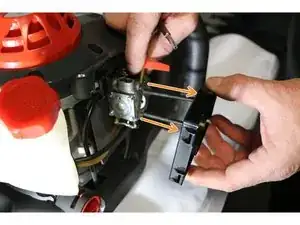
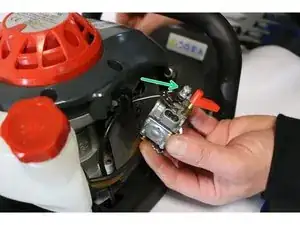
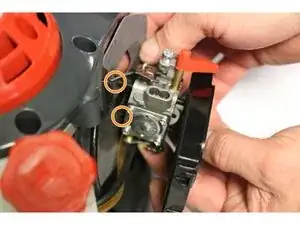
Remove the carburetor.
-
-
-
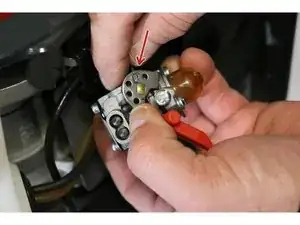
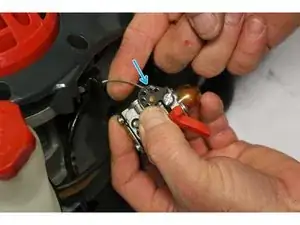
Unhook the accelerator cable. Make sure to remember the location.
-
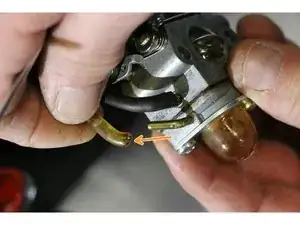
Extract the transparent fuel return hose.
-
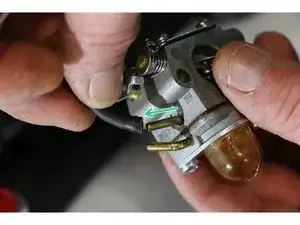
Extract the black fuel inlet hose.
-
-
-
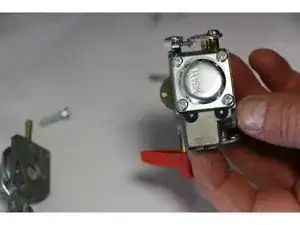
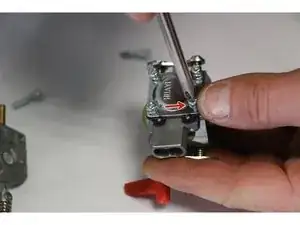
Unscrew the two priming pump attachment screws by turning them counterclockwise.
-
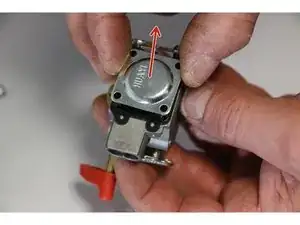
Remove the pump.
-
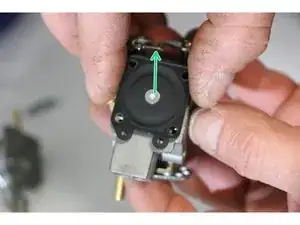
Peel off the pump membrane.
-
-
-
Once the pump is disassembled, turn the carburetor 180° to access the four mounting screws.
-
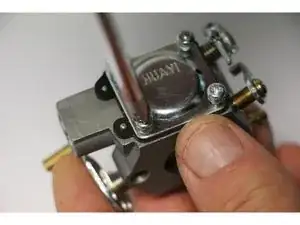
Use a Phillips screwdriver to remove the four membrane cover screws.
-
-
-
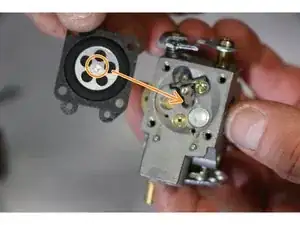
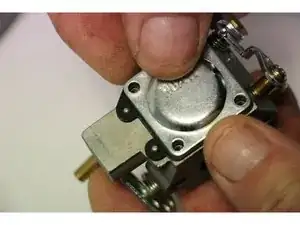
Remove the membrane cover.
-
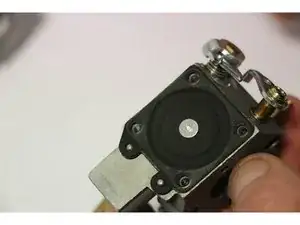
Remove the needle lever membrane with the membrane seal.
-
Note: The membrane lever will act on the needle lever.
-
-
-
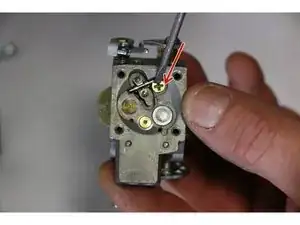
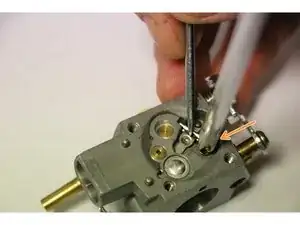
Unscrew the screw that holds the needle lever shaft.
-
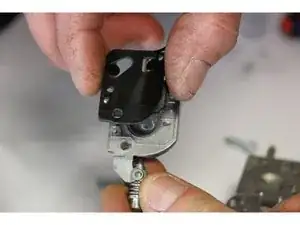
CAUTION: Be sure to hold the lever with your thumb to prevent the spring from popping out.
-
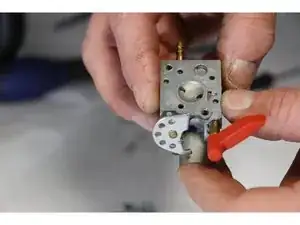
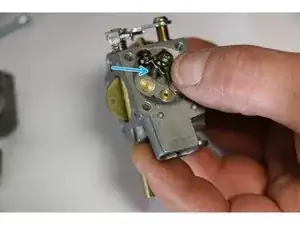
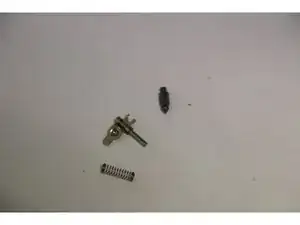
Remove the lever, the spring, and the needle.
-
-
-
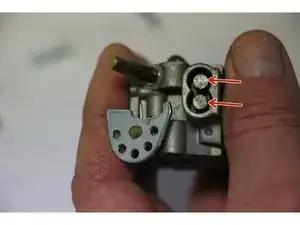
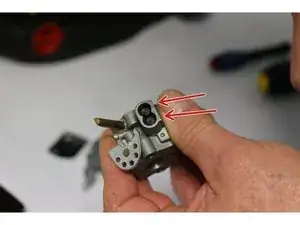
Set screw
-
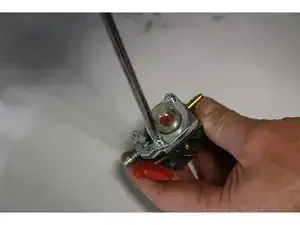
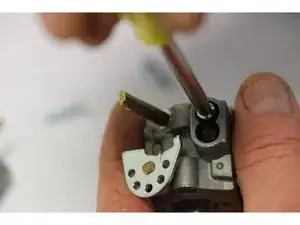
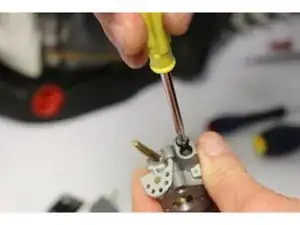
Unscrew the two adjustment screws counterclockwise using the specific adjustment screwdriver.
-
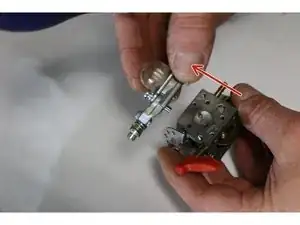
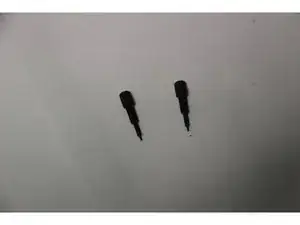
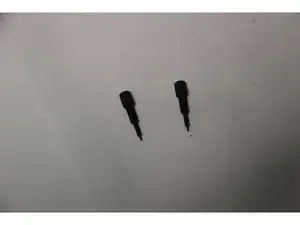
Extract the two screws.
-
-
-
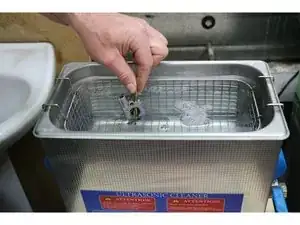
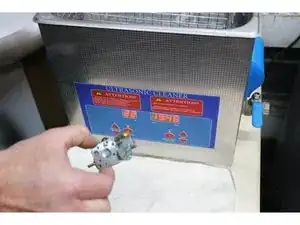
Immerse the carburetor in the ultrasonic bath for 15 to 20 minutes at a temperature between 25 and 35°.
-
Remove the carburetor from the ultrasonic bath.
-
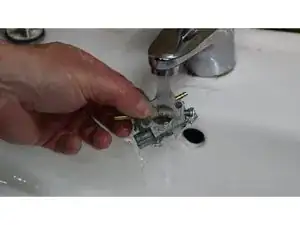
Rinse the carburetor with water, dry it by blowing it out with compressed air.
-
-
-
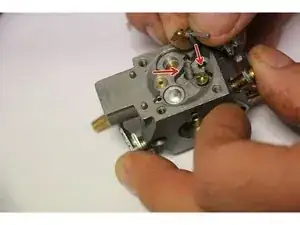
Reinstall the spring and needle.
-
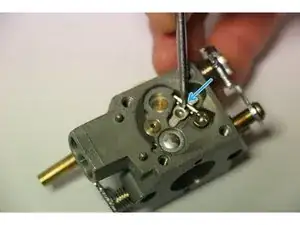
Use a flat screwdriver to hold the lever in place.
-
Tighten the screw that holds the axis of the lever using a Phillips screwdriver.
-
-
-
Reinstall the needle lever membrane and the membrane gasket
-
Reinstall the membrane cover.
-
Tighten the four cover fixing screws using a Phillips screwdriver in a clockwise direction.
-
-
-
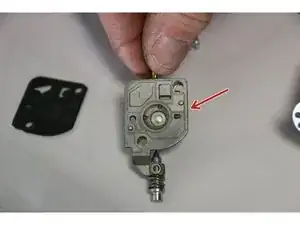
Reinsert the two adjustment screws.
-
Screw them in as far as they will go without forcing them clockwise with the adjustment screwdriver.
-
Pre-adjust the carburettor by unscrewing the two screws one and a half turns counter-clockwise
-
-
-
Take the pump cover.
-
Reposition the pump membrane and its seal.
-
Replace the pump cover and tighten the two fixing screws clockwise using a Phillips screwdriver.
-
-
-
Reinstall the black fuel inlet hose.
-
Reinstall the transparent fuel return hose.
-
Reattach the throttle cable.
-
-
-
Insert the two fixing screws in the air filter housing and then in the carburetor body.
-
ATTENTION: Make sure that the fixing screws align with the holes of the gasket.
-
Tighten the fixing screws clockwise using the T25 Torx key.
-

Problème du pointeau dans le carburateur ?
cfjoliecoeur -