Introduction
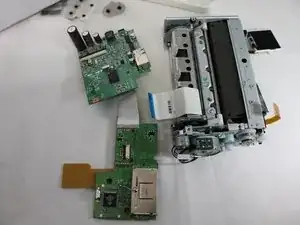
This guide demonstrates how to remove the circuit boards from the Canon Selphy CP720. This may need to be done to replace faulty boards that are causing the device to not function despite all other parts working. This is a last resort replacement and should only be done if all other efforts have failed to get the device working.
Tools
-
-
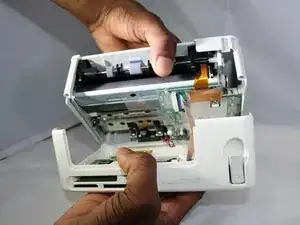
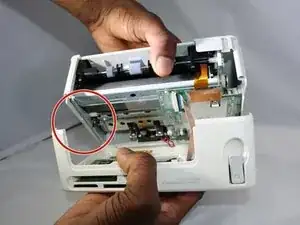
Grasp one half of the device's shell in each hand, and pull them apart. They are connected, so don't separate them completely.
-
-
-
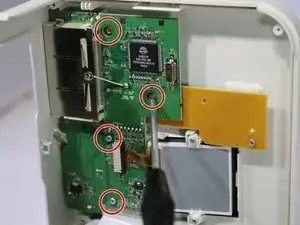
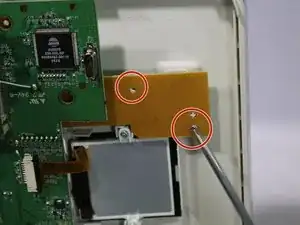
Remove the two 8mm Phillips #00 screws from the screen.
-
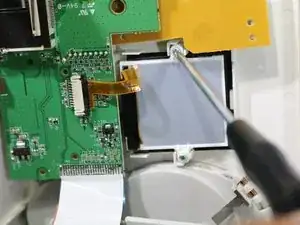
Lift off the circuit board, yellow board, and screen.
-
-
-
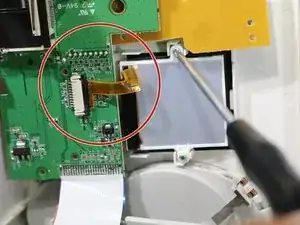
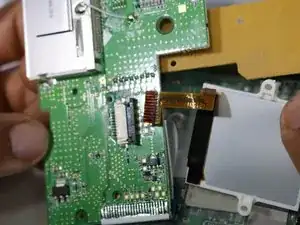
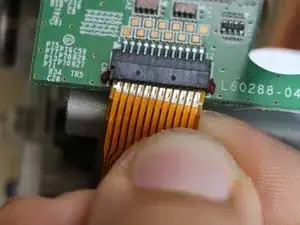
To separate the screen from the circuit board, grasp the data ribbon cable near the base of the black connector on the circuit board and pull parallel to the surface of the board, toward the screen.
-
-
-
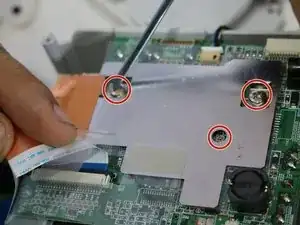
Turning to the lower half of the printer, remove the two 6mm Philips screws, and the 8mm Philips screw in the hole in the metal plate. Remove the metal plate.
-
-
-
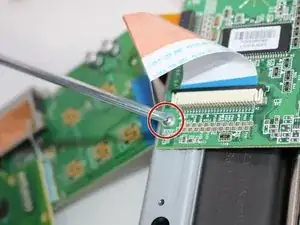
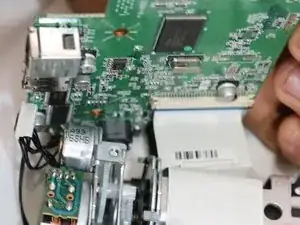
Remove the flanged Philips screw from the circuit board, located just under the large data ribbon connecting both boards.
-
-
-
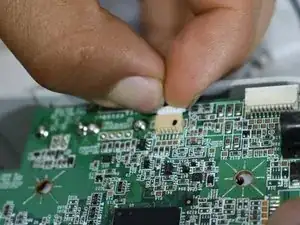
Locate the connector on the edge of the board near the first two screws that you removed.
-
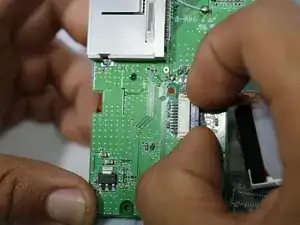
To unplug the connector from its socket, grasp it by the white plastic connection, and pull out from the circuit board, away from the center.
-
-
-
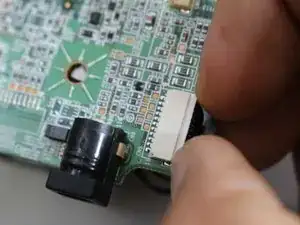
Locate a second connector further down the same edge of the board .
-
Grasp the white plastic connector by the sides and pull it out, smoothly and firmly.
-
-
-
Locate the third connector hidden under the broad data ribbon.
-
Grab the ribbon cable by the body and pull it out.
-
-
-
Lift the circuit board up off the lower assembly of the printer, exposing the wide, white data ribbon.
-
-
-
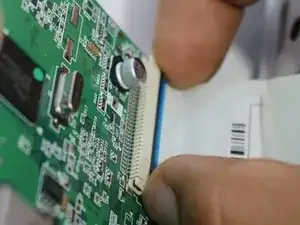
Pull the ribbon connector out of its socket parallel to the circuit board. All of the circuit boards should now be free of the device.
-
To reassemble your device, follow these instructions in reverse order.
