Introduction
This procedure is necessary for replacing the LCD screen of the Canon EOS Rebel XS 35mm camera, which is located on the top of the camera underneath protective, transparent plastic (it's visible from an aerial view). This guide details how to remove the LCD screen and put an LCD screen back in, whether it's the same LCD screen now fixed, or a new one.
-
-
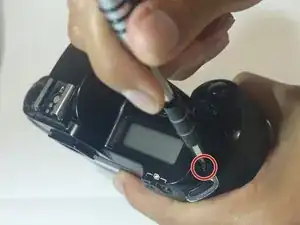
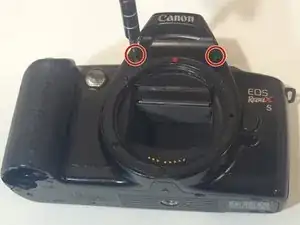
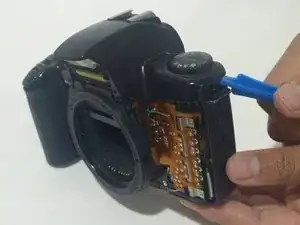
Using a PH000 screwdriver bit, remove the three black screws shown in the two pictures that are all 4 mm in length and 1 mm in diameter.
-
-
-
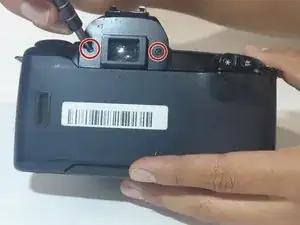
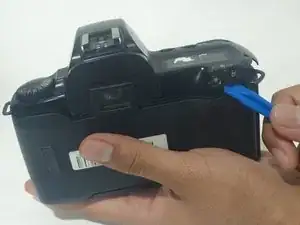
Using a Phillips #000 screwdriver, remove the two black screws shown in the picture that are both 6 mm in length and 1.25 mm in diameter.
-
-
-
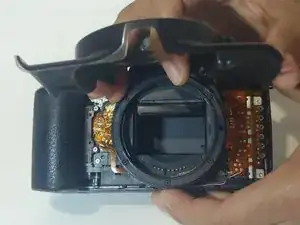
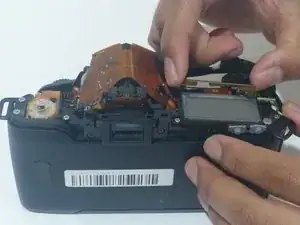
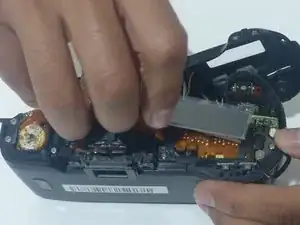
Using an opening tool (you can also use your nails, but try not to use something potentially damaging to the camera such as metal), separate the top cover from the rest of the camera!
-
-
-
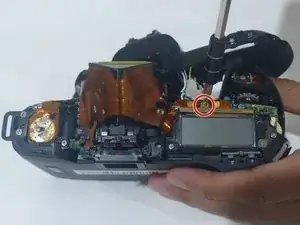
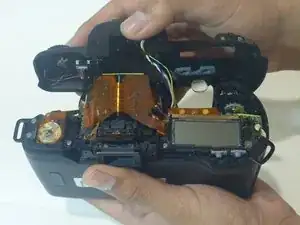
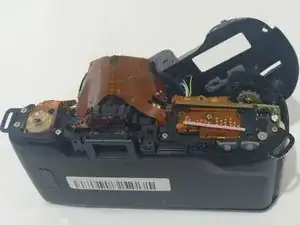
Using a PH000 screwdriver bit, remove the tiny silver screw circled in the picture, which is 2 mm in length and 1 mm in diameter.
-
-
-
With your fingers (probably not tweezers or something similar, so you don't damage the screen), remove the LCD screen.
-
To reassemble your device, follow these instructions in reverse order.