Introduction

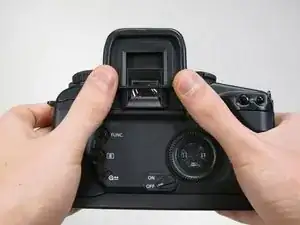
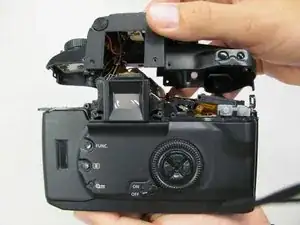
This guide will help you step by step to reach and replace the inner eyepiece of canon EOS 30.

  1. TGVWrjnYLtjkMFA2
    • Remove the two 4.8 mm black screws above the lens on the front of the camera.

  2. IPLNHYPpHmCOHSJf
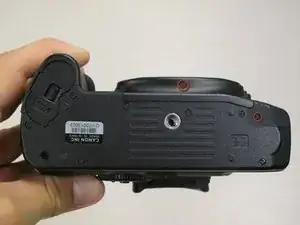
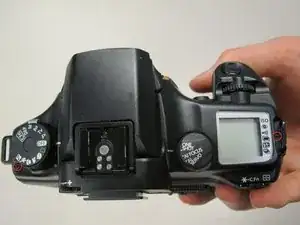
    • Remove the 4.3 mm black screw under the lens ring, and the 4.8 mm black screw under the camera.

  3. SBZy1TStnuPPdPea
    • Remove the 4.8 mm black screw on the left side of the camera.

  4. DUJQI5mCdYhWNZHR
    • Remove the front panel by lifting it away from the camera's body.

    I need a video tutorial

    Abdullah dicky S -

  5. mE64gtuBpWdshJaa
    • Slide the outer eyepiece upward to remove it.

  6. NFZJAjvj4maqofiX
    • Remove the two 4.75 mm black screws located on the top of the camera.

  7. YP5DkaZKpZZpM22p
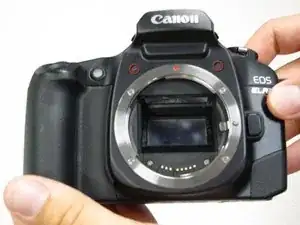
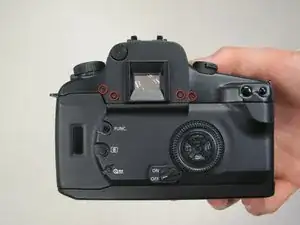
    • Remove the four 4.3 mm black screws near the bottom corners of the eyepiece at the back of the camera.

  8. UhnbNqYUoPMxWQGJ
    UhnbNqYUoPMxWQGJ
    fIIYRJmwdZZSkHVc
    • Slowly separate the top panel from the camera by pushing it upward.

    • Separating the top panel too far or quickly can damage the ribbon cable and connecting wires that are still attached to the top panel of the camera.

  9. gt1hXsJ2IpAbmBRj
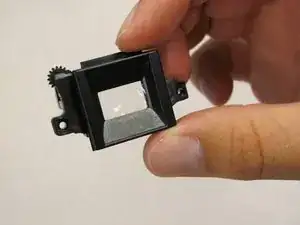
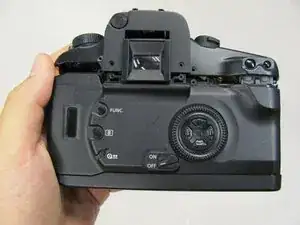
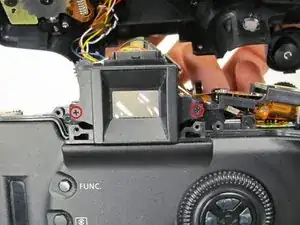
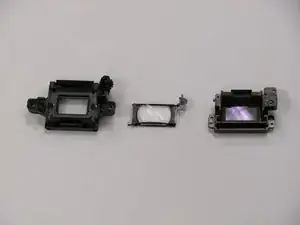
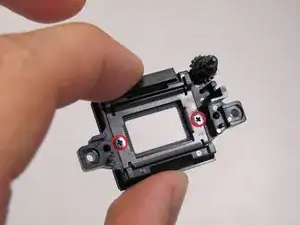
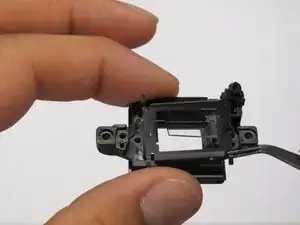
    • Remove the two 9.5 mm black screws that attach the inner eyepiece to the camera's body and remove the eyepiece.

  10. LImlT3AMHtarWbhj
    • Remove the two 4.3 mm silver screws on each side of the inner eyepiece.

  11. 3WCwgHSnsYYVFfGi
    • Separate the inner eyepiece into three parts.

    • The outer piece (left) has a small gear, which can easily fall off and get lost.

  12. QoNj5EbvDBYlBELw
    • Remove the two 3.6 mm black screws from the outer piece.

  13. rELVtprJJFomCLiD
    • Remove the glass panel and replace it.

    • When removing the glass panel make sure not to separate the small rubber piece attached around the frame.

Conclusion

To reassemble your device, follow these instructions in reverse order.

Jackie

Member since: 17/04/11

236 Reputation

0 comments