Introduction

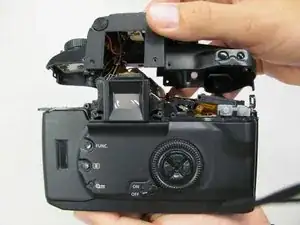
The top panel can be safely separated from the camera body, but it will remain attached by several wires and a ribbon cable. Separating the top panel allows access to several important components.

  1. TGVWrjnYLtjkMFA2
    • Remove the two 4.8 mm black screws above the lens on the front of the camera.

  2. IPLNHYPpHmCOHSJf
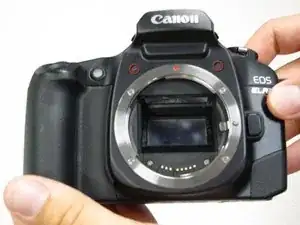
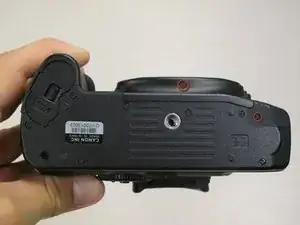
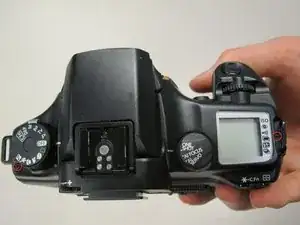
    • Remove the 4.3 mm black screw under the lens ring, and the 4.8 mm black screw under the camera.

  3. SBZy1TStnuPPdPea
    • Remove the 4.8 mm black screw on the left side of the camera.

  4. DUJQI5mCdYhWNZHR
    • Remove the front panel by lifting it away from the camera's body.

    I need a video tutorial

    Abdullah dicky S -

  5. mE64gtuBpWdshJaa
    • Slide the outer eyepiece upward to remove it.

  6. NFZJAjvj4maqofiX
    • Remove the two 4.75 mm black screws located on the top of the camera.

  7. YP5DkaZKpZZpM22p
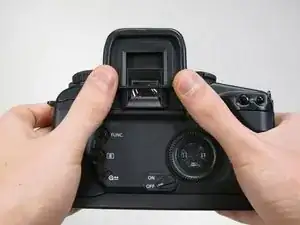
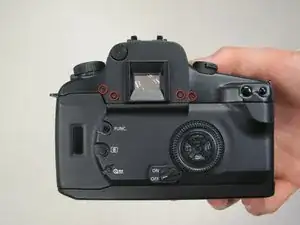
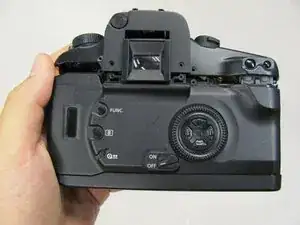
    • Remove the four 4.3 mm black screws near the bottom corners of the eyepiece at the back of the camera.

  8. UhnbNqYUoPMxWQGJ
    UhnbNqYUoPMxWQGJ
    fIIYRJmwdZZSkHVc
    • Slowly separate the top panel from the camera by pushing it upward.

    • Separating the top panel too far or quickly can damage the ribbon cable and connecting wires that are still attached to the top panel of the camera.

Conclusion

To reassemble your device, follow these instructions in reverse order.

Sterling Vinson

Member since: 17/04/11

259 Reputation

0 comments