Introduction

This guide will show you how to access, remove, and replace the LCD screen. The process is safe and uncomplicated.

  1. TGVWrjnYLtjkMFA2
    • Remove the two 4.8 mm black screws above the lens on the front of the camera.

  2. IPLNHYPpHmCOHSJf
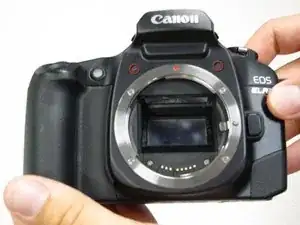
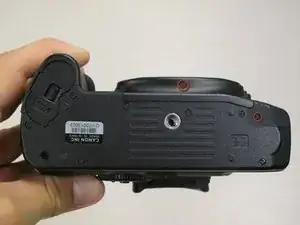
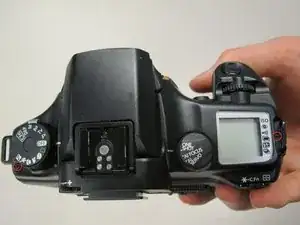
    • Remove the 4.3 mm black screw under the lens ring, and the 4.8 mm black screw under the camera.

  3. SBZy1TStnuPPdPea
    • Remove the 4.8 mm black screw on the left side of the camera.

  4. DUJQI5mCdYhWNZHR
    • Remove the front panel by lifting it away from the camera's body.

    I need a video tutorial

    Abdullah dicky S -

  5. mE64gtuBpWdshJaa
    • Slide the outer eyepiece upward to remove it.

  6. NFZJAjvj4maqofiX
    • Remove the two 4.75 mm black screws located on the top of the camera.

  7. YP5DkaZKpZZpM22p
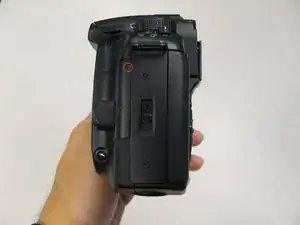
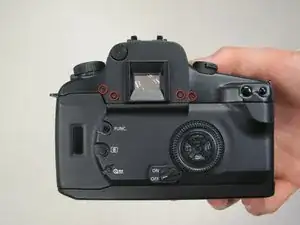
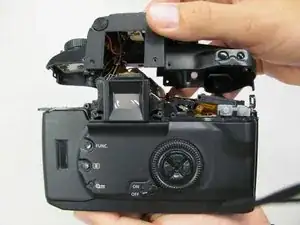
    • Remove the four 4.3 mm black screws near the bottom corners of the eyepiece at the back of the camera.

  8. UhnbNqYUoPMxWQGJ
    UhnbNqYUoPMxWQGJ
    fIIYRJmwdZZSkHVc
    • Slowly separate the top panel from the camera by pushing it upward.

    • Separating the top panel too far or quickly can damage the ribbon cable and connecting wires that are still attached to the top panel of the camera.

  9. Vq1qWiO6NHWheIOf
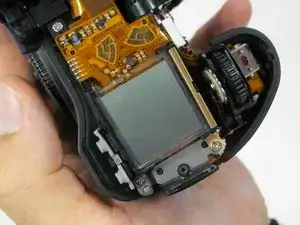
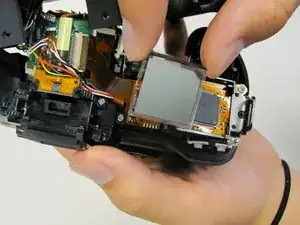
    • To unclip gold connector push the edge up and away from the lcd screen. A plastic opening tool is recommended.

    • The gold connector can fall into the camera, but it will remain attached and can be pulled back up.

  10. G4V2HZMDaHnmPOPU
    • Lift LCD screen out of mount.

Conclusion

To reassemble your device, follow these instructions in reverse order.

Sterling Vinson

Member since: 17/04/11

259 Reputation

2 comments

Thank's , your tutorial nice ... gracias

fajar -

Where do you find replacement lcd screen if the one on the camera is cracked?

Jasmine -