Introduction
With these cameras pushing almost 40 years it is not unlikely that you might have to change a battery. Before assuming that the rangefinder or flash is broken its good to check if the camera just needs a new battery. There should be a “battery check” button on the top of the camera. Hold down the “battery check” button while looking through the viewfinder window. If the needle points to the battery check zone, then the battery is good to use. However, if the needle is pointing away from the battery check zone, then the battery needs replacement.
Be careful that you use the appropriate type of battery. The Canon A35F uses one PX-625 type (1.35V) mercury battery and one alkaline manganese penlight (size AA) battery for the flash, so make sure you have one in your possession before you jump into the guide. These batteries can be found on Amazon or eBay, and are pretty cheap. Prices can range from $3-$5 U.S. dollars depending on the number of batteries you are planning to buy. This guide only requires one PX-625 mercury battery but it is never a bad idea to have some extra batteries.
Tools
-
-
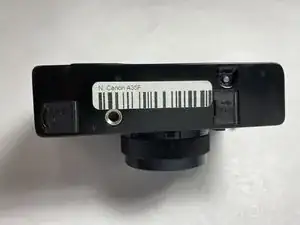
Flip the Canon A35F on its top so that the bottom of the camera is facing up.
-
Spot the two windows on the bottom of the camera (each window has the word "OPEN" written, and an arrow, both pointing the same direction).
-
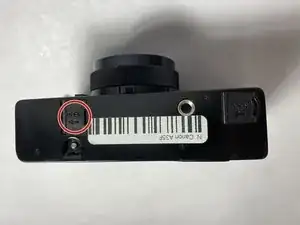
Use your fingernail (or a iFixit opening tool), and push in the direction of the arrow to open the left compartment.
-
-
-
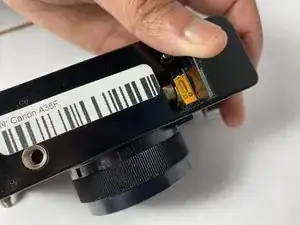
Wipe the PX-625 mercury battery with a clean cloth, so that there are no unnecessary fingerprints on the battery.
-
Place the mercury battery in the slot with the yellow ribbon.
-
-
-
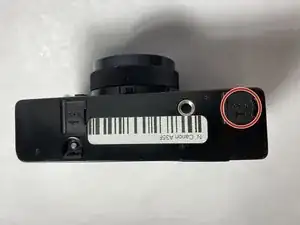
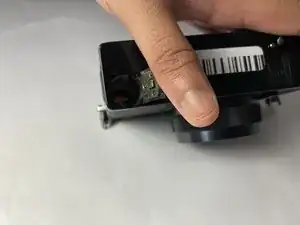
Use your fingernail (or a iFixit opening tool), and push in the direction of the arrow to open the right compartment.
-
-
-
Insert the size AA battery, for the flash, into the compartment (make sure to insert the battery in the right direction).
-


To reassemble your device, follow these instructions in reverse order.