Introduction

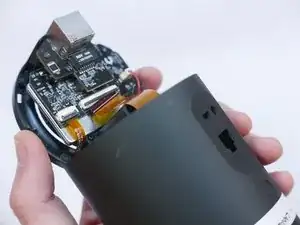
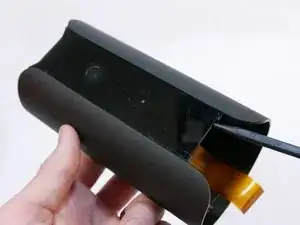
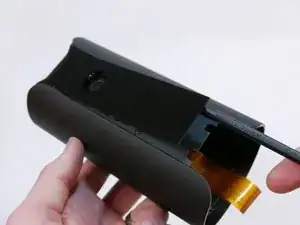
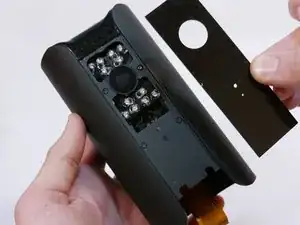
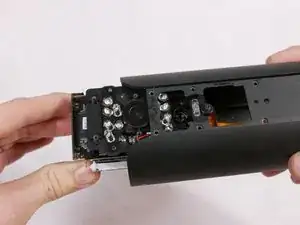
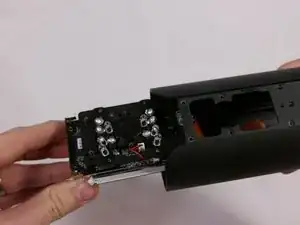
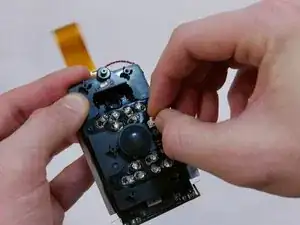
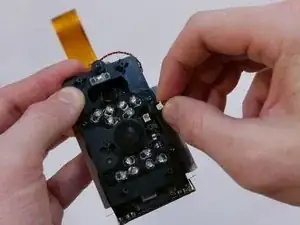
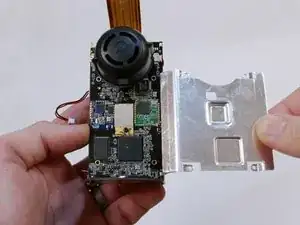
If your camera is malfunctioning, this guide will show you how to replace the camera lens.

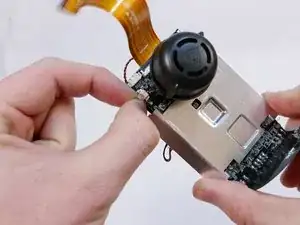
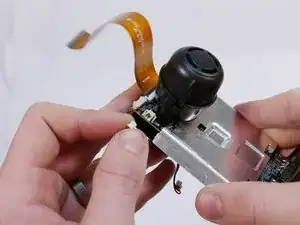
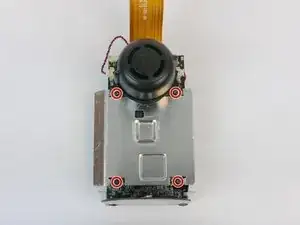
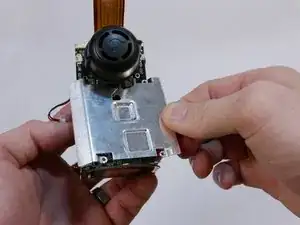
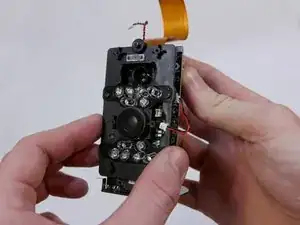
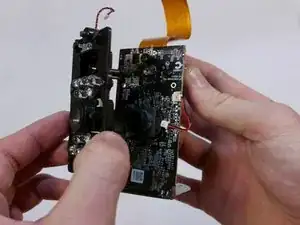
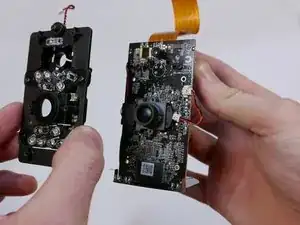
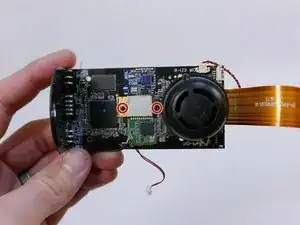
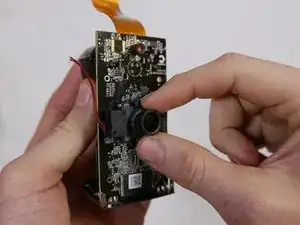
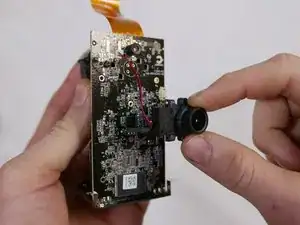
After you have removed the infrared LED board, the only thing keeping the camera lens in is two screws on the opposite side of the motherboard. Remember not to let the lens drop as you remove the two screws.

A Phillips #0 screwdriver can be used for these two screws.

  1. OPTWB51CEVvoWhAU
    OPTWB51CEVvoWhAU
    kZyESEMxuCFDyPmO
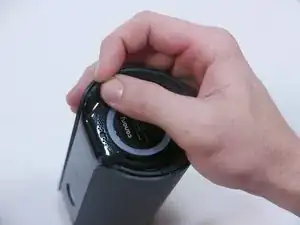
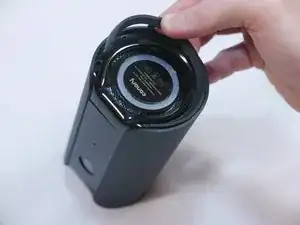
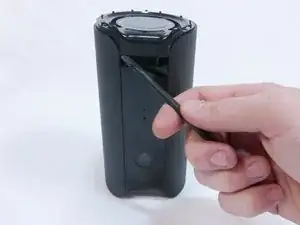
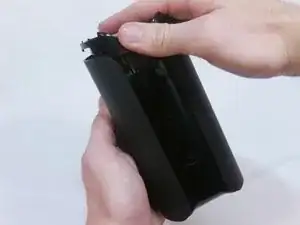
    • Grip the rubber ring with your fingers and pull up.

    • Rotate the Canary as you pull out one tab at a time.

  2. 1fRLBp3uP32YsV3q
    • Use your Phillips #0 screwdriver to remove the four 6mm screws.

  3. wuLst6dohdVhT3Lt
    wuLst6dohdVhT3Lt
    cWQTEGKnYn4ifRws
    DlY3rb2lcHiWXdy3
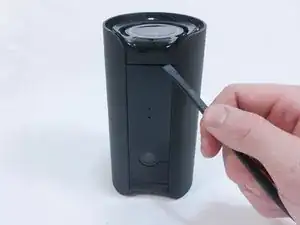
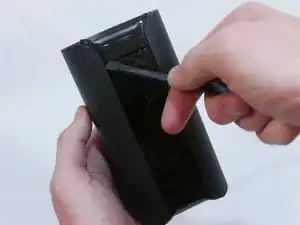
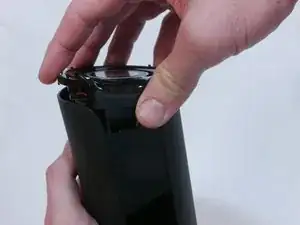
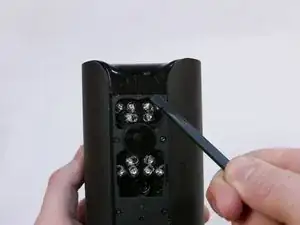
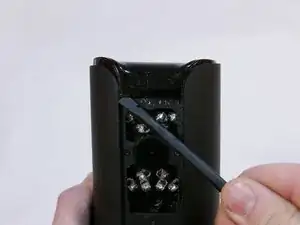
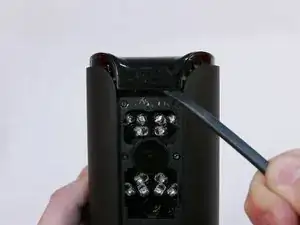
    • Use the flat end of the spudger to carefully pry off the bottom casing.

    • Alternate pushing up on the left and right sides until the clips holding the case in are visible.

  4. TxsILFuLFHIFvrpA
    TxsILFuLFHIFvrpA
    HWpGSyUTNqquruGV
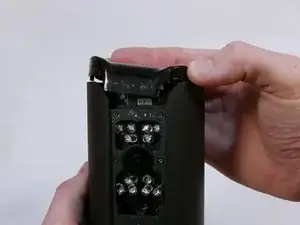
    • Do not yank the bottom off or you may damage the ribbon cable or the ZIF connector.

    • Carefully remove the bottom casing by gripping it on both sides and pulling straight up.

  5. p32bCDuoHumiD1Hp
    p32bCDuoHumiD1Hp
    FGQLTFHKOWyYZUId
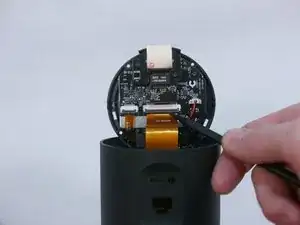
    • Use the pointed end of the spudger to flip up the small retaining flap on the ZIF (zero insertion force) connector.

    • Pull the ribbon cable out towards the device.

  6. HVHgEhSfHVaOSbhH
    HVHgEhSfHVaOSbhH
    WLpdIQQgHoaBD6SQ
    • There are two empty nooks underneath the bottom of the panel close to each side of the case.

    • Place the pointed edge of the spudger in one of the nooks under the panel and pry upwards.

  7. nihcO25ugNEWWD1f
    • Adhesive will have to be reapplied after removing the panel.

    • Pull the panel away from the device.

  8. OpkKNmJl1vKTxkM5
    OpkKNmJl1vKTxkM5
    uEC3hV3yIiwdxiIE
    U53nKx3AVxdkTHoP
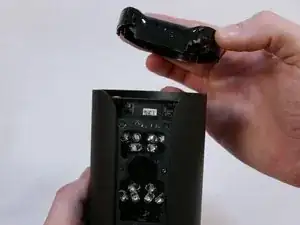
    • Use the flat end of the spudger to carefully pry off the top casing.

    • Alternate pushing up on the left and right sides until the inner clips are released.

    • Do not use too much force or the top may fly off unexpectedly.

  9. 3LMmHxxUxvRWvoKI
    3LMmHxxUxvRWvoKI
    Ku6gEGAEHiwZFK6r
    • Pull the top casing away from the device.

  10. lIh3fCefUAroQXmE
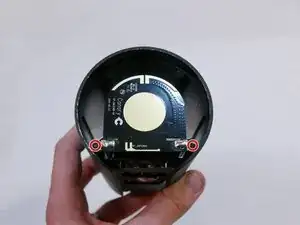
    • Use your Phillips #0 screwdriver to remove the two 5mm screws.

  11. IWDvFPsogpgNFSZc
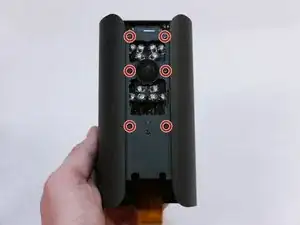
    • Using a Phillips #0 screwdriver, remove the six 6mm screws.

    • The seventh screw in the bottom middle is not connected to the motherboard and does not need to be removed.

    • As you remove the screws, hold on to the motherboard to prevent it from falling and sustaining damage.

  12. pF6lX6qAJlqSpZhY
    pF6lX6qAJlqSpZhY
    iU6TbNpgBeuuxKgq
    IiYeJymLsMmvRfHy
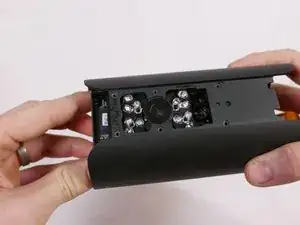
    • Grip the circular part of the motherboard and pull it straight out of the device.

  13. hxyCtcShXYQTBwgw
    hxyCtcShXYQTBwgw
    MYhCLVOKqa1KZK1l
    • Do not pull on the wires themselves as they are fragile and may break from the connector.

    • Locate the power connector next to the lens protector on the infrared LED board. Using your fingers, wiggle the power connector back and forth until it is loose.

  14. Z1ugAsLeNc1H4Afh
    Z1ugAsLeNc1H4Afh
    LZpCTbJXAZJUErwj
    • Find the power connector next to the buzzer that is labelled "MIC IR-LED". Use your fingers to wiggle it back and forth until it becomes loose.

  15. OX4xCSdu6cPy5alm
    OX4xCSdu6cPy5alm
    s13tgYlPXoHIBkaN
    dm5XhkkucjYYM6Bo
    • Remove the four Phillips #0 6mm screws.

    • Lift the heatsink up and pull it away from the motherboard.

    • These screws also hold the infrared LED board in. Be sure to hold it while you remove the heatsink screws.

  16. NoEvhvt53ZMHtpAf
    NoEvhvt53ZMHtpAf
    6EvyYDeWc6ZsYxWN
    6F3TEBII4YHfvJUG
    • Lift the infrared LED board directly upwards and pull away from the motherboard.

  17. 5hLQx3VZXGpXDrrF
    • Remove the two Phillips #0 5mm screws.

    • Hold the lens assembly on the other side of the motherboard to prevent it from falling as you remove these screws.

  18. 5V4wZ14eSRtBRgel
    5V4wZ14eSRtBRgel
    6HiqwKcMhvfnTd34
    M1MOWNvWmMtxv3Xp
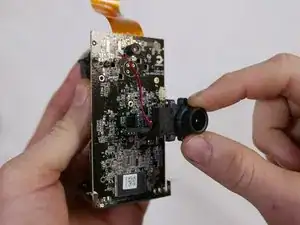
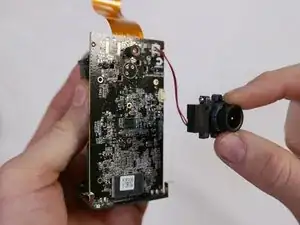
    • Using your forefinger and thumb, grip the top and bottom of the lens assembly and pull away from the motherboard.

Conclusion

To reassemble your device, follow these instructions in reverse order.
Kristopher Gates

Member since: 28/02/17

399 Reputation

0 comments