Introduction

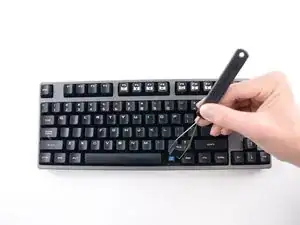
This guide will go over how to replace the switches on a CM Quickfire Rapid keyboard.

  1. KLmECdHqMdRaZDaO
    KLmECdHqMdRaZDaO
    G1ClLiBoudVVGMV5
  2. ZZaBHkDQv2cQlrAF
    ZZaBHkDQv2cQlrAF
    nrtA6mtI5oWJKmiQ
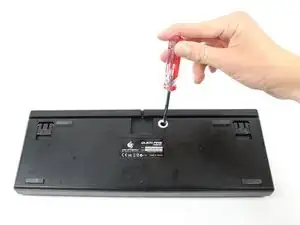
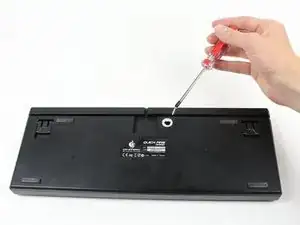
    • Using a Philips #0 screwdriver, remove the .5cm screw from the back of the keyboard.

    • This will void your warranty!

    • When inserting the screw after replacing the switch, make sure to not screw in too tight. This may cause erratic behavior with the keyboard.

  3. h3NcKurMfnasb6fZ
    h3NcKurMfnasb6fZ
    cFsuOPVVlF3cpgxv
    uQsxaAgW6ttGpIxf
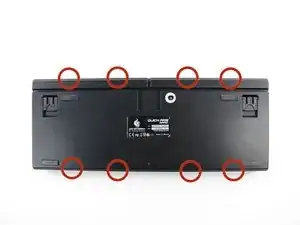
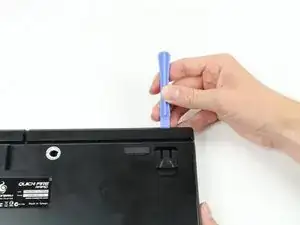
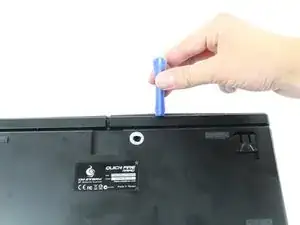
    • Wedge a plastic opening tool between the rear plate and rim of the keyboard and slide it through the circled areas to separate the plastic hooks that mount the rim to the rear plate.

  4. CGGLQhwItZpo6OUa
    CGGLQhwItZpo6OUa
    AAsIrHUJPbOLvE5T
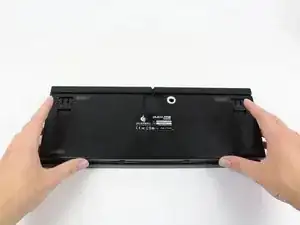
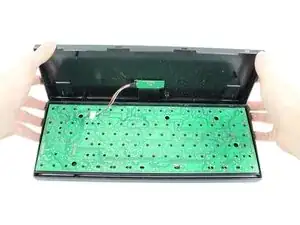
    • Firmly grasp the bottom panel of the keyboard and carefully detach it from the rest of the board.

    • Do not put strain on the ribbon cable when lifting the bottom panel.

  5. gDeUt6CcR122KwU6
    gDeUt6CcR122KwU6
    ZUgJAaRpJLxsdpDc
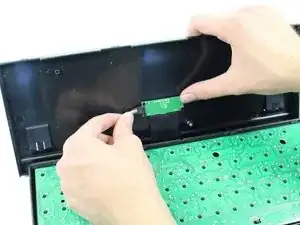
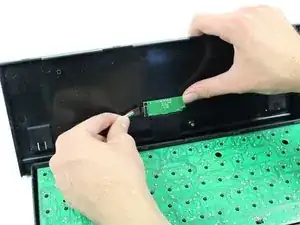
    • Detach the 4-pin cable from the bottom panel of the keyboard.

    I found it was actually easier to remove the board the cable was connected to rather than trying to actually disconnect the cable, less chance of damaging it.

    J Ad -

  6. PPweVBh5QCUIBXeB
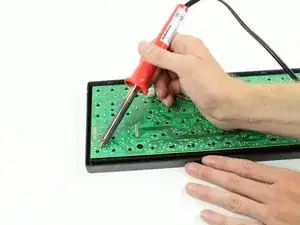
    • Desolder the joints holding the switch to the board.

    • Remove the switch and solder the new switch in place.

    how to know witch joints to Desolder

    Dominique Dubbeldam -

    It’s pretty easy as it happens. When you buy the replacement switches you can see that they have two connection prongs, arranged at a slight diagonal. And on the back of the circuit board each pair of diagonally displaced soldered joints is conveniently marked with the character to which it corresponds (Q, W, 1, 2 etc.). So just find the marked pair and desolder them.

    Adding the new solder points is dead easy because the switches will already be clipped firmly to the board. Each point only takes three seconds to do.

    Also bear in mind that you’ll need to use your spudger/pry tool to unclip the existing switch at both the bottom and the top ends after desoldering it, to detach it from the board.

    Kaitain -

    Remeber to desolder the led (top/bottom depending on the key) as well otherwise you'll shear it off.

    J Ad -

    It looks like the replacement switch had two extra little legs that stuck out below the switch that prevented it from going in place, so I snipped them off with some wire cutters.

    Charles S -

Conclusion

To reassemble your device, follow these instructions in reverse order.
Andrew

Member since: 12/10/14

321 Reputation

0 comments