Introduction

  1. MqY4m6HTtiwiqJIg
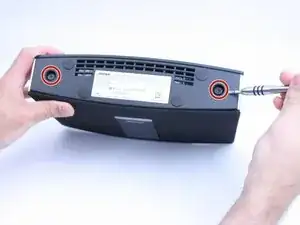
    • Remove the two T-10 machine screws at the bottom of the device.

  2. bNKZWP5RJg6hLToF
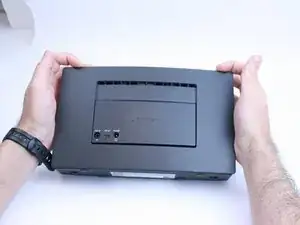
    • Turn the device around.

    • From the top, lightly push down the back cover to release it.

    • Lift the bottom of the cover and pull it up.

  3. KWYRrIDSmOy6Zx4W
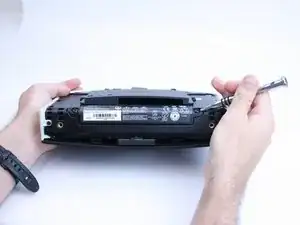
    • Remove the two T-10 machine screws, then pull the battery straight out.

  4. gQMLAKEOQB4rhVxU
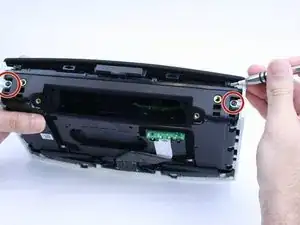
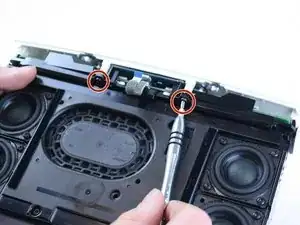
    • Remove the two screws using a torx screwdriver.

  5. epUmbYVnM4TYIH63
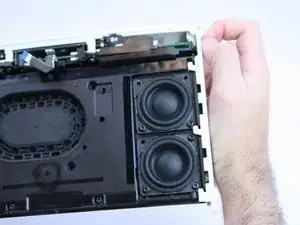
    • With the bottom of the device facing you, pull down the trim pieces to remove from the device body.

  6. slxKNkeJKaIHKtvq
    slxKNkeJKaIHKtvq
    kw1ZGG2OAl5qTYqm
    • Remove four T-10 Torx screws; there are two on the front and two on the back.

  7. YkbiuYJiHQllCTAo
    YkbiuYJiHQllCTAo
    ltaYdpkWBjvoS5mv
    rOLhowe24vKnQPyl
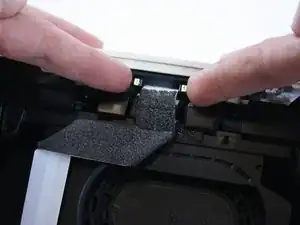
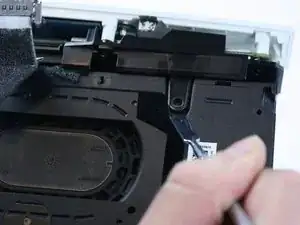
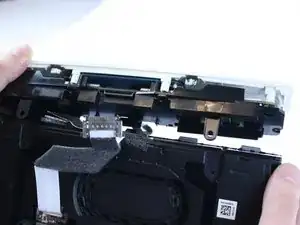
    • Pinch and remove the connectors.

    • Use a flat tool to pry off the top piece.

  8. ZBMYqVuGcAfKN1LC
    ZBMYqVuGcAfKN1LC
    tEOF54LEx1rNLdow
    XVdvWHB6Iy5bNvTe
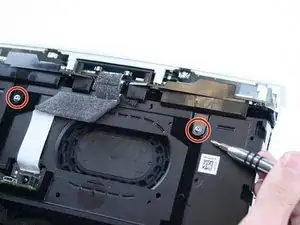
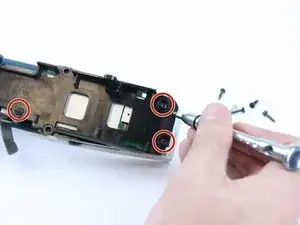
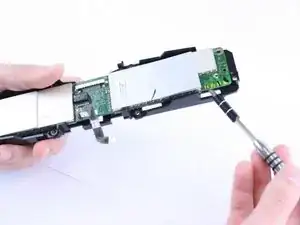
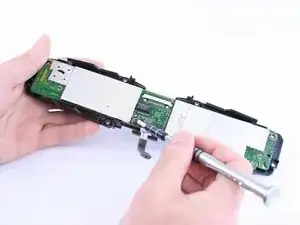
    • Remove the four T-10 Torx screws holding the plastic cover in place.

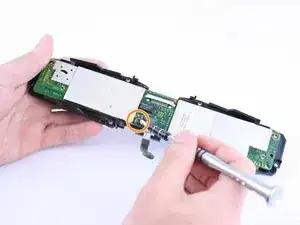
    • Remove the one T-10 Torx screw that is holding the motherboard in place.

    • Pry off the motherboard.

Conclusion

To reassemble your device, follow these instructions in reverse order.
Chelsea Martin

Member since: 20/02/17

697 Reputation

0 comments