Introduction
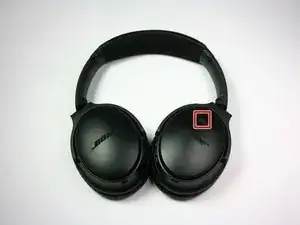
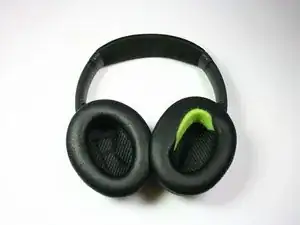
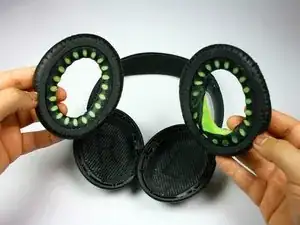
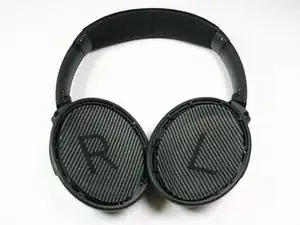
If the ear pads on your Bose QuietComfort 35 headphones become worn down and begin to break down or tear, use this guide to replace the ear cushions and scrim mats.
Ear pads influence noise isolation and audio quality in addition to offering comfort and providing grip. Worn down ear pads will reduce noise isolation and will provide less comfort while using your headphones. Depending on how often you use your headphones, you will need to replace the ear pads every 18 months to 2 years.
Before beginning, make sure to power off your headphones completely and disconnect from any external power source.
Tools
Parts
-
-
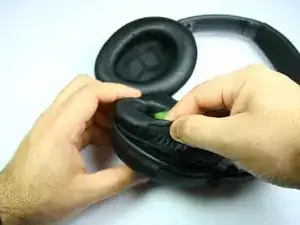
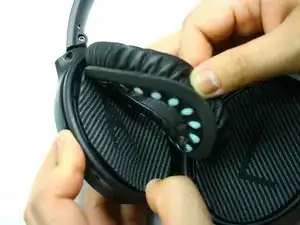
Firmly squeeze the torn portion of the ear cushion while grasping the plastic ear cup.
-
Pull the cushion toward the center and up to remove them from the fasteners.
-
Repeat this on all sides of the cushion until it's freed from the ear cup.
-
-
-
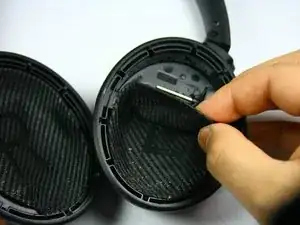
Take the top end of the scrim mat while firmly holding the plastic earcup.
-
Peel it back and away from the plastic to break the adhesive and remove it from the ear cup.
-
-
-
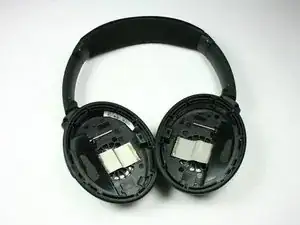
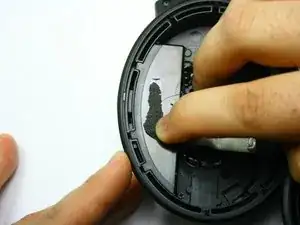
Using your fingernail or a spudger, to scrape away remnants of the scrim mat from both sides of the plastic earcup.
-
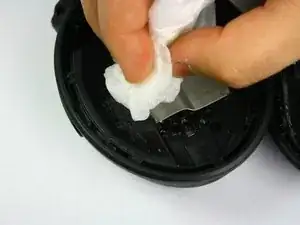
Use a paper towel dipped in rubbing alcohol to scrub any excess adhesive from the plastic earcup.
-
-
-
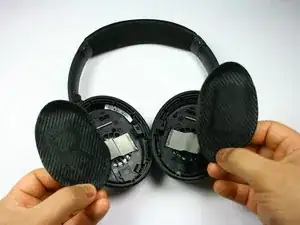
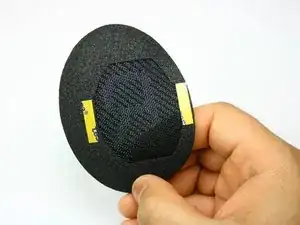
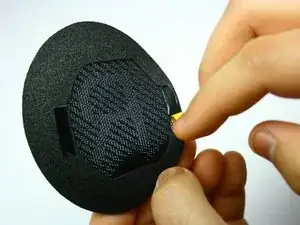
Holding the replacement scrim mat firmly, peel the tab covering the new adhesive on each side of the new scrim mat.
-
Place the new scrim mat inside the empty earcup, covering the exposed speaker and interior electronics.
-
Repeat the above steps with the second replacement scrim mat.
-
-
-
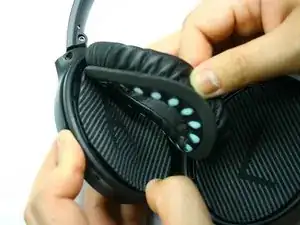
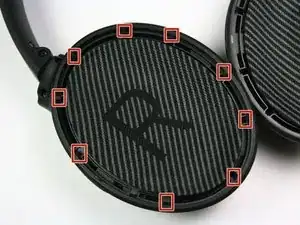
Align the cushion with the ear cup, and expose the plastic ring underneath the cushion by pulling the cushion back slightly.
-
Slide and press the plastic ring into the first clip until you hear a clicking sound. Repeat for the remaining clips.
-
Repeat the above steps for the second ear cushion.
-
Confirm that the ear cushions are secure.
-
To reassemble your device, follow these instructions in reverse order.
