Introduction

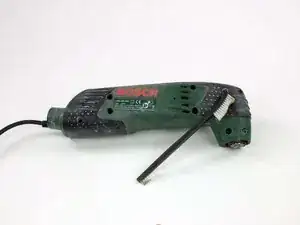
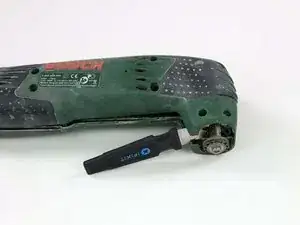
Your plug is damaged on your Bosch PMF 180 E? With this guide, you can exchange it!

  1. M3DFATXFMfxiIAbA
    M3DFATXFMfxiIAbA
    15tA1LMnMRJOtwWo
    • Absolutely disconnect the device as the first of the power (;-). Safety first!

    • If necessary, just a little bit of external cleaning so that when opening no additional dirt into the housing interior. for example with the fine brush but it is also an old toothbrush or a bristle brush, etc.

    • Very useful: An exploded view with spare part designation at the end of the description.

  2. c1aNfAI2H3A3Nhxw
    • Loosen 9 screws (combination screw T20 / slot # 5)

    • Tool: T20 / TR20 which u.a. included here. Or with a flat-head screwdriver # 5. I recommend a T20 / TR20 because it handles better without damaging the screws.

  3. E65YZrvrODHsALRL
    E65YZrvrODHsALRL
    do1xv3rwC1wAOS2s
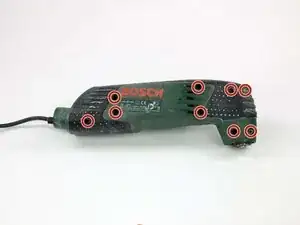
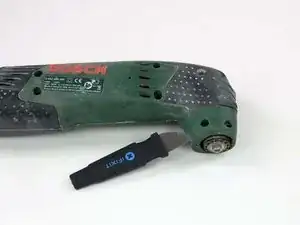
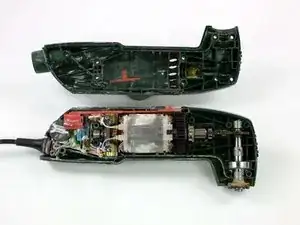
    • With a flat object, the housing can now be easily opened along the seam. For example, with Jimmy, which is shown here. It also works with a flat knife or a thin Japan spatula.

    • If the unit is heavily used / dirty, simply pry slightly at several points along the seam until the case opens without force.

  4. idXreX5kyte3mPmb
    idXreX5kyte3mPmb
    vyngHRkpkC3hcWh1
    bEbFoFN2bIweeyyv
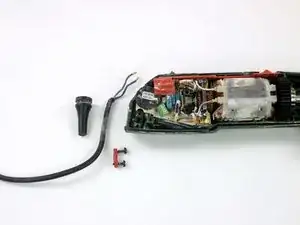
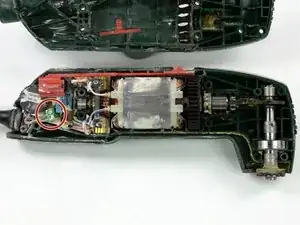
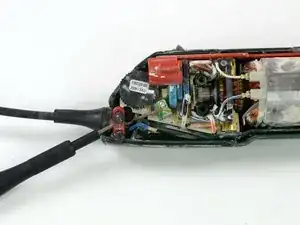
    • The housing is now open and further steps can be taken.

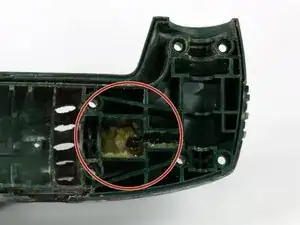
    • If necessary can now be cleaned. (in this picture you can see that it is obviously necessary)

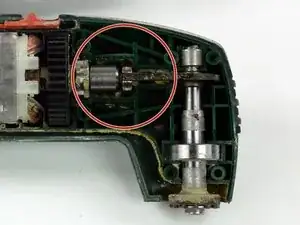
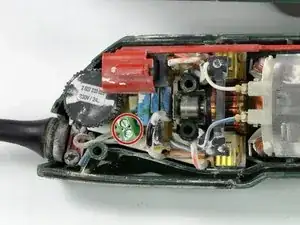
    • Do not remove the grease! The drive needs that. Of course, it can also be replaced by a new one.

  5. CCjjgvTWSkF5XmPG
    CCjjgvTWSkF5XmPG
    HX2HsBpw2FmQ6JGT
    • Now first loosen the two slotted screws # 3 so that the wires can be pulled out of the clamp.

  6. lg1GuwH3Fu3TH5pG
    lg1GuwH3Fu3TH5pG
    BQQUHjLLwQuW2KKL
    • Pull the wires out of the holder with a gripping tool. For example, with a pair of tweezers or a small, flat pair of pliers.

  7. AQsYYiw4EeZnqyAA
    AQsYYiw4EeZnqyAA
    PBVNTFYc6e1c3TKJ
    4PKEIRukERWOSdBq
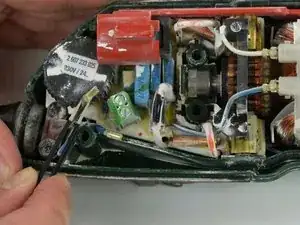
    • Now loosen the two screws (T20 / slot # 5) of the cable lock and remove the clamp.

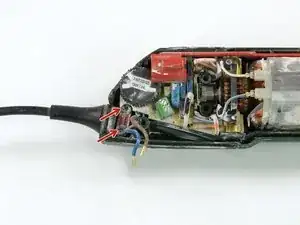
    • The cable can now be pulled out of the grommet and replaced

Conclusion

Repeat the steps in order to reassemble your device.

Sandro Torchella

Member since: 04/05/17

290 Reputation

One comment

To right of green holder there is a looped black and white wire that goes underneath. Where does it attach to as mine is loose below coil, between coil and case. Tool just stopped working mid use. No burning smell and no other loose connections. There is a moulding.on case that it fits into but no attachment anywhere. Coil has a small dent where small bend in wire appears to have sat

MsMacGyver -