Introduction

This disassembly can almost be done without breaking the case. However I discovered that too late.

In my case the motor spins using a 12v supply. The problem was the heat fuse which had gone off.

  1. Tk4MwVtteZvwcrtD
    • IMPORTANT! Position the speed control to the number 2 (to avoid breakage).

    • Then pull the cap out using some force

  2. XEGLRyiWeEolYQvQ
    • Hidden behind a plastic piece which pops of pretty nicely

  3. tXR15SnOZ2qJUUCL
    tXR15SnOZ2qJUUCL
    fRADSNl6UpPs1leu
    GOY1ZTeoggmrPBfR
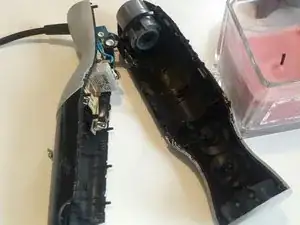
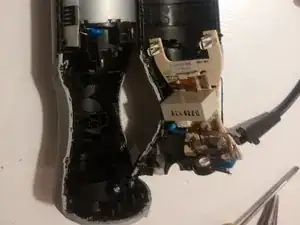
    • Use a knife to cut the soft gray rubber along with the two sides ( on each side of the power buttons)

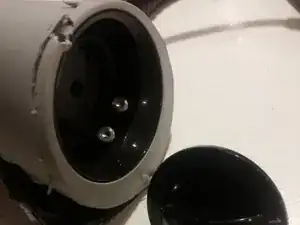
    • Note the small pegs on the inside be careful not to break them!

    • Before touching any electronics make sure you short all capacitors inside! Otherways you might get shocked! http://www.wikihow.com/Discharge-a-Capac...

    Getting the case open was a real "pig". I cut through the grey rubber coating at the top, then prized it open near the cable entry, and worked down towards the motor. One shell has a lip and 7mm long pegs that grip into tight holes on the other shell. I eventually found a way to pull it open (taking screws out was a doddle, but this case is a pig) anyway, near the motor end, you can squeeze in a flat blade screw driver above the two tool release buttons, angle the blade upwards towards the motor and press down against the outer motor case to lever the plastic shells apart. trying to do this from the sides is a nightmare... I'll see if I can add some photos.. Shells separated, you can see the pegs and the 2 holes where the tool release button fits. this is a google photos link, should be OK

    franklydude -

  4. hQNBmIFnrKRVERQi
    hQNBmIFnrKRVERQi
    eTjGF2tdcgKWrkCa
    navNfCvmEIHqbAOk
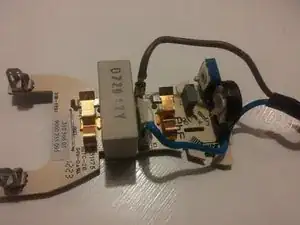
    • The turbo mode just passes an heat and current fuse before the voltage is applied on the motor.

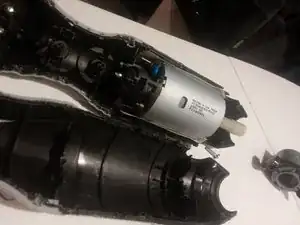
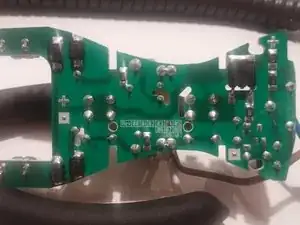
    • The motor control board is easily deattached from the motor

  5. 3GWXtenIobClfN3a
    3GWXtenIobClfN3a
    gWhGbZoJx6oXAMNe
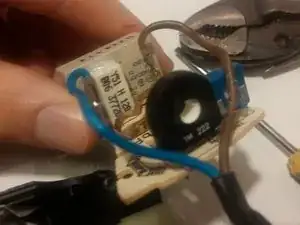
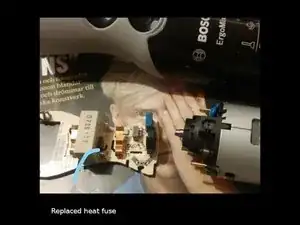
    • The heat fuse (white component 'Y51 H 120...' next to the blue wire) is of the type: 120 degrees Celcius, 3 Amperes and it handles 250VAC

    • Check the heat fuse by measuring the resistance over the heat fuse, it should be very close to 0(mine was 0.03 ohm) if it's working. NOTE: even though it's resistance is 0 it could still be the close to broken. When current current passes through it might build up resistance.

    • My motor did spin with 12v applied directly to it's poles(though not very fast). The fault of my machine was that the heat fuse had "blown off" after replacement it worked perfectly again!

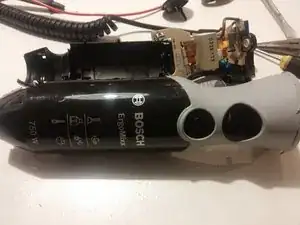
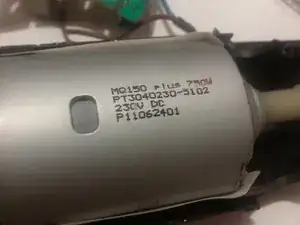
    • The DC motor is specified to 230v and is of a brushed type.

  6. o6DTDGZFbZNfTQGl
    • I succesfully used an heat fuse from ebay with the following specifications : * Temperature Rating: 131° * Current Rating: 3A * Voltage Rating: 250Vac * Body Width: 6mm * Body Height: 6mm * Body Depth: 2.5mm

    • I used a heat glue gun with pretty decent results, I wanted to make it "waterproof" again.

Conclusion

To reassemble your device, follow these instructions in reverse order. Note that it will look "opened" afterwards.

Endorph

Member since: 07/10/14

2097 Reputation

0 comments