
Introduction
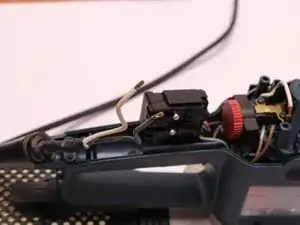
Purchase a new On/Off Switch. The sander should be unplugged from any power sources. Make sure you organize the removed screws, so you can reinstall them in the correct location.
-
-
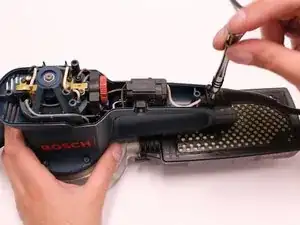
Using the T20 Torx Screwdriver, remove the four 15.6 mm screws securing the top cover to the sander.
-
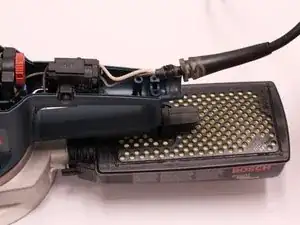
Lift the top cover off the sander.
-
-
-
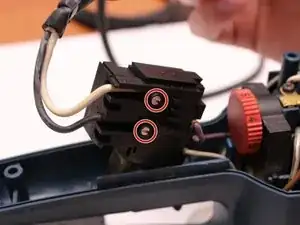
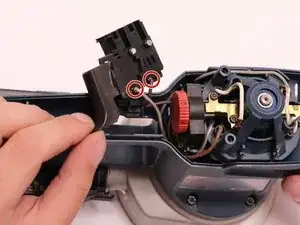
Using the T20 Torx Screwdriver, remove the two 15.6 mm screws securing the cable clip to the motor housing.
-
Lift the cable clip and cord from motor housing.
-
-
-
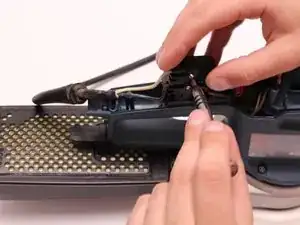
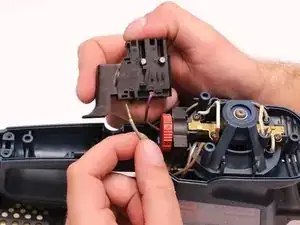
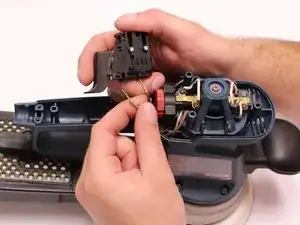
Using the 2.5 mm Flathead Screwdriver, loosen the two screws securing the white and black wires to the On/Off Switch.
-


Conclusion
To reassemble your device, follow these instructions in reverse order.