Introduction
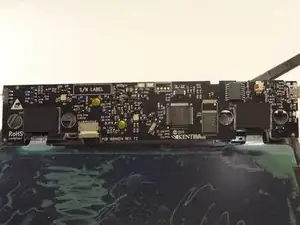
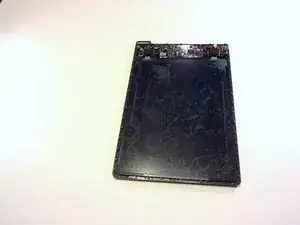
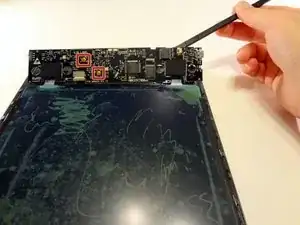
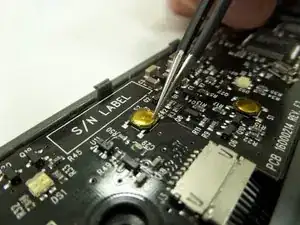
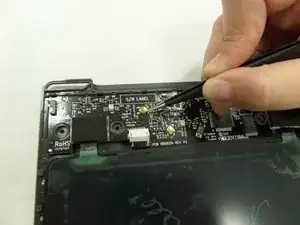
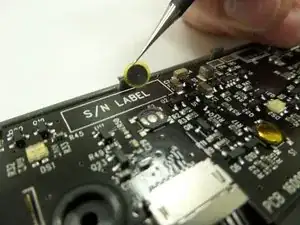
This guide will provide the steps to access the internal components including the motherboard where the copper button plates are located.
Tools
-
-
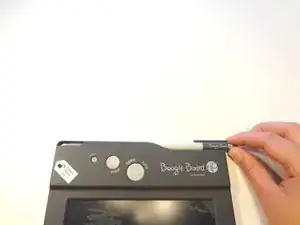
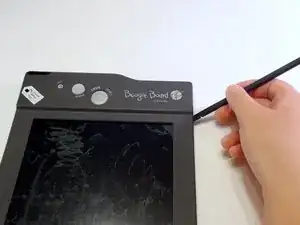
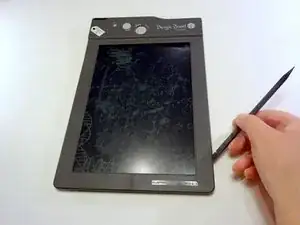
Remove the stylus if it is in the housing at the top of the device.
-
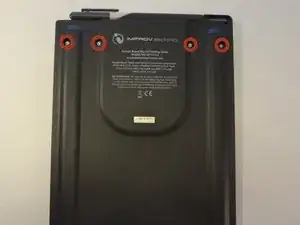
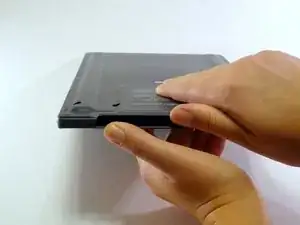
Turn the device so you are looking at it from the top down.
-
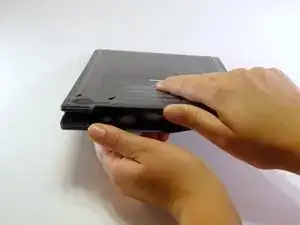
Using your thumbs on each wall of the stylus housing, open the frame of the device by gently pulling the two sides apart.
-
-
-
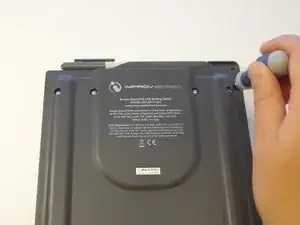
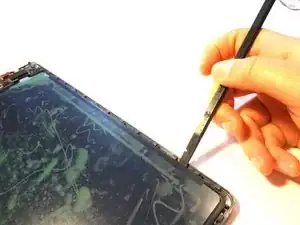
Insert a spudger into the seam between the front and back plates of the frame. Unsnap the snaps around the entire frame of the device.
-
Remove the front face plate by pulling it straight up.
-
-
-
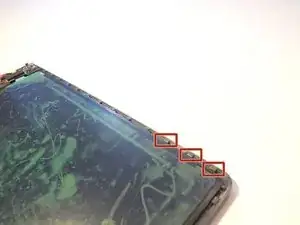
Use a spudger (or gently bend the back plate of the device) to unsnap the snaps holding the screen in place.
-
-
-
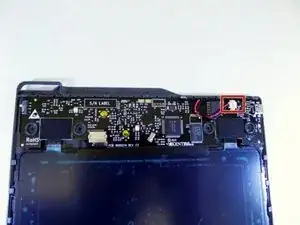
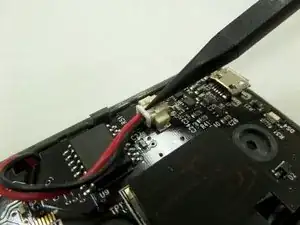
With a spudger, press against the lip of the connector closest to the wires to remove the battery connector from the motherboard.
-
-
-
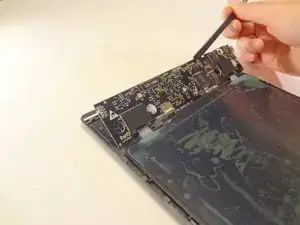
Gently lift the motherboard with a spudger or small object by inserting it in the seam between the back frame and the motherboard.
-
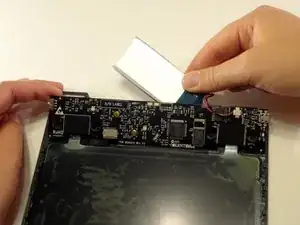
Remove the battery hidden behind the motherboard.
-
To reassemble your device, follow these instructions in reverse order.
