Introduction

  1. nNZsWdQWxPTK3Y1w
    nNZsWdQWxPTK3Y1w
    jHRbJ5Oamy4LpjfX
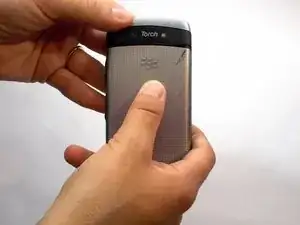
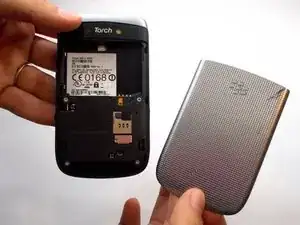
    • Remove the back cover of the phone

  2. JIemLiFHGjWLQRRA
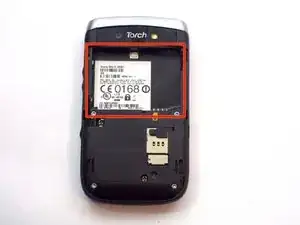
    • Remove the battery

  3. Zwg21VDolWeBaVXF
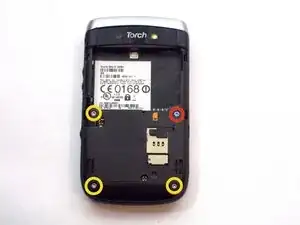
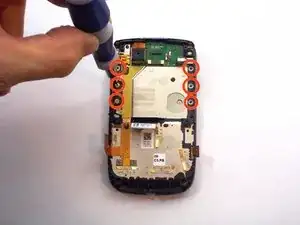
    • Unscrew the four screws using the T6 screw driver.

    • If you remove the screw in red, you void the warranty!

  4. qVhJu1mbJ1wLQTcj
    qVhJu1mbJ1wLQTcj
    UIsskhtN1BYJnkkd
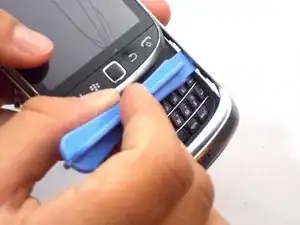
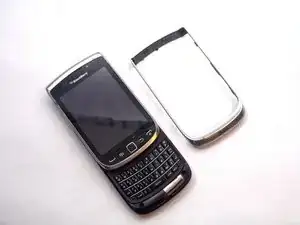
    • Slide the screen up.

    • Remove front silver trim by using a plastic opening tools and wiggle it off.

    • This is difficult to remove, but it should come off if you do it with caution.

  5. eSQdPMolJH5HCTsg
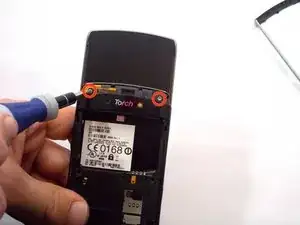
    • Once you remove the rim cover, you should find two more screws on the top. Unscrew them with a T-6 screw driver.

  6. QGrQyWkZbHFdVfAY
    QGrQyWkZbHFdVfAY
    1OFQCbaL1LB6DXpM
    yiOrpPKGZVgAajkO
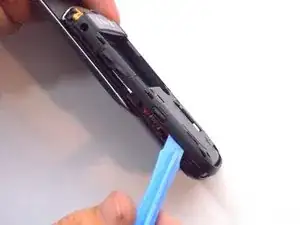
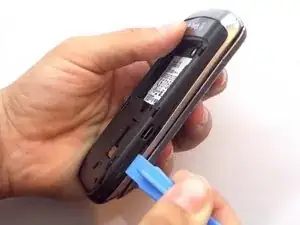
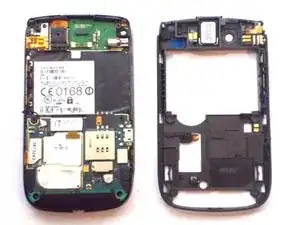
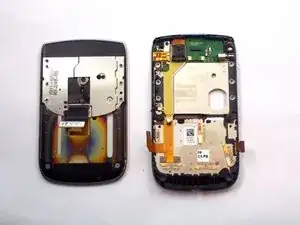
    • Use the plastic opening tools to remove the entire back off the phone.

  7. LQn3eUEWI1Cueu5p
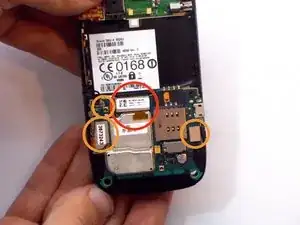
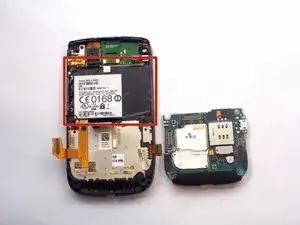
    • Remove the three ribbon cables and the antenna wire by hand.

    • The cable in red is glued to the metal cap. Peel it upwards towards the battery compartment.

  8. ni6B3Hw23E2wYLnL
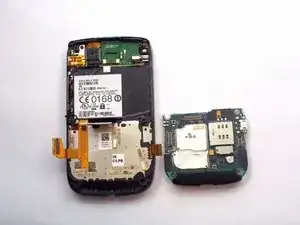
    • The logic board will easily pull straight out.

  9. lAa5KfTtuys5UcIF
    • Remove the black sticker located above the logic board that contains the phone's serial number

  10. QKReKAkFFV3BPhI2
    • Behind the black sticker you should find six small yellow screws. Remove them with a T4 torx screwdriver.

  11. MUjvS6hTjAAPOLcS
    • Carefully separate the screen from the body.

    • Make sure to be extra careful with the ribbon!

  12. LCTrllnvcRQatLkM
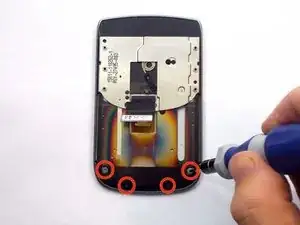
    • Slide the silver plate up and you should find four more screws that need to be removed. Use a T-4 screw driver.

    • They are on a black cover located on the bottom of the phone. The black cover will come off

  13. 2yfIUfOKtHWb4MIa
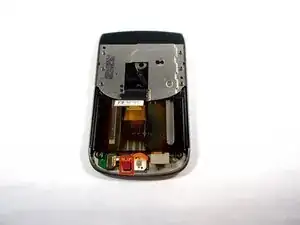
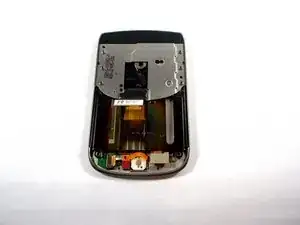
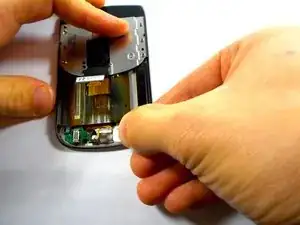
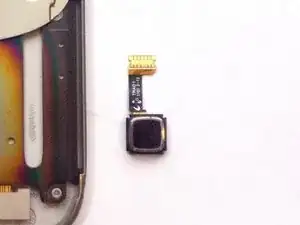
    • There is one last orange ribbon cable that needs to be pulled and behind it is the cursor

  14. jQvTjLd1MbcfbUW4
    jQvTjLd1MbcfbUW4
    Csxp4Y5g4eZrxTYK
    XPjBudKfOcThJudB
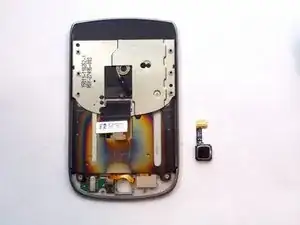
    • Push the cursor upwards and out of the socket.

    • Gently pull out the white box by pulling straight out of the socket to the right. This is your cursor

Conclusion

To reassemble your device, follow these instructions in reverse order.
Jocelyn Adorno

Member since: 16/10/14

296 Reputation

0 comments