Introduction
This guide is a single step that is a prerequisite for the screen and keyboard guides.
Tools
-
-
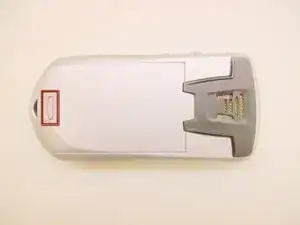
With the back of the device facing you, press down on the button while sliding the battery casing away from the speaker to remove it.
-
-
-
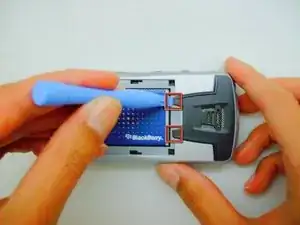
Use a plastic opening tool or fingernails to unclip the two hinges of the speaker covering and remove it.
-
-
-
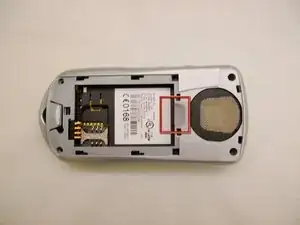
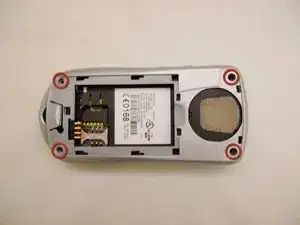
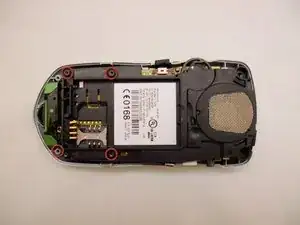
Remove the four screws indicated in the picture with a #T6 Torx Bit screwdriver and set them aside.
-
-
-
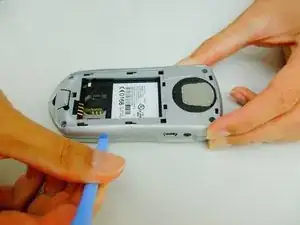
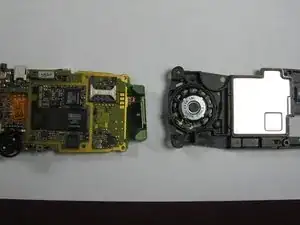
Use a plastic opening tool or your fingernails to remove the plastic backing.
-
Start with the seam indicated in the picture and slide the plastic opening tool until the case is seperated.
-
-
-
Unscrew the four screws indicated in the picture with #T6 Torx Bit screwdriver.
-
Place the four screws released from the phone in a plastic bag.
-
-
-
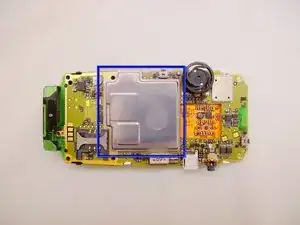
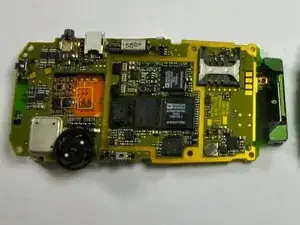
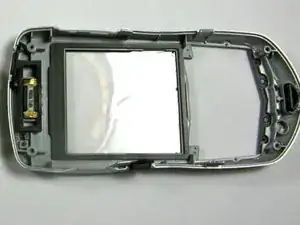
The silver piece is not attached to the logic board in any way, and can be taken off by lifting it up with plastic opening tools.
-
To reassemble your device, follow these instructions in reverse order.
