
Introduction
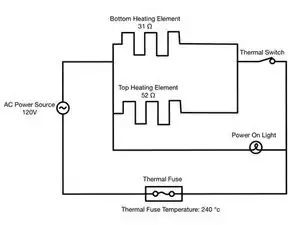
This guide will show how to disassemble the Black and Decker The ShellBaker Meal and Desert Maker G400/G450, as well as explain the electrical schematic of the appliance. The ShellBaker is a simple device used to bake dough into shell shapes, so the main problem that can occur with the ShellBaker is that it doesn't heat properly. This device will explain how to take apart the ShellBaker to reach the heating mechanism so that it can be fixed. The ShellBaker does not have an on/off switch so make sure to unplug the appliance while repairing it.
Tools
-
-
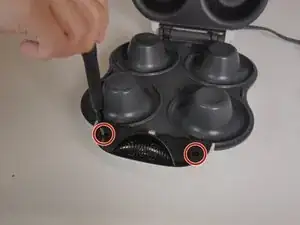
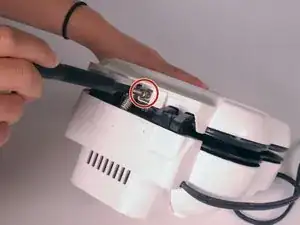
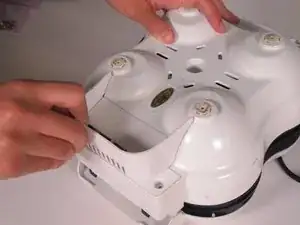
Open the ShellBaker such that the outdented pan surface is facing up, and the handle is facing toward you.
-
Remove the two 12.7mm screws on either side of the handle using a Phillips #2 screwdriver.
-
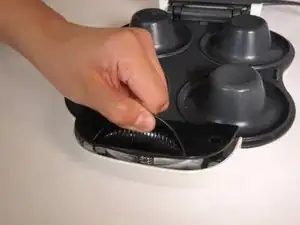
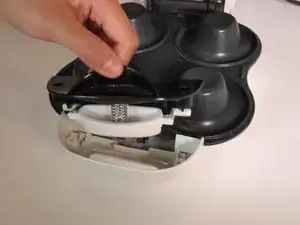
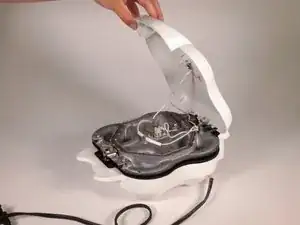
Remove the handle from the ShellBaker.
-
-
-
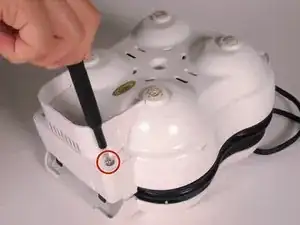
Orient the ShellBaker so that the back end is facing you.
-
Remove the 19.1 mm screw located above the bottom stand using a TR25 Torx Security screwdriver.
-
-
-
Flip the ShellBaker over so that you are looking at the bottom of it.
-
Remove the two 12.7mm screws on the end opposite the handle that attach the bottom stand to the base of the machine with a Phillips #2 screwdriver.
-
-
-
Remove the bottom stand from the base of the machine.
-
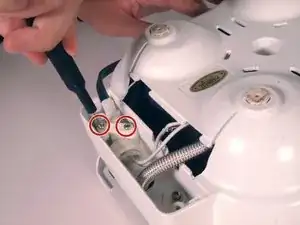
Remove the two 12.7mm screws on the clip that keeps the power strip in place using a Phillips #2 screwdriver.
-
Remove the clip to release the power strip.
-
-
-
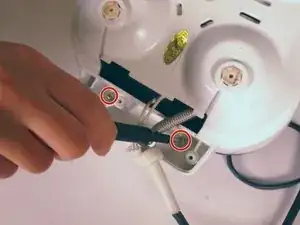
Remove the two 12.7mm screws revealed in the bottom stand of the machine using a Phillips #2 screwdriver.
-
-
-
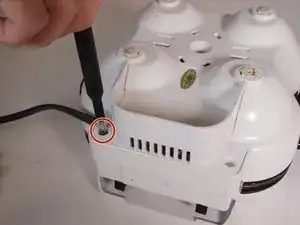
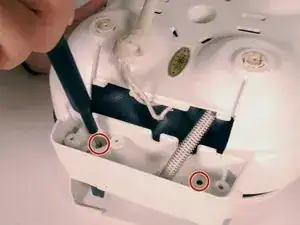
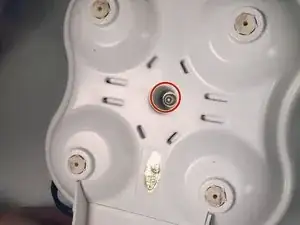
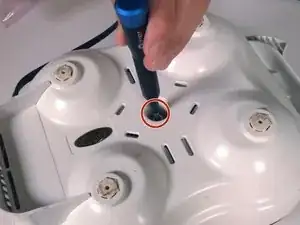
Keeping the machine face down, remove the 19.1 mm screw in the center of the base using a TR25 Torx Security screwdriver (also known as Torx Tamper Proof screwdriver).
-

To reassemble your device, follow these instructions in reverse order.