Introduction

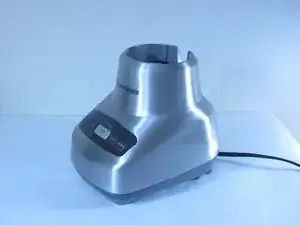
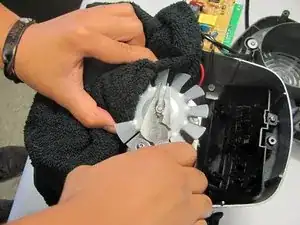
Upon completion of this guide, you can successfully install and replace the motor fan for you blender.

  1. XP1pNksXIg1JuZiu
    XP1pNksXIg1JuZiu
    mLjpsoHSZOE3dVUA
    • Before disassembling the blender base, make sure the blender disconnected from any power outlet.

    • Lift the jar straight up from the base without tilting the jar.

  2. SdajC3TWRuQLTsF1
    • Remove the top three 1/4 inch base screws using a Philip's head screwdriver.

  3. OFskxagS5s2sMh1S
    OFskxagS5s2sMh1S
    WkxxOcS5KSCrRQFH
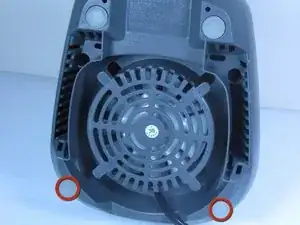
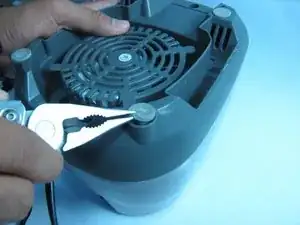
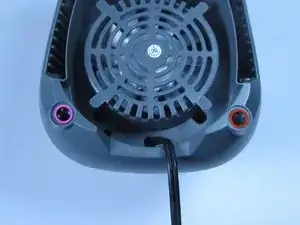
    • Remove the two base leg covers next to the power cord using pliers or a flat-head screwdriver.

    • This provides access to the base screws beneath.

  4. V2qRJCVqgwuJVHQE
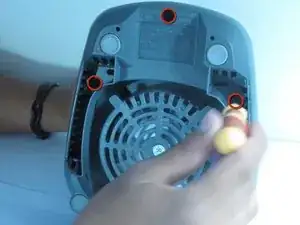
    • Remove the following screws that secure the top and bottom halves of the base.

    • One 1/4 Phillips screw

    • One TA-20 screw

    • Both screwdrivers must have a minimum of a three inch shank (length).

    • Screwdrivers with extenders will not fit down the access holes.

  5. mWFNnbdsILQ6UMoR
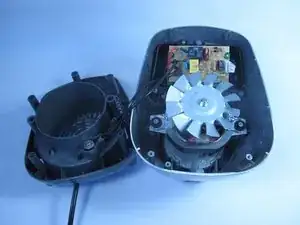
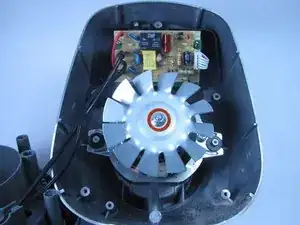
    • Lift the top half of the base from the bottom half of the base to reveal the internal mechanism.

  6. EJIbWMGlHgTyQBxL
    EJIbWMGlHgTyQBxL
    BKA6NgWPji4VaESX
    • Using pliers, remove the top nut from the fan and remove the washer.

    • Use a small towel to hold the fan in place. This makes taking off the nut easier to do.

  7. IhXQKQCOO4mCkhJI
    • Lift the fan blades from the blender base.

Conclusion

To reassemble your device, follow these instructions in reverse order.

Andrew

Member since: 05/10/12

209 Reputation

One comment

mon mixeur a montre des itincelles et de la fumeé quel étape puis suivre pour le réparer

abdelkarim hassi -