Introduction

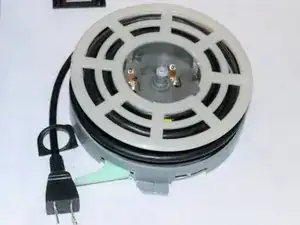
When you press the retract button on the front of the vacuum, does the power cord not move? If so, here is the guide to replace the entire cord and reel.

  1. HMdCijVwkd5FwkXP
    HMdCijVwkd5FwkXP
    ZfNDYULfbNB32eTw
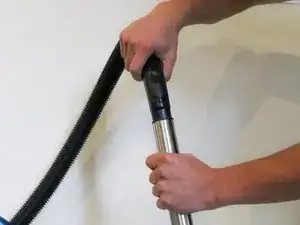
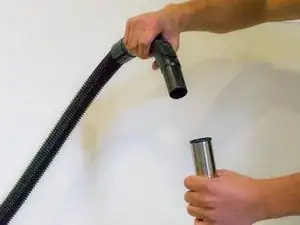
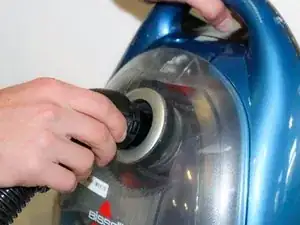
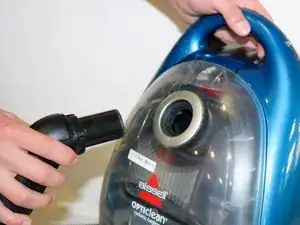
    • Grab hold of both the flex hose handle and the extension wand.

    • Pull straight out to detach the handle from the extension wand.

  2. 4xxkDdwXBjiRGadK
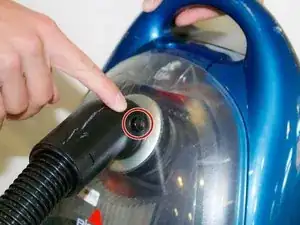
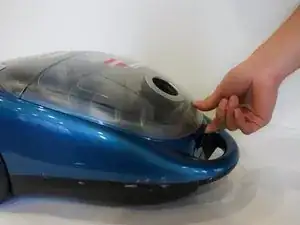
    • Locate the lock clip on the other end of the flex hose.

    - color code this step to match the red indicator

    -watch out for the lighting (hard shadows)

    Austin Marshall -

  3. KaLcVcuHLpZWRutX
    KaLcVcuHLpZWRutX
    BQeHDAUAEEHlZU2F
    • Hold down the lock clip to unlock the flex hose from the vacuum.

    • Remove the flex hose from the vacuum.

  4. 6RNbQsa2NjkYETlR
    6RNbQsa2NjkYETlR
    rnerBxgiXdPAkian
    aYvmiJKCPEMwdVaf
    • After removing hose, place vacuum on back and unclip the top compartment.

    • Open the compartment.

    • Pull the dirt collection box out of the vacuum.

  5. ItSWP1VgqUFFHYdq
    ItSWP1VgqUFFHYdq
    DEFcsGAnVVmr4pCH
    WFshY53BlLYmXNPB
    • Place dirt collection box to the side.

    • Locate the Pre-Motor Filter.

    • Pull the filter out by grabbing the pull tab on top.

  6. rZa3xOI5BFmUXsHL
    rZa3xOI5BFmUXsHL
    bBgKEZ6xahGi2Swr
    EWbOESqTJqtEwIqn
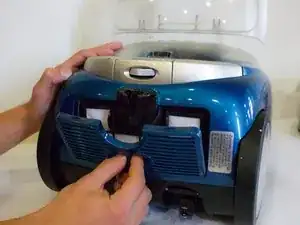
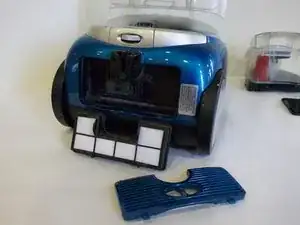
    • Turn vacuum around and locate the filter cover on the bottom.

    • Place fingers in the opening and pull off the filter cover.

    • Place fingers on each tab on the Post-Motor HEPA Media Filter and pull out.

  7. dJAjDHvTXRtsgjfF
    dJAjDHvTXRtsgjfF
    fwQkdei3dplyvmEZ
    XnELWlcwEFcHUBSh
    • Take filter out to clean or replace.

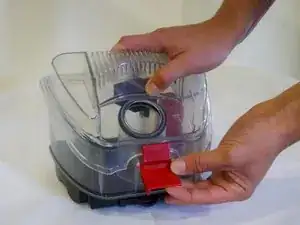
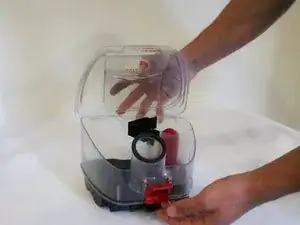
    • To clean Dirt Collection Box, unlatch lid and take off.

  8. sbVGaw32QtnU5KcI
    sbVGaw32QtnU5KcI
    2NKPWmjImbdaAloV
    UtKrQOkPIiACELsP
    • Flip Dirt Collection Box over and locate the push tab.

    • Push the Dirt Cup HEPA Media Filter up to take it off.

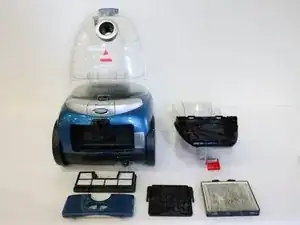
    • Picture 3 Shows all the filters taken out of the vacuum.

  9. OFsJ5amVVbjDGclF
    OFsJ5amVVbjDGclF
    j5CfFBQrYJW2Ifix
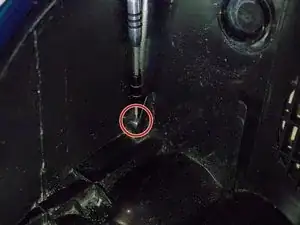
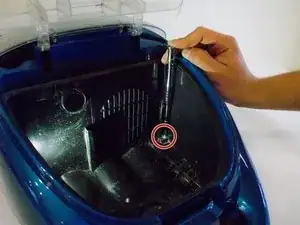
    • Unscrew the two screws underneath the dirt collection box inside the vacuum.

    - color code this step to match the red indicator

    Austin Marshall -

  10. FcfgSDQxDIBFfTWq
    • Flip over vacuum.

  11. iRJnrXpjDDYrSYQm
    iRJnrXpjDDYrSYQm
    KMUtvUg1hFesED1U
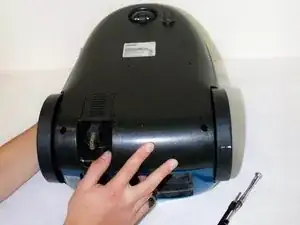
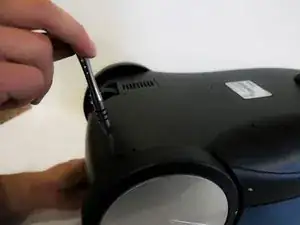
    • Unscrew both screws on the bottom of the handle.

    - dark lighting (black screw against black medium)

    Austin Marshall -

  12. PTyd5kXAEpRibJFS
    PTyd5kXAEpRibJFS
    GFLHrGLTWJhhVlEM
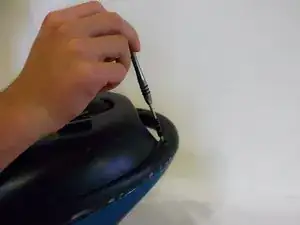
    • Unscrew both screws near the wheels.

    - dark lighting (black screw against black medium)

    Austin Marshall -

    - missing period

    Austin Marshall -

  13. uX5eZuPYHNDRiMhf
    uX5eZuPYHNDRiMhf
    xxDNcIdgfaZfHtQO
    e1kaOrHwNCaLCZRv
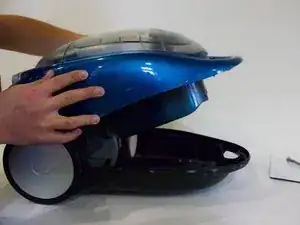
    • Flip over vacuum.

    • Gently lift off top.

    • Do not try to take off completely. There are still wires attached to the hull.

    - keep extra items out of frame

    Austin Marshall -

    - missing period

    Austin Marshall -

  14. Vm2qcoCpIKN2lByU
    Vm2qcoCpIKN2lByU
    SyqW5aa4PpAJLVxT
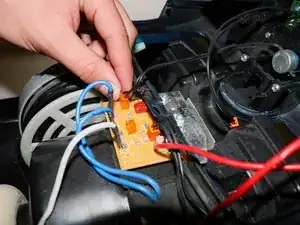
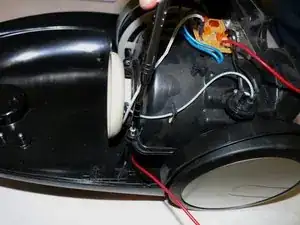
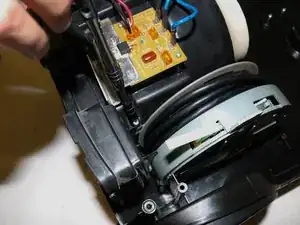
    • Locate the circuit board.

    - missing period

    Austin Marshall -

  15. E1Uxu4KNvm5cLf3c
    E1Uxu4KNvm5cLf3c
    EwMLo4JgNdZgUhEh
    hDsya16N5RQfyPNJ
    • Unplug each orange plug.

    • Make sure you remember which orange plug goes where!

    - missing period

    Austin Marshall -

  16. I1pGWy2LL5xVBVv1
    I1pGWy2LL5xVBVv1
    N5VS2WNOu3ccXsnV
    • Unplug the red wires. The wires may be a little difficult to take off. If they are, you may use a pair of pliers to pull the wires off.

    • Make sure not to wiggle the wires, as that may break the metal holding them.

  17. MNhbsFSQWqbxDFqV
    • Remove the top.

    - missing period

    Austin Marshall -

    - hard shadows

    Austin Marshall -

  18. l5wmlCJjXa5wYRhj
    l5wmlCJjXa5wYRhj
    cfrGVgFdvqNnGkZH
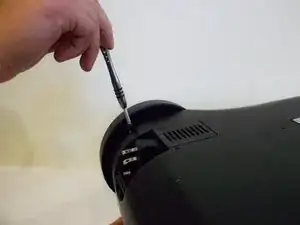
    • Unscrew the top two screws on the vacuum.

    - missing period

    -add indicator

    - hard shadows

    Austin Marshall -

  19. r2uT3aRHNbelhUFi
    r2uT3aRHNbelhUFi
    Bn3TxHWSLQg6ZpoF
    • Unscrew the back two scews.

    - blurry image

    - hard shadows

    -indicators

    - black screwdriver against black medium

    Austin Marshall -

  20. PmFhiDAhG3ulOLTF
    PmFhiDAhG3ulOLTF
    btmyIHxArcORTOno
    NykZ5FKpkhYQxgBe
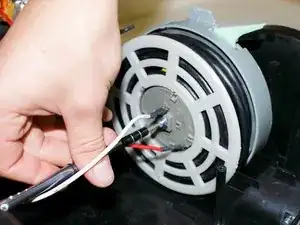
    • Lift motor and move it over the gain access to the spool.

    • Unscrew the screw on the spool.

    • Remove the plastic circle.

    - missing period

    - 2nd picture excess?

    Austin Marshall -

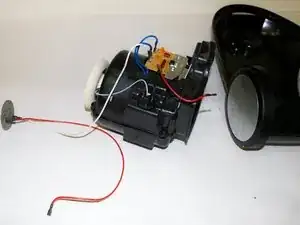
  21. prgwPRIowA5lAhdl
    • Remove the motor.

    • And you are done!

    - you are not done after completion of this step.

    Austin Marshall -

  22. SQqQplqOtyEjGSFQ
    • Grab hold of the cord reel and cord. Make sure cord is retracted all the way in.

  23. UpdC3b5tKFQ2VtDI
    • Pull on cord reel to remove it. You should hear a click indicating it has detached from the area indicated in the picture.

    - color code indicator steps

    Austin Marshall -

  24. boYqYiun5huQkryR
    boYqYiun5huQkryR
    wD5tJiqFSPXmAsBZ
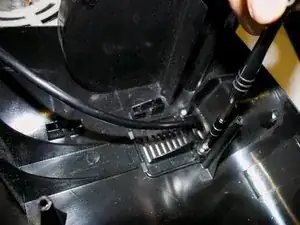
    • Use screwdriver to remove screws from either side of the cord.

    - too blurry?

    Austin Marshall -

  25. vaosJEJCoTYaVjmQ
    vaosJEJCoTYaVjmQ
    hPTATrL3QQ5ZhHne
    • Flip over vacuum.

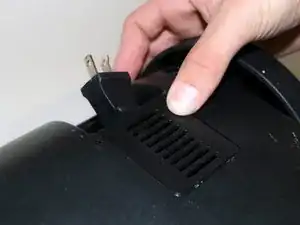
    • Remove grate that holds the power cord as pictured.

  26. 2x3arORdC6bplPbS
    2x3arORdC6bplPbS
    LvVfpgX6mFbREKhl
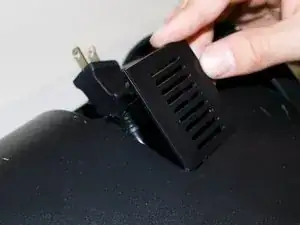
    • Grab hold of head of power cord and pull up.

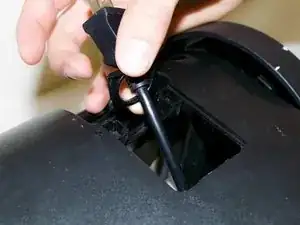
    • Power cord should disconnect from vacuum body as pictured.

  27. mLAR2X4AYLK2jLxJ
    • Remove the cord reel and cord from the vacuum body.

Conclusion

To reassemble your device, follow these instructions in reverse order.

Rianne Paracuelles

Member since: 19/01/18

163 Reputation

One comment

- very good guide

Austin Marshall -