Introduction

Follow these instructions to replace a damaged throttle control. Optionally, you may also replace the attached throttle control cable.

  1. pxJUJNYslhXPxWLW
    pxJUJNYslhXPxWLW
    31O2W3tu6NVtVWCD
    TeVxnqcEeJYBSSCW
    • Cut and remove any zip ties securing the throttle cable.

  2. MRwsHFpXtiarn4eL
    MRwsHFpXtiarn4eL
    KC35YZuVRJJXAF1S
    • Use a Phillips #2 driver to remove the screw securing the lower end of the throttle cable.

  3. ANMpqEOPQ3LhZG6D
    ANMpqEOPQ3LhZG6D
    cch3cyDGkDYRaqgO
    • Remove the bracket securing the lower end of the throttle cable.

  4. ETW6NuVJC4CUymt2
    ETW6NuVJC4CUymt2
    5rCLDNaduaoxDPUQ
    WmuFHvHIWOGtaSMH
    • Rotate the lower end of the throttle cable to detach it from the throttle.

  5. xuqWibpYO2KqakmX
    xuqWibpYO2KqakmX
    jKNpclYAYmleprPV
    bjR6PwpVlREeMMyg
    • When reinstalling the throttle control cable, check to make sure that the throttle control moves the throttle through its full range of motion.

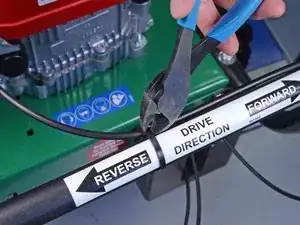
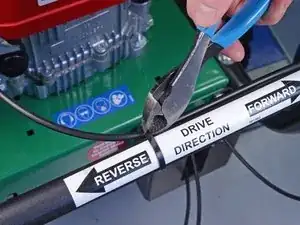
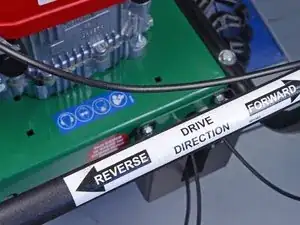
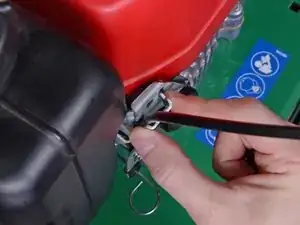
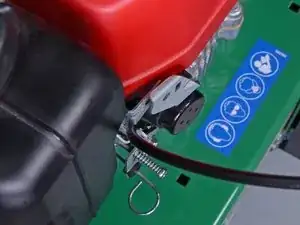
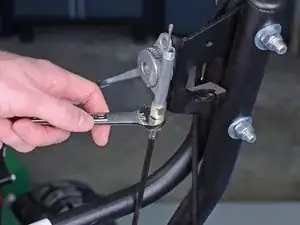
    • If necessary, loosen the screw securing the lower end of the throttle cable and adjust the position of the cable. Re-tighten the screw and check to make sure that the throttle moves through its full range of motion.

  6. 3bTwmuF5toXSFtPX
    3bTwmuF5toXSFtPX
    tMDyhZ14seWGrSe2
    • Use a 7/16" wrench or deep socket to remove the cap from the throttle control.

  7. 6ExvRWEHx4XJWNKq
    6ExvRWEHx4XJWNKq
    NFijyXl2Ugjcv6Ya
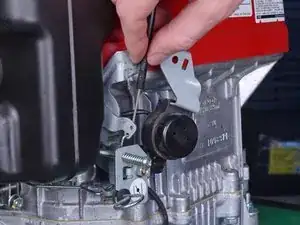
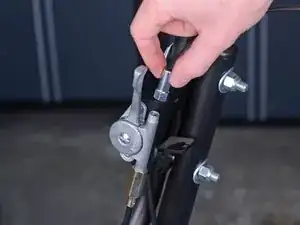
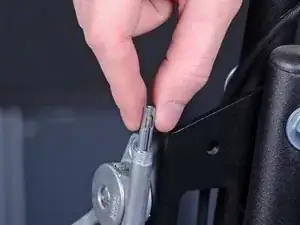
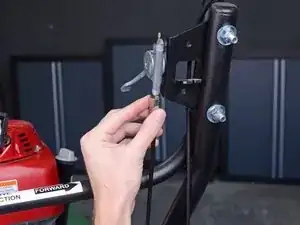
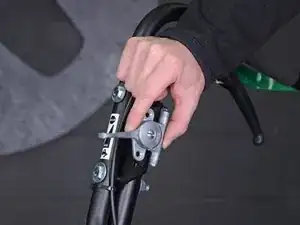
    • Advance the throttle control to expose the gear rack containing the upper end of the throttle cable.

  8. BalGBx1VPCJxG1c2
    BalGBx1VPCJxG1c2
    hXuZpHW3wwPVAN5o
    GCAdchvTiuRgxkUg
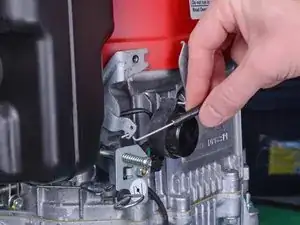
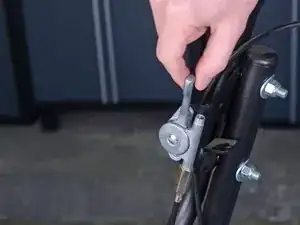
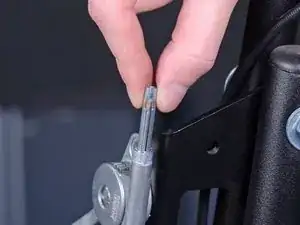
    • Separate the gear rack from the upper end of the throttle cable.

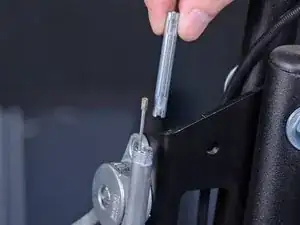
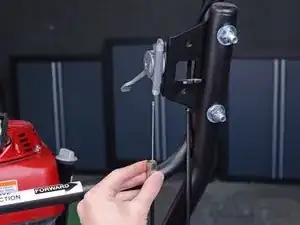
    • Lift and remove the gear rack from the throttle control.

    • If the gear rack doesn't fully detach, advance the throttle control lever a little farther.

    • Lubricate the gear rack with a bit of lithium grease during reassembly.

  9. lHY3ywH1Of6h4Ryn
    lHY3ywH1Of6h4Ryn
    eK4eRHLBVIXlIeg4
    dJtPsMBEexULTJmO
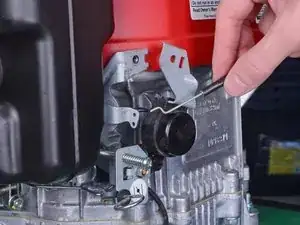
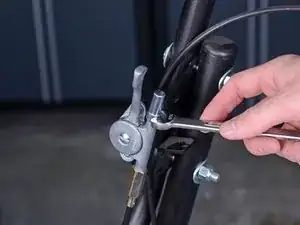
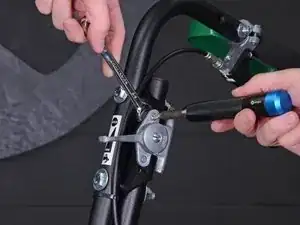
    • Use a 1/2" wrench to unscrew the upper end of the throttle cable from the throttle control.

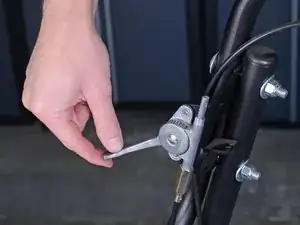
    • Slide the throttle cable down out of the bottom of the throttle control, and remove the cable.

  10. Y1klPSpI3lQpTJGv
    Y1klPSpI3lQpTJGv
    JRhAKCmWTD2KGrMe
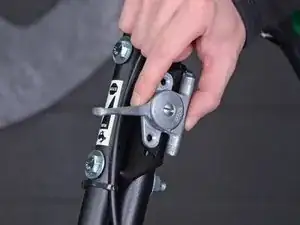
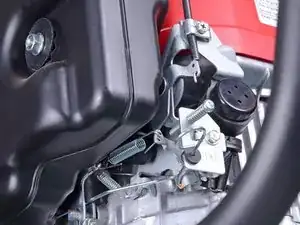
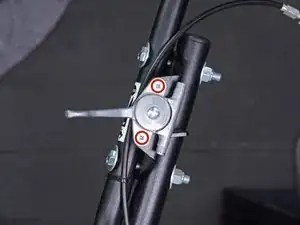
    • Use a Phillips #2 driver to remove the two screws securing the throttle control.

    • While removing the screws, use a 3/8" wrench to counter-hold the lock nuts and prevent them from rotating.

  11. XWcGZsIAguscT1db
    XWcGZsIAguscT1db
    XrT5VpHtaLCpZ4xO
    • Remove the throttle control.

Conclusion

To reassemble your device, follow these instructions in reverse order.

Jeff Suovanen

Member since: 06/08/13

427153 Reputation

One comment

the part # is incorrect, it appears that it is 440014 not 440013

JACOB -