Introduction
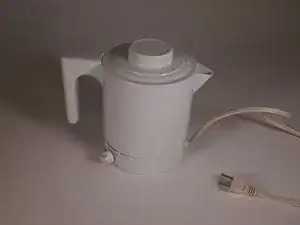
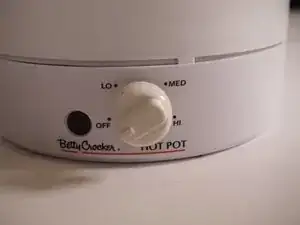
This is a guide to disassembling a Betty Crocker Hot Pot (BC-1762). If the device is no longer able to heat up or stops working for any unknown reason, this guide can be used to take apart the device and locate the problem source. After examining the schematic at the end of the guide and fixing whatever the issue may be, this guide can then be used in reverse order to put the device back together.
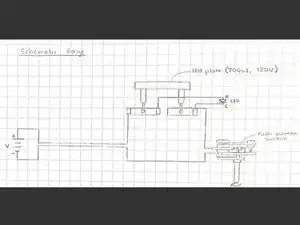
The heating element is connected to an electric circuit involving a push button switch through a series of wires.
Before using this guide, make sure the device is dry and empty, and that it is disconnected from any external power source. The device can be taken apart using a Phillips #1 screwdriver. There are instances where the screws can be difficult to dislocate, so we recommend standing up and getting the screwdriver at the most advantageous angle.
Power= 700 watts
Voltage= 120 volts
Resistance= 20.57 ohms
Tools
-
-
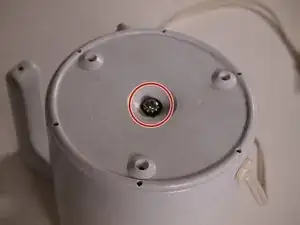
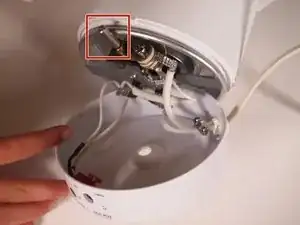
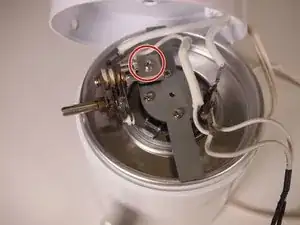
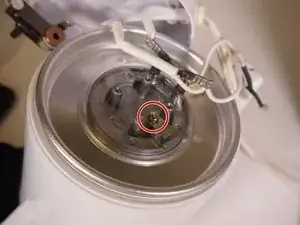
Use the Phillips #1 screwdriver to remove the main 24 mm screw, washer, and black stopper located at the bottom of the Hot Pot.
-
-
-
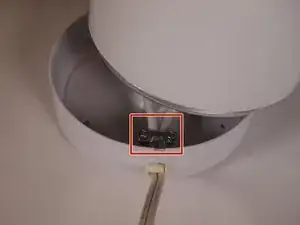
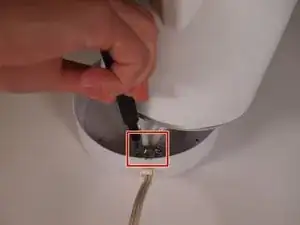
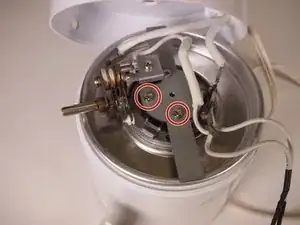
Use a Phillips #1 screwdriver to remove the two 13 mm screws and small metal bar that hold the two thick white wires in place.
-
-
-
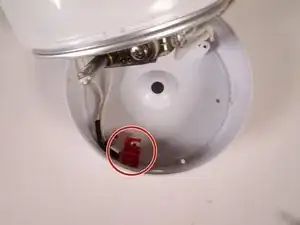
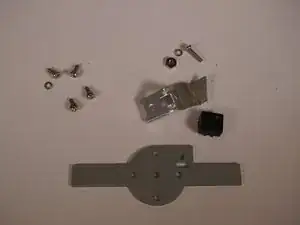
Use the Phillips #1 screwdriver to remove:
-
the transparent red block
-
11 mm screw and small washer
-
-
-
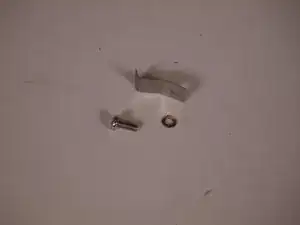
Detach the raised metal portion by removing the 15 mm screw and washer using a Phillips #1 screwdriver.
-
-
-
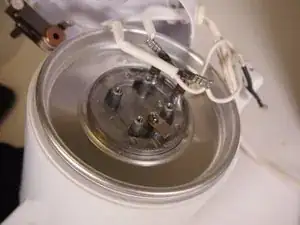
Use the Phillips #1 screwdriver to remove the four 10 mm screws and washers that hold the cross section of metal in place.
-
-
-
Remove the last 10 mm screw and thin metal bar that are located under where the large metal plate was (put your back into it).
-


To reassemble your device, follow these instructions in reverse order.