Introduction
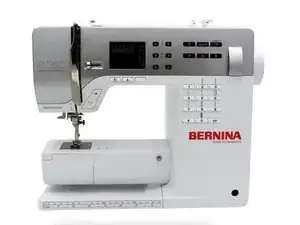
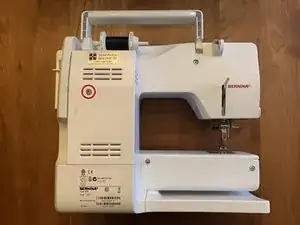
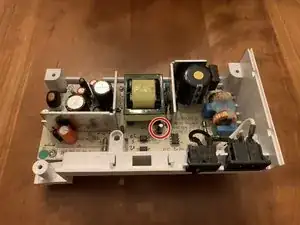
For Bernina sewing machines that no longer turn on or the sewing machine takes 10 to 60 minutes for it's display and light to illuminate after turning the switch on, the l-board have a defective capacitor - follow this guide to replace the l-board's D5 capacitor.
Note: for the soldering step, I accidentally had my soldering gun set to 400 and burned through the trace, but there's plenty of room on the board and I was able to add a new wire to link repair the burned trace. Setting your soldering gun to 340 C and using more flux may avoid what I did.
Tools
Parts
-
-
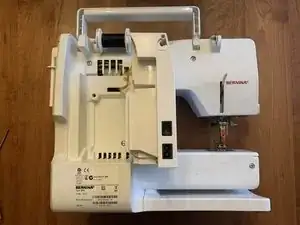
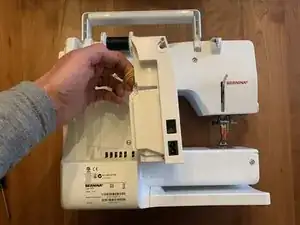
Place fingers above and beyond Bear Quilting Patch and pull l-board gently toward you.
-
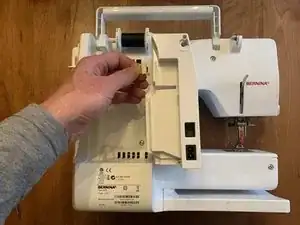
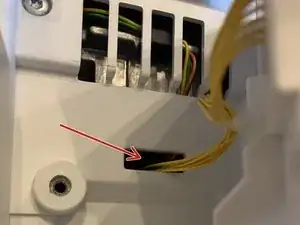
Rotate left side of l-board toward you and to the right to access cable.
-
Gently remove yellow cable.
-
-
-
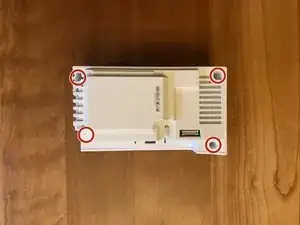
Remove 4 screws with Torx T-10 driver.
-
Foreground is the base, pull it toward you and cover (background/closest to table) stays behind.
-
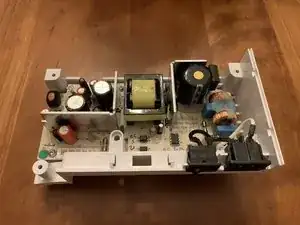
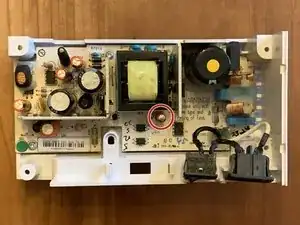
Base, with l-board attached, is shown in last picture.
-
-
-
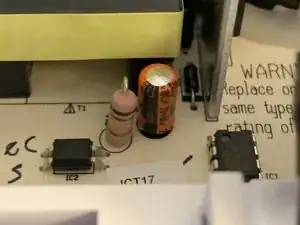
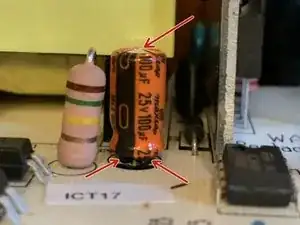
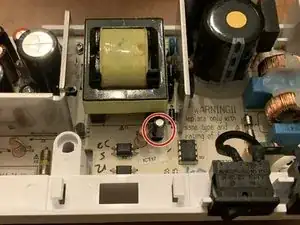
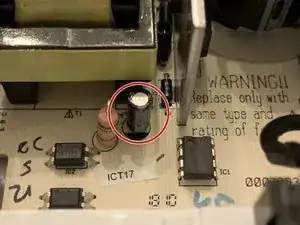
Capacitor attached to D5 is bulging out the top and is pushing its innards out the bottom.
-
If damaged like the one in photograph, obtain a replacement capacitor for D5 that is rated for long-life, 25 volts, and 100 µF, I found one at MicroCenter for $0.99.
-
-
-
I used a soldering gun to and wick to remove as much solder from back side of board where D5 is marked.
-
After solder is removed, I gently bent the capacitors pins so they were straightened and ready to remove from hole.
-
Adding flux to the board, heated the pins and use a tweezers to pull on the D5 capacitor.
-
-
-
Slide the replacement capacitor into the D5 board holes.
-
Heat the board and apply solder.
-
Replacement capacitor looks like pictures to the left.
-
-
-
Replace cover on l-board and reinsert 4 screws.
-
Gently place extra slack from yellow l-board cable back inside sewing machine body.
-
In reverse, return to Step 2, complete, and conclude with Step 1 to continue reassembling sewing machine and test.
-
To reassemble your device, follow these instructions in reverse order beginning with Step 2.
