Introduction
This is a prerequisite-only guide! This guide is part of another procedure and is not meant to be used alone.
Tools
-
-
Switch off your phone.
-
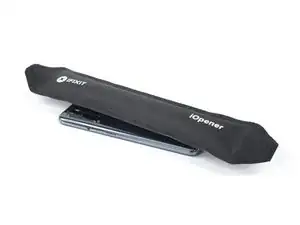
Heat an iOpener to loosen the adhesive beneath the rear glass. Apply the iOpener for at least two minutes. If you have a heatbed with precise temperature control (like any FDM 3D printer with heatbed) 45°C is enough. You might want to repeat this step several times during the rear glass removal.
-
-
-
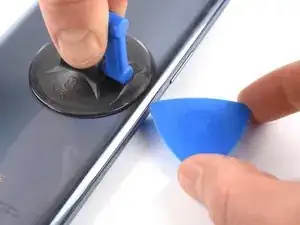
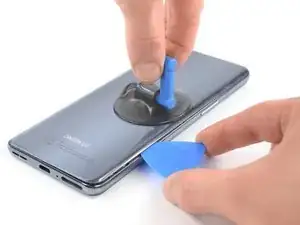
Apply a suction cup to the back of the phone, as close as possible to the center of the right edge.
-
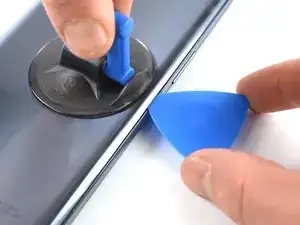
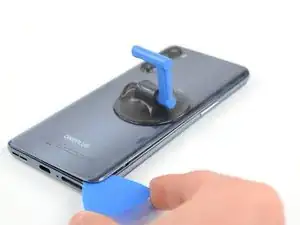
Pull on the suction cup to create a gap between the rear glass and the frame.
-
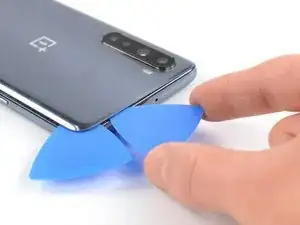
Insert an opening pick into the gap.
-
-
-
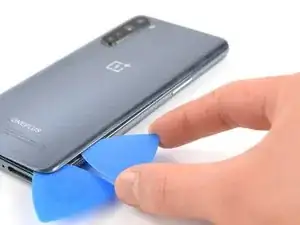
Slide the opening pick along the edge to the bottom right corner.
-
Leave the opening pick in its place to prevent the adhesive from resealing.
-
-
-
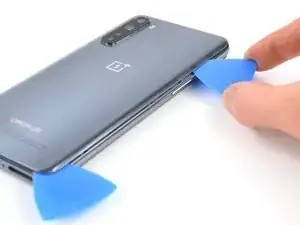
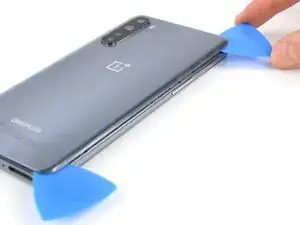
Insert a second opening pick under the bottom right corner.
-
Slide the opening pick along the edge to the top right corner.
-
Leave the opening pick in its place to prevent the adhesive from resealing.
-
-
-
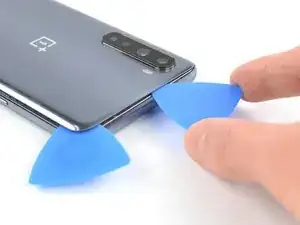
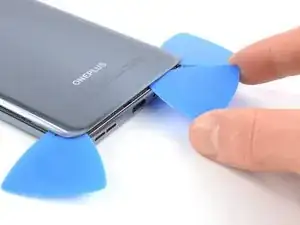
Insert a third opening pick under the top right corner of the back cover.
-
Slide the tip of the opening pick along the edge of the phone to the top left corner to cut the adhesive.
-
Leave the opening pick in the top left corner to prevent the adhesive from resealing.
-
-
-
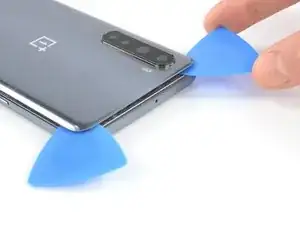
Insert a fourth opening pick under the top left corner.
-
Slide the opening pick along the edge to the bottom left corner to cut the adhesive.
-
Leave the opening pick in its place to prevent the adhesive from resealing.
-
-
-
Insert a fifth opening pick under the bottom left corner.
-
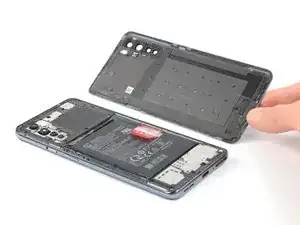
Slide it along the the edge to the bottom right corner to cut the remaining adhesive.
-
-
-
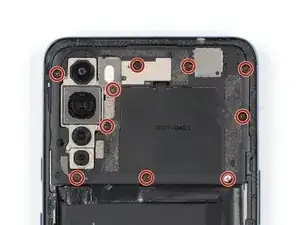
Use a Phillips #00 screwdriver to remove the ten 3.6 mm-long screws from the motherboard cover.
-
-
-
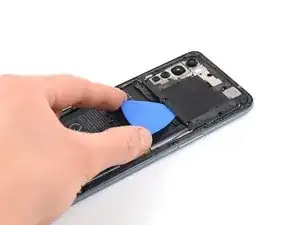
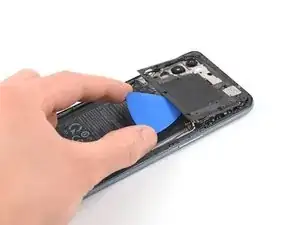
Insert the tip of an opening pick under the motherboard cover.
-
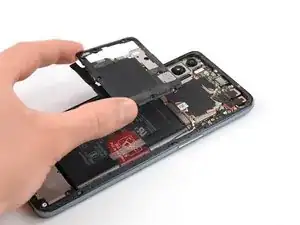
Use the opening pick to lift the motherboard cover up and release the plastic clips that holds the cover in its place.
-
Remove the motherboard cover.
-
-
-
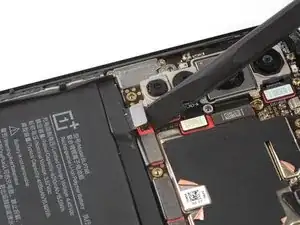
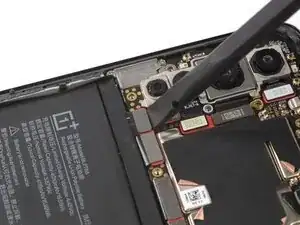
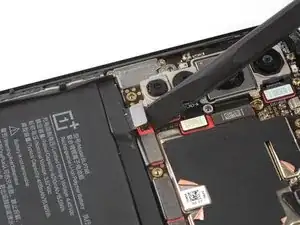
Use a spudger to disconnect the battery by prying the connector straight up from its socket.
-
To reassemble your device, follow these instructions in reverse order.
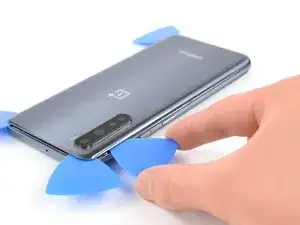
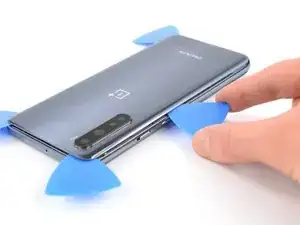
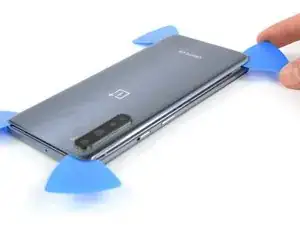
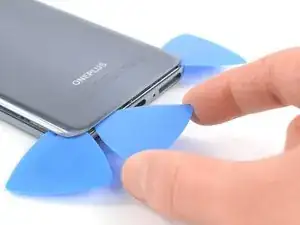

I needed 4 hands to do this. And good light to see the gap.
Roger Bratseth -