Introduction

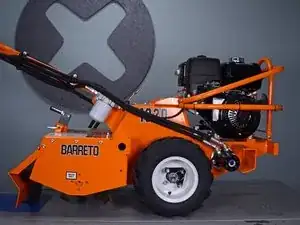
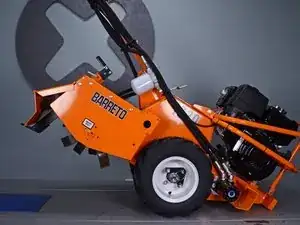
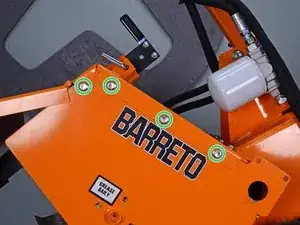
Prerequisite only! This guide shows how to remove and replace the righthand side plate on the Barreto Tiller E1320 2016.

  1. s2YGUE2hAZBeY2af
    s2YGUE2hAZBeY2af
    ZZcXNQfl6oHSSvcK
    • Before you begin, ensure that the engine is powered down and cool to the touch.

    • Grab the plastic housing at the end of the spark plug wire and pull firmly to disconnect it.

  2. 5XNxZUOMumNRQnZi
    5XNxZUOMumNRQnZi
    PRbKxuQaVOccHEaH
    • Flip the red engine ON/OFF switch to the OFF position.

  3. ELbXP1OZsK5dtsBV
    ELbXP1OZsK5dtsBV
    RrbPTfJWnGLicru3
    • Flip the fuel valve lever to the OFF position.

  4. jOQUT6h4DWhEndhK
    jOQUT6h4DWhEndhK
    pwrPhQvk2RKy5MpD
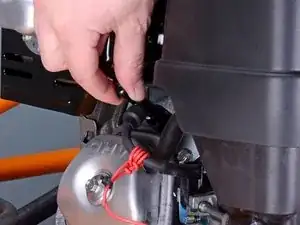
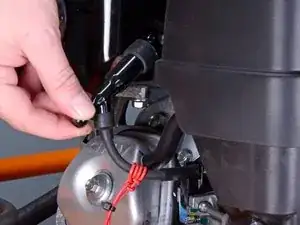
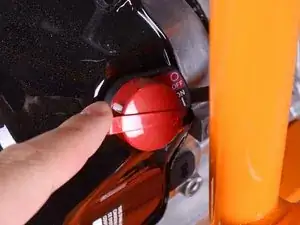
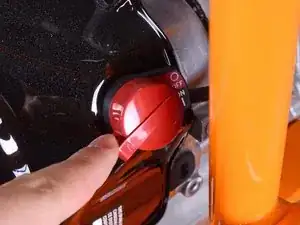
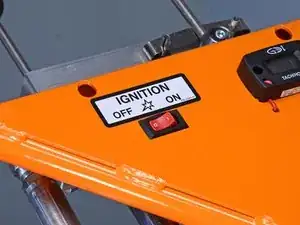
    • Flip the ignition switch to the OFF position.

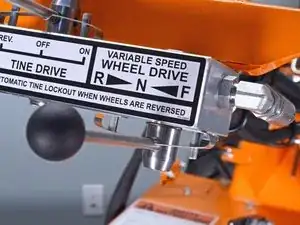
    • Ensure the wheel drive control lever is set to the neutral position.

  5. BCLCetXmDSNeQdgl
    BCLCetXmDSNeQdgl
    UJvQ5wEOPFLWwH1F
    TU2RsedTJJWJDUBA
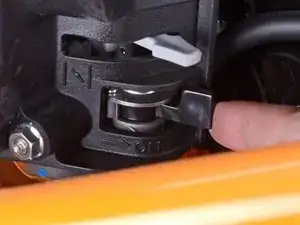
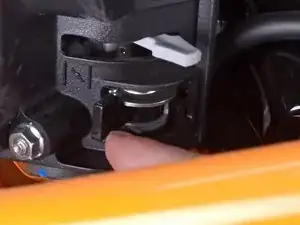
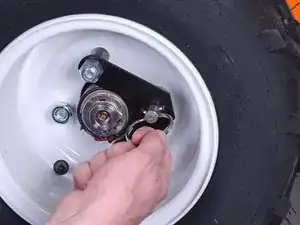
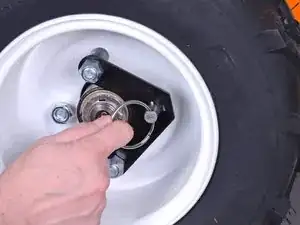
    • Pull the locking pin out and rotate it 90˚ to unlock the right wheel from the hub.

    • Repeat for the left wheel.

  6. iljfxDVpMMRf1PiE
    • Insert wheel chocks underneath each wheel to keep the device stationary during disassembly.

  7. RTvJmvS3ncm13cZO
    • Use an 8 mm socket to remove the outboard bearing grease fitting.

  8. rCkiyOtyZkpoYmwm
    rCkiyOtyZkpoYmwm
    1gRodQDmUeSq2aYm
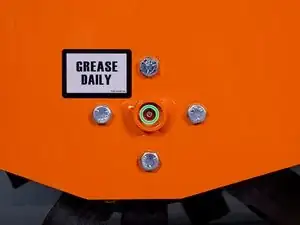
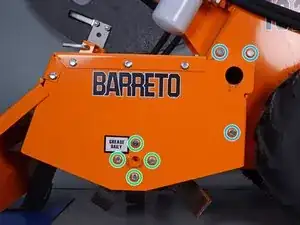
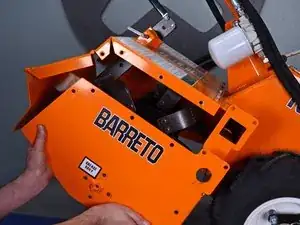
    • Use a 9/16 inch socket to remove the four bolts securing the tine shaft to the side plate.

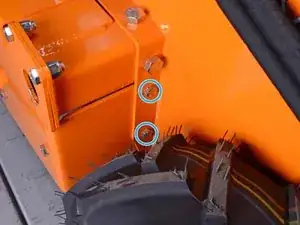
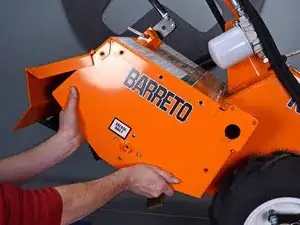
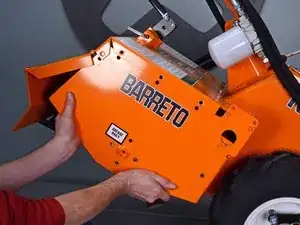
    • Use a 9/16 socket and wrench to remove the five bolts and accompanying nuts securing the side plate to the frame, three on the outside and two in the wheel well.

  9. dQCknBFLbFs4CqCx
    dQCknBFLbFs4CqCx
    Q3JUqWOic2YJinAC
    • Tilt the tiller up so the motor side is resting on the work surface with the tines raised.

  10. VPHeExOfHuETKJyg
    • Use a 1/2 inch socket and wrench to remove the four bolts and accompanying nuts securing the side plate to the tine cover.

  11. mZ5eJLSYZDJZTTtD
    mZ5eJLSYZDJZTTtD
    ZgFnTNZfNk1wMpcg
    MXDBGmtrXG6i6SDh
    • Slide the side plate down and away from the device to remove it.

Conclusion

To reassemble your device, follow these instructions in reverse order.

Carsten Frauenheim

Member since: 10/03/20

110978 Reputation

0 comments