Introduction
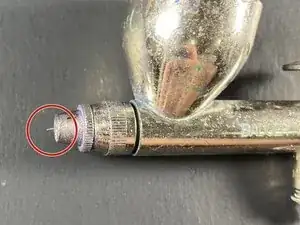
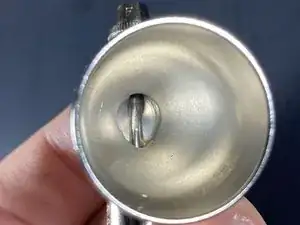
If the needle in your Badger 105 Patriot airbrush has been damaged or lost, use this guide to replace it. The needle and head control the flow and pattern of paint as it exits the airbrush, and any damage or warpage will cause uneven paint distribution.
Before using this guide, make sure you have located a replacement needle and head set. These can be purchased directly from Badger. This guide will also work with other brands of airbrushes as the internal mechanics of all airbrushes share the same parts and structure.
Make sure to rinse any residual uncured paint from your airbrush before beginning.
No tools are needed for this guide.
-
-
Disassemble your airbrush beginning with the needle. Each piece is held on with threading, so carefully unscrew each part one at a time by hand.
-
-
-
Inspect the size and type of your needle head. This will help you to order a proper replacement.
-
-
-
Carefully set the new needle head in the nest, then screw the tip assembly on top, making sure the tip of the head is aligned with the hole in the tip assembly.
-
-
-
Insert your new needle into the needle action assembly.
-
Make sure that the needle-holding nut is loosened to allow the needle to enter the assembly, and then tightened it to allow the needle to be moved by the trigger.
-
-
-
To prevent any future damage to the needle, always retract the needle into the airbrush when not in use.
-
To reassemble your device, follow these instructions in reverse order.


